
Make Your Shoe Design Factory Ready: Shoe Maker’s Pre-Flight Checklist
Making a beautiful design drawing of your new shoe idea is a great first step; now, it’s time to finish your design. The design drawing is just one piece of information you need to communicate your design to the shoe factory. To ensure your sample shoe looks and functions just as you imagined, you’ll need to detail every aspect of your design.
Shoe Designers Pre-Flight Checklist.
| You need a shoe Last. |
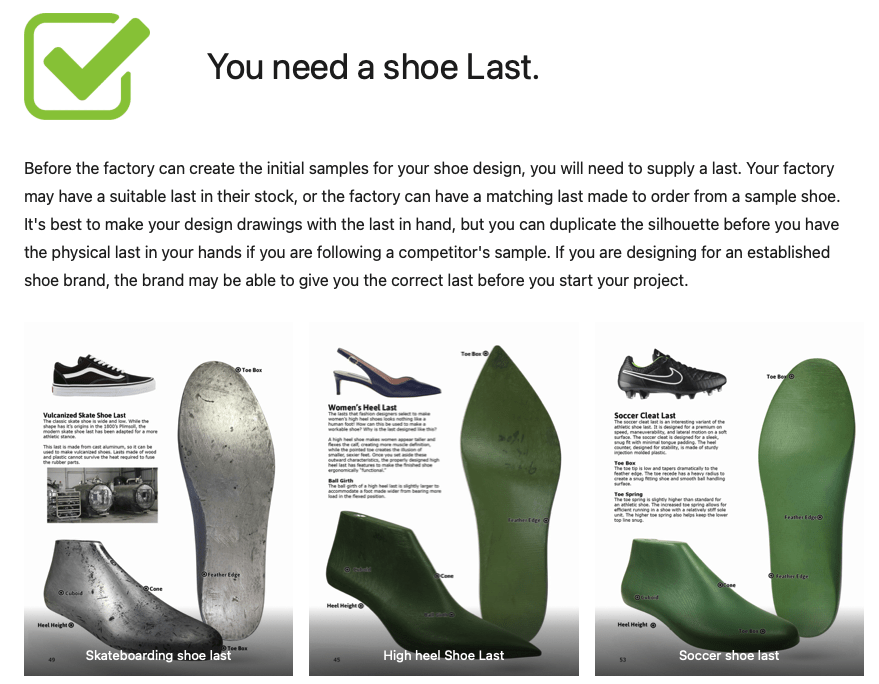
Before the factory can create the initial samples for your shoe design, you will need to supply a last. Your factory may have a suitable last in their stock, or the factory can have a matching last made to order from a sample shoe. It’s best to make your design drawings with the last in hand, but you can duplicate the silhouette before you have the physical last in your hands if you are following a competitor’s sample. If you are designing for an established shoe brand, the brand may be able to give you the correct last before you start your project.
-
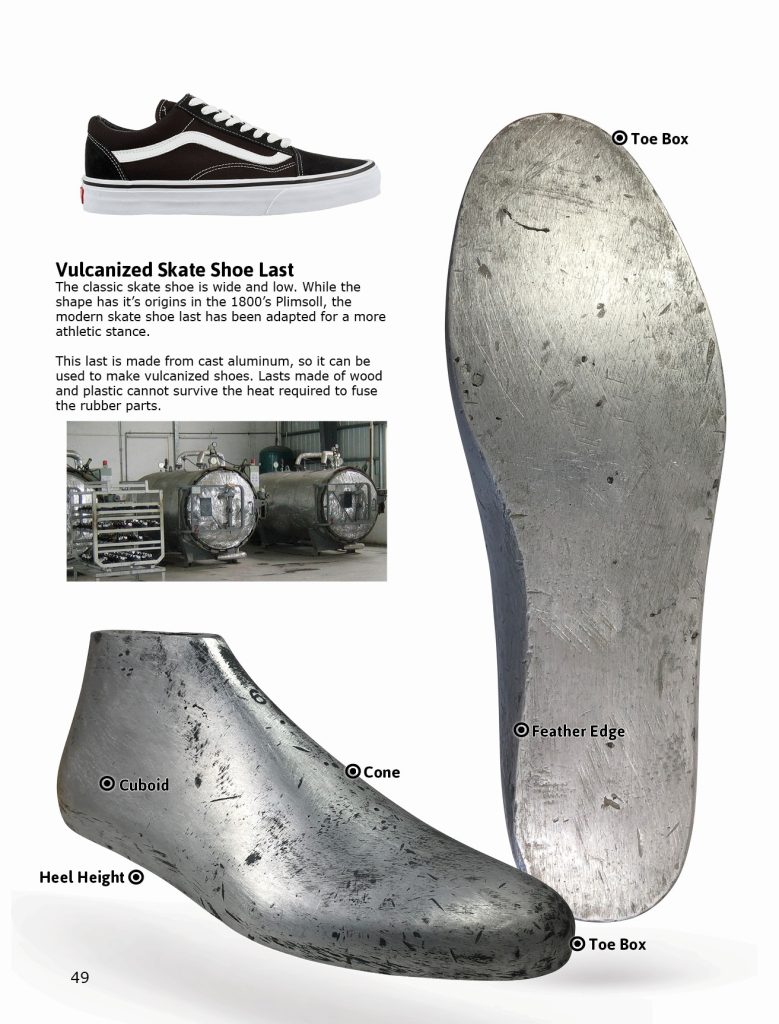
Skateboarding shoe last -
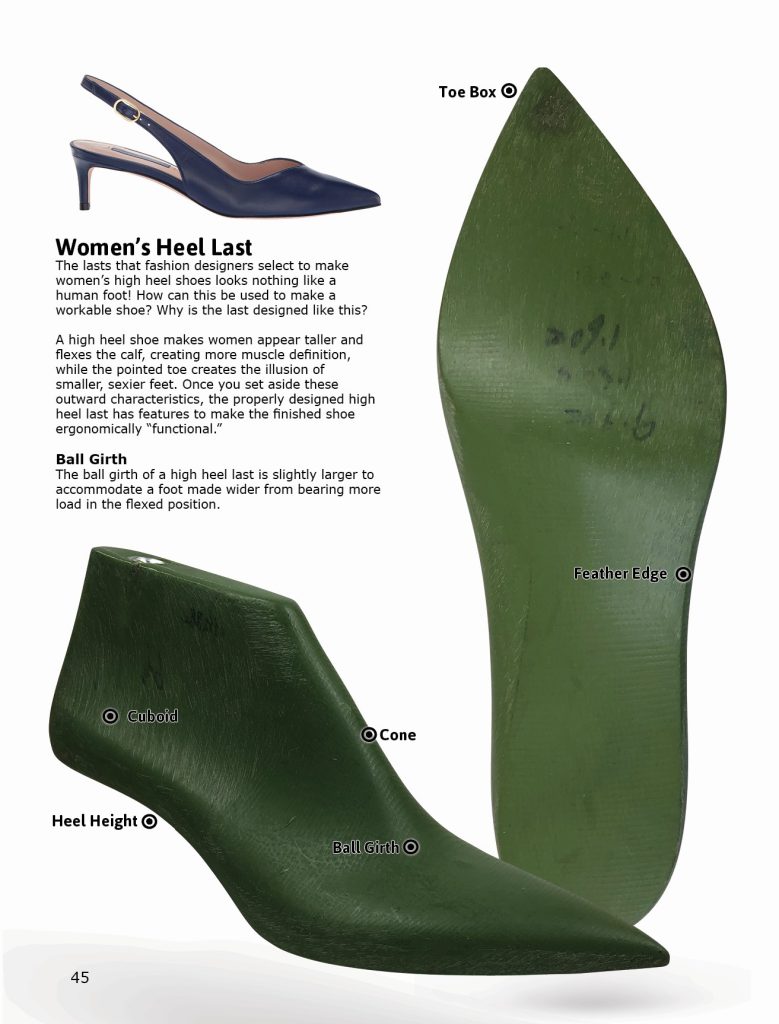
High heel Shoe Last -
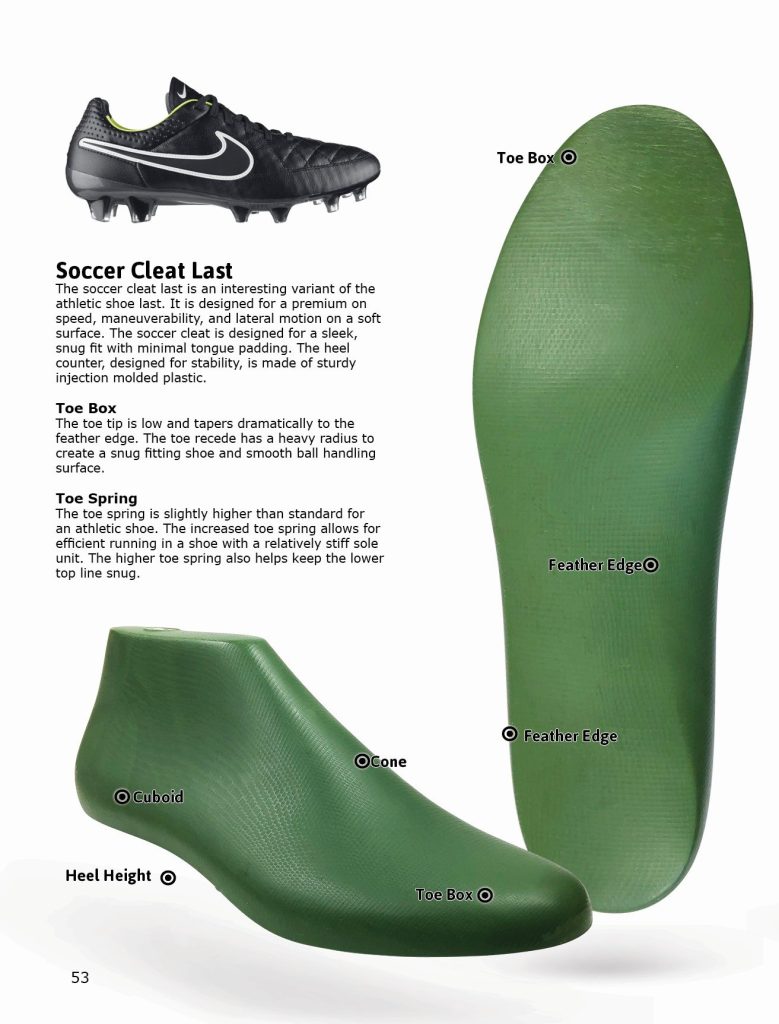
Soccer shoe last
| Shoe design drawings |
You will need a complete set of shoe design drawings. With your design idea and last silhouette, you can create a complete set of drawings for your footwear specifications. The factory needs drawings with every design line clearly detailed. Your set of drawings should include:
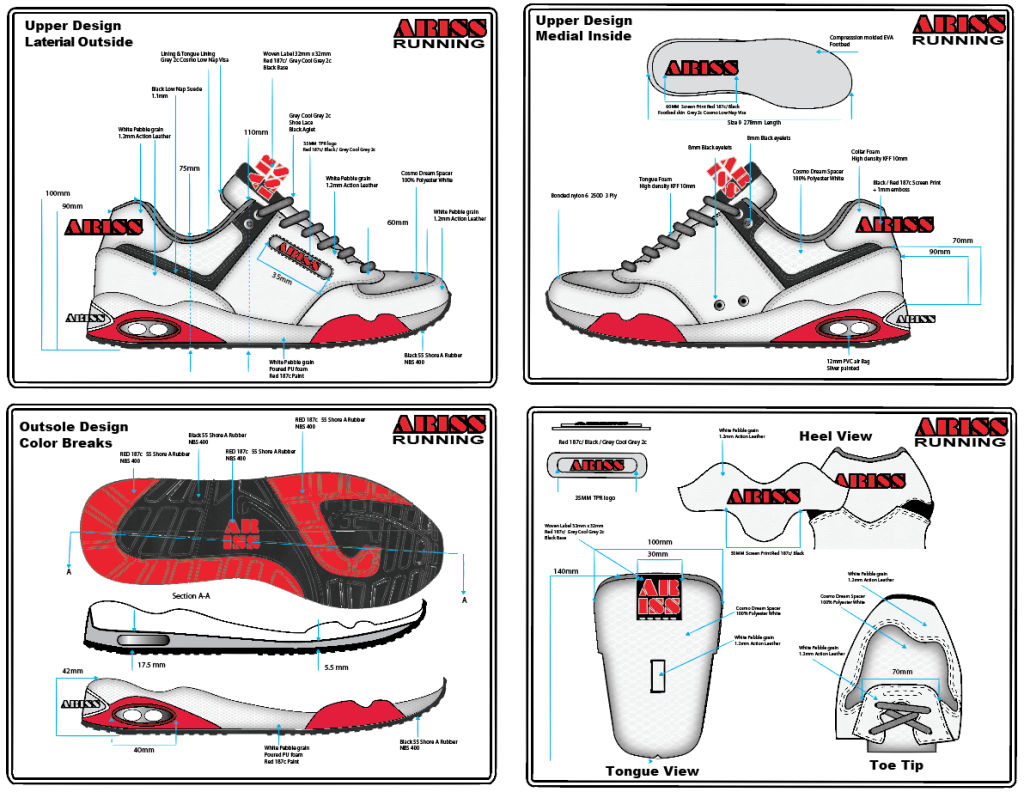
| Outsole design drawings |
You will need a complete set of outsole design drawings. Outsole blueprints are difficult and time-consuming to make. As a designer, your responsibility is to detail the outsole unit’s style lines and character details. The exact shape and size of the outsole is the responsibility of the outsole design engineer. The design engineer will take your shoe sole design and measurements from the lasted upper and create detailed technical drawings. You will need to supply the design engineer with the following drawings:

| Stitching design and seam details |
If your shoe is sewn together, you need to add the stitching details to your drawings. The stitching detail lines will show which pattern parts are overlays and underlays. You should also communicate if the stitches are single line, double line, zig-zag, thin thread, or heavy thread. If your design entails rolled edges, binding edges, Frenched edges, butt seams, or overlays, you need to communicate these details in your drawings.
-
Double stitching -
Rolled seams
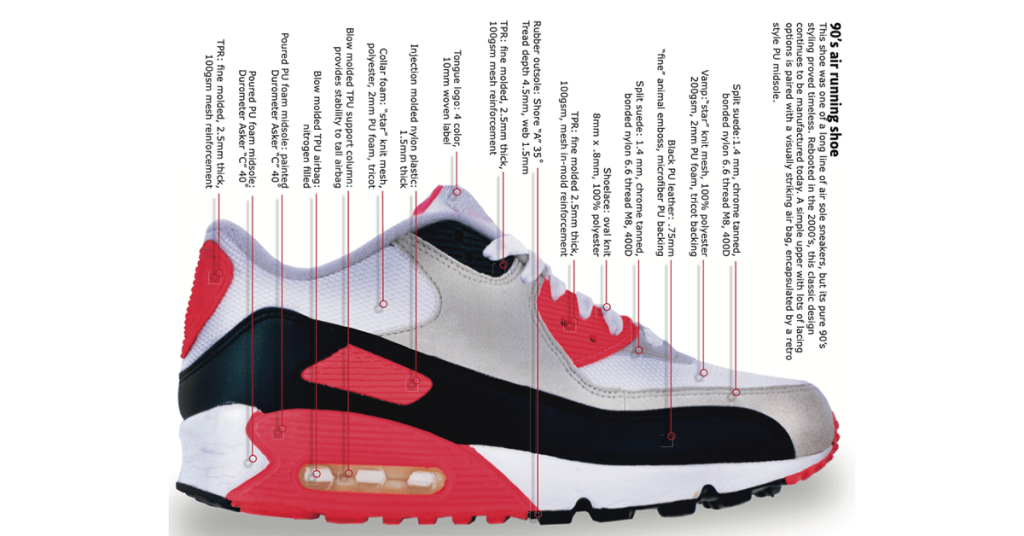
| Shoe upper material map |
The material map is a drawing that clearly shows the materials you have in mind for each part. The factory uses this information to make the appropriate pattern for the parts. A die-cut leather part will have a different pattern from a fabric part of the same shape made with rolled edges.
| Color map |
Color map of the first sample colorway. A color map diagram of upper and outsole parts shows the factory where to add color dams or pattern breaks.
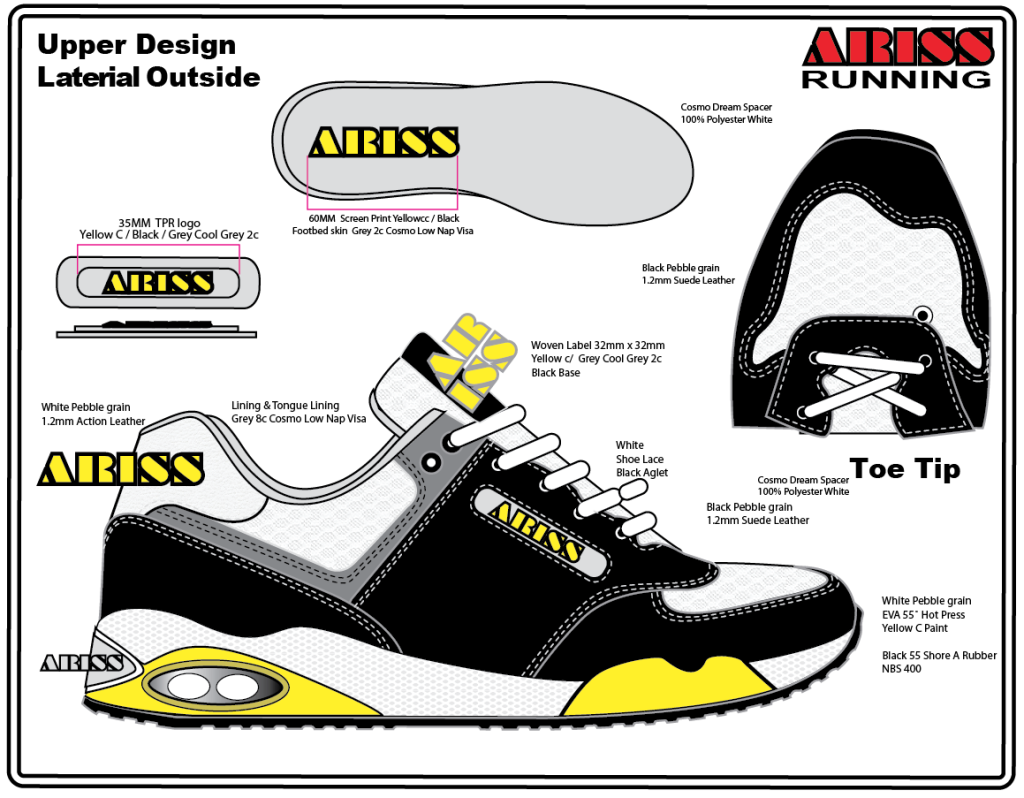
| Texture map |
Texture map showing the surface details of every part. The surface texture is an important part of your shoe design. Texture specifications will add an extra dimension to your shoe designs.
-
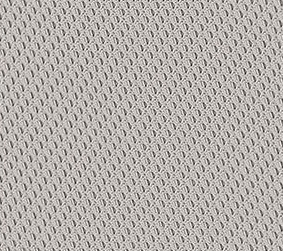
Mesh Texture -
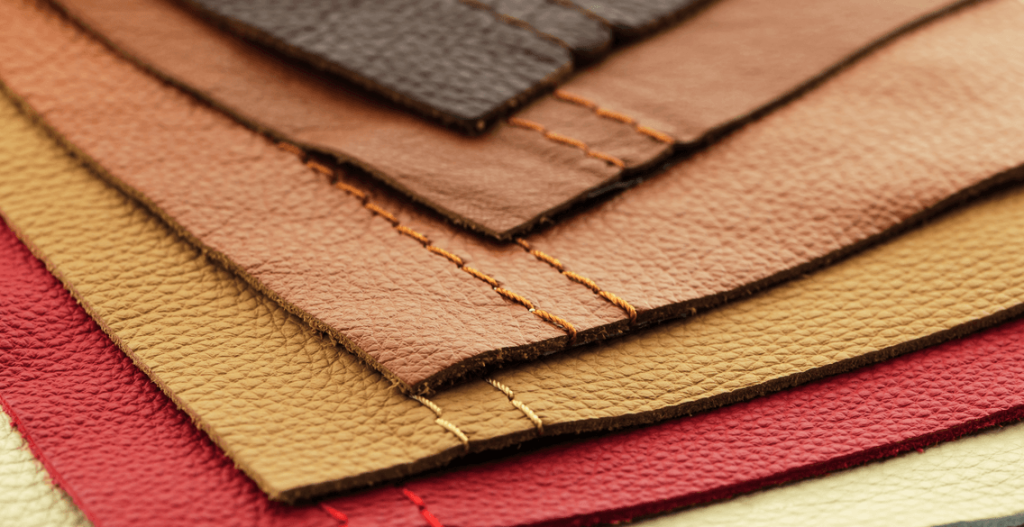
Leather texture
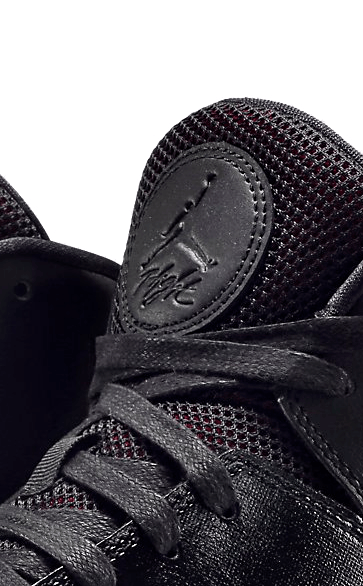
| Logo Designs |
Logo designs: Take extra care to draw your logos in the exact scale they will appear on your shoe design. This step will ensure the logos are legible and will help you decide how to execute your color. For example, a 3D mold or laser can create tiny letters 2mm tall, while an embroidery machine requires lettering to be a minimum of 5mm tall to be readable.
-
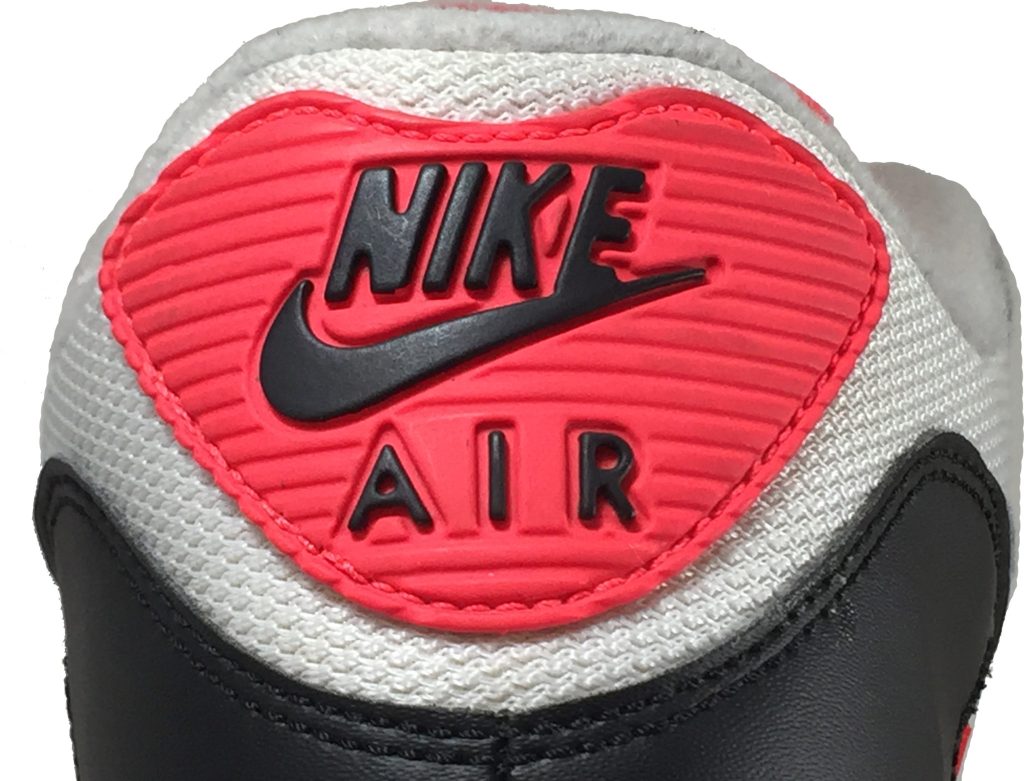
Molded Logos -
Embroidery Logo -
Print + Emboss Logos
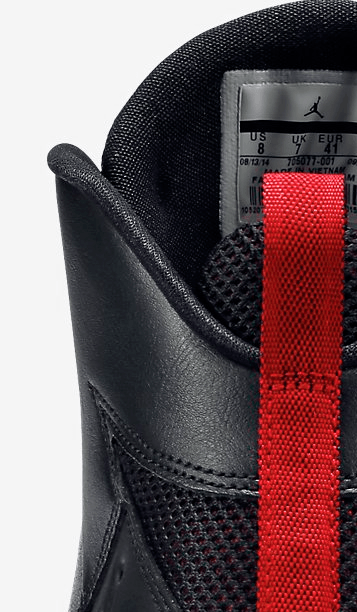
| Foam padding specs |
Foam padding specs: The foam padding specifications for the shoe tongue, collar, and upper padding are critical when defining your shoe’s silhouette. Is your shoe designed as sleek or puffy? Detail these parts carefully to get the look you desire.

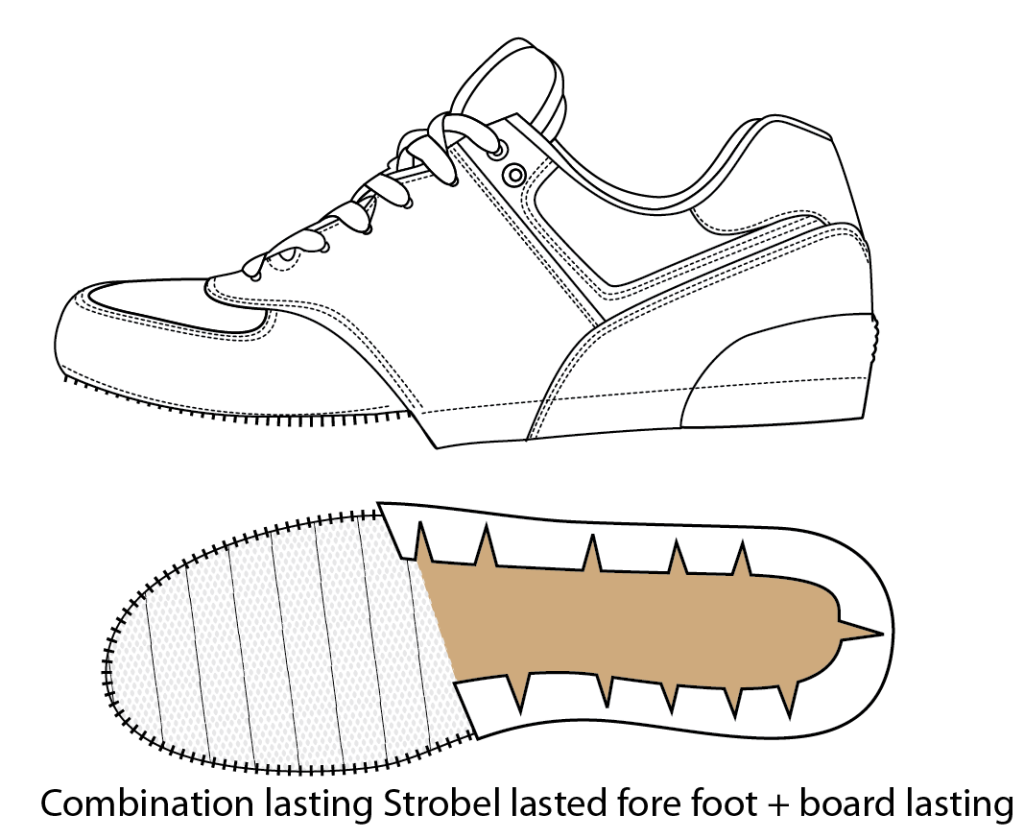
| Reinforcement & construction notes |
Reinforcement specs and construction notes: Tell the factory exactly how you want your shoe made. Is your shoe a soft Stobel bottomed casual shoe or a sturdy board-lasted walking shoe? It’s best if you can detail the construction you require. If you are unsure how to make the shoe, do your best to explain the functionality necessary and ask your factory developer to help you specify the best construction process.
-

Stiff Board Lasting -
Soft / Stiff Heel Lasting -
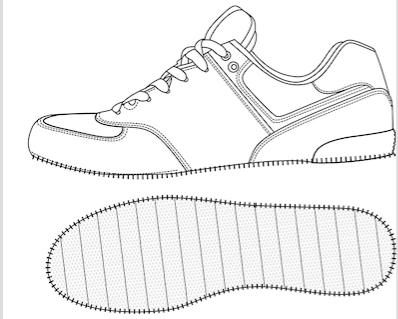
Soft Strobel lasting