
What you need to build the Nike Air Jordan 1 at home?
Shoemaking is a complex process requiring special tools, equipment, and materials to facilitate the task. If you’re considering crafting a sophisticated shoe like the Air Jordan, plan your build in advance. Make a list and gather all your equipment, tools, and materials BEFORE you begin.
Our custom build instructor, Erik Gavica, has shared his equipment list and we have pulled together links to the items you will need to simplify and speed up your home build of the Nike Air Jordan.
Build it with Erik Gavica, a professional sneaker builder and Shoemakers Academy instructor. Learn more about the How to make the Air Jordan 1 online course.
The Air Jordan Shoe Last:
A shoe last is indispensable for home shoemaking. The last ensures the shoe’s correct shape and also holds the upper in place during sole bonding operations. Specifically, the Air Jordan last is necessary to achieve the iconic shape. Without it, your pattern and outsole may not fit correctly.
Cost of the Last: Prices range from $75.00 to $125.00 online.
Where to get the Air Jordan Last: Nike doesn’t sell the Air Jordan last so unless you can acquire one from a Nike contract factory, you’ll need to purchase a recreation or reproduction last. Reputable sources often offer accurate reproductions obtained through last duplication from sample shoes.
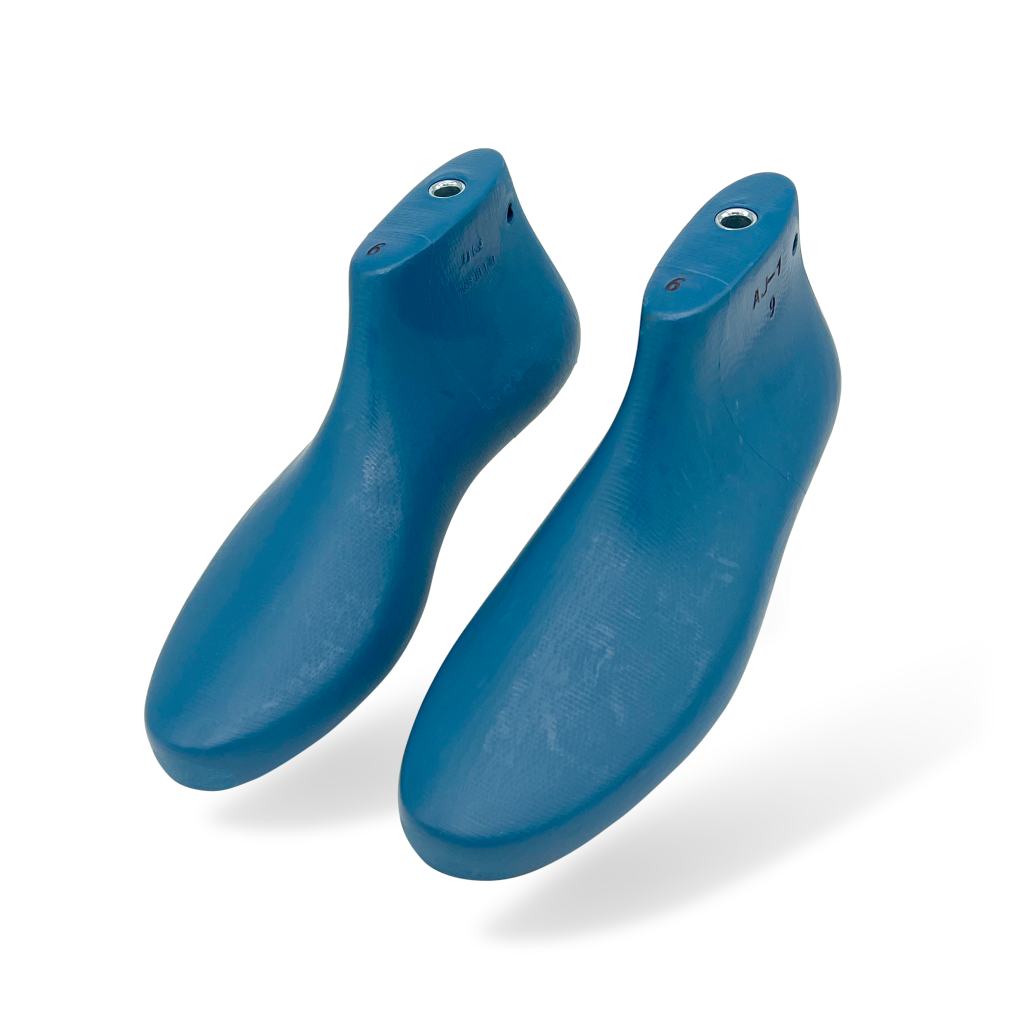
Air Jordan Last
The last holds the shoe’s shape and allows you to accurately create the iconic shape of the Air Jordan. You will need a last to board last the shoe and bond the Jordan sole.
The Air Jordan Outsole:
Jordan outsoles can be recycled from original authentic pairs or purchased online. Various options are available to purchase, including units with airbags, PU midsoles, rubber eggcrate, and logos.
Cost of the Outsoles: Online prices range from $25.00 to $55.00.
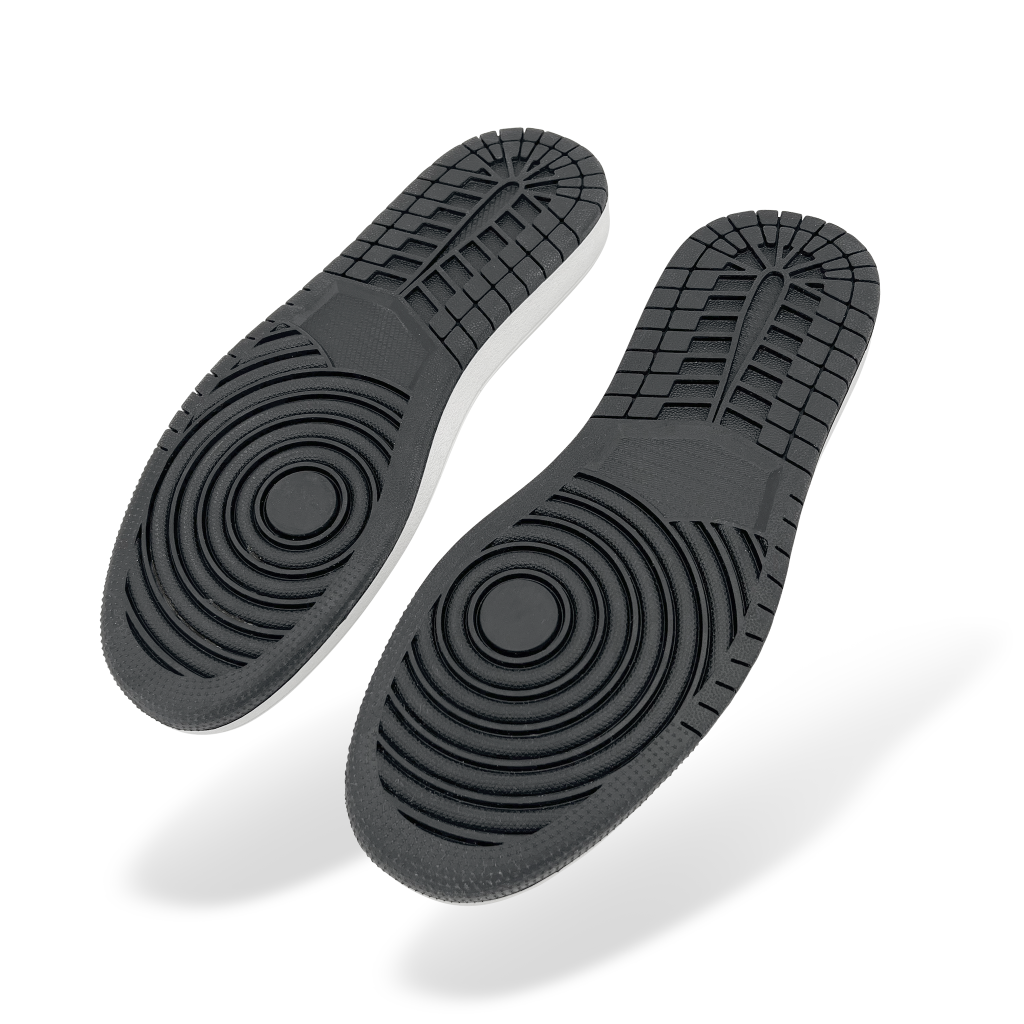
Air Jordan outsole
For the home shoemaker trying to save money, or for your first efforts, buying a unit is a good option.
The Air Jordan Pattern:
The pattern for the Air Jordan 1 is widely available, as every pair of Jordans sold serves as a record of the pattern. With patience and effort, you can deconstruct a shoe to create your own pattern. Alternatively, you can purchase reproduced patterns, some of which are adjusted to simplify the process for home builders. As with reproduction lasts, it’s essential to find a reputable source.
Cost of the Air Jordan Pattern: Prices range from $69.00 for digital files to $125.00 for cut paper patterns or $300 for cut acrylic patterns.
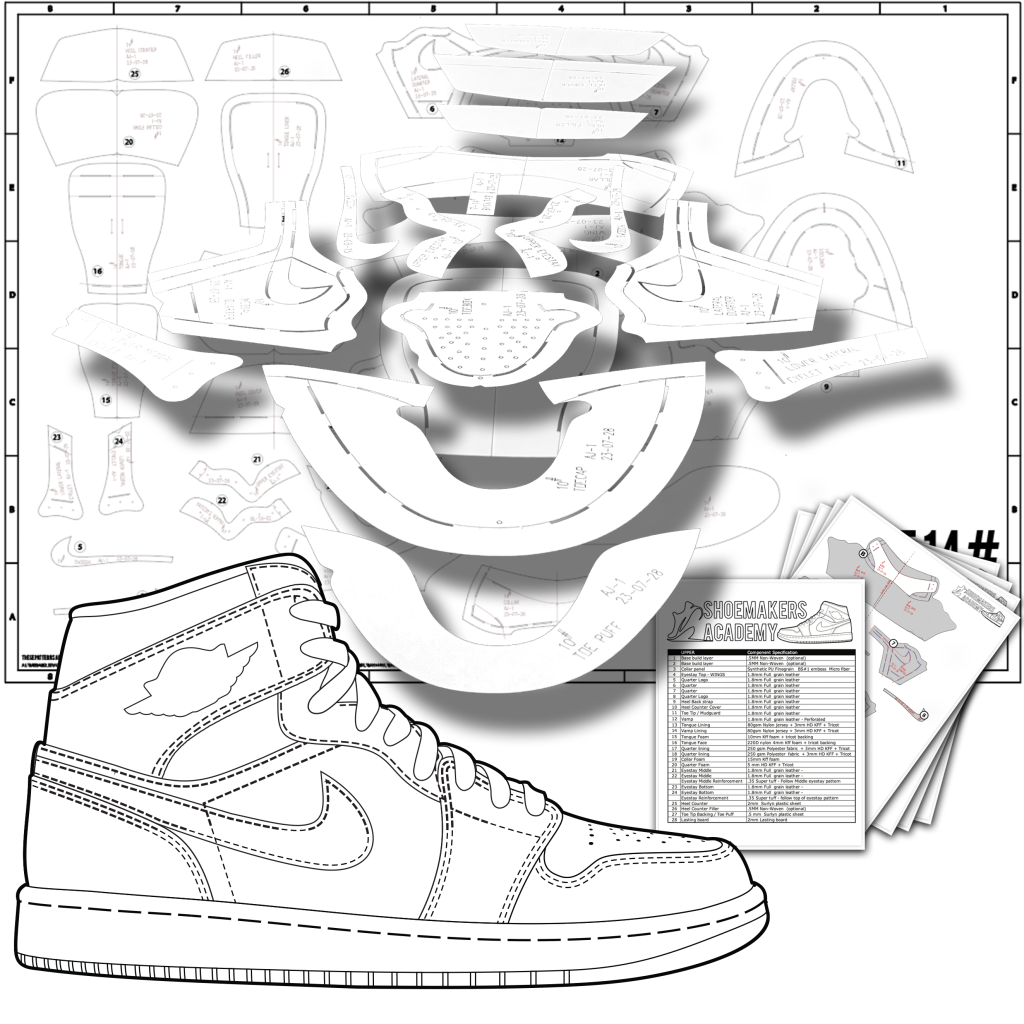
Air Jordan Pattern
This is the critical item! You can’t make an Air Jordan without the correct pattern.
Sewing Machine:
A sewing machine is a necessity. Operating it requires some proficiency, especially for critical stitching areas like the toe tip and vamp. Beginner-friendly models like the Singer 44s, 4423, or 4452 are suitable for starting out, priced from $199.00 to $299.00.
Industrial post machines, both single and double needle, are also available, ranging in price from $600 to $2000. If available, secondhand machines can be a viable option. Don’t hesitate to use what you have.
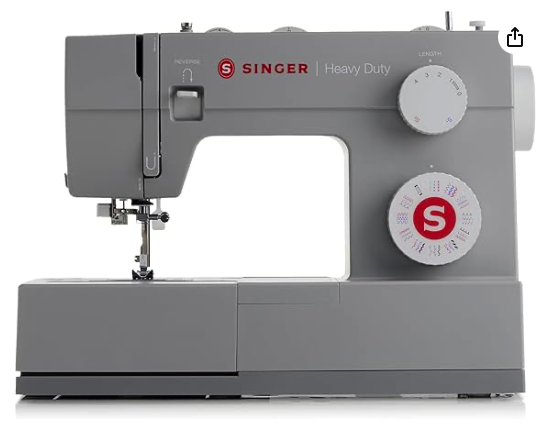
Sewing Machine
SINGER 4452 Heavy Duty Sewing Machine. This is a fine choice for the home shoemaker getting started.
More Tools You Will Need
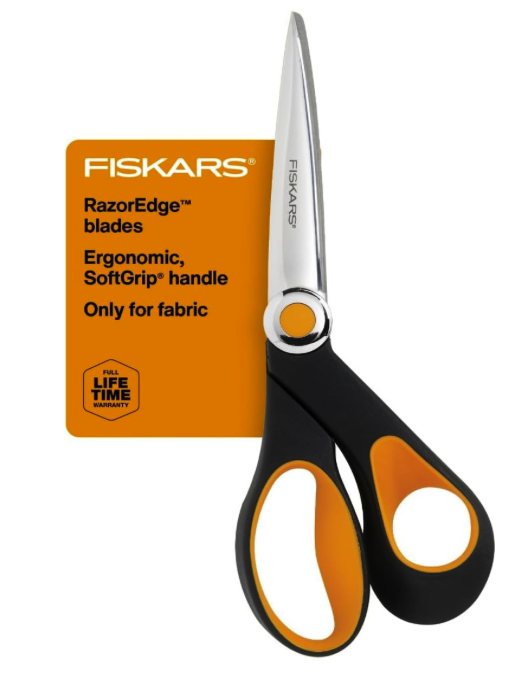
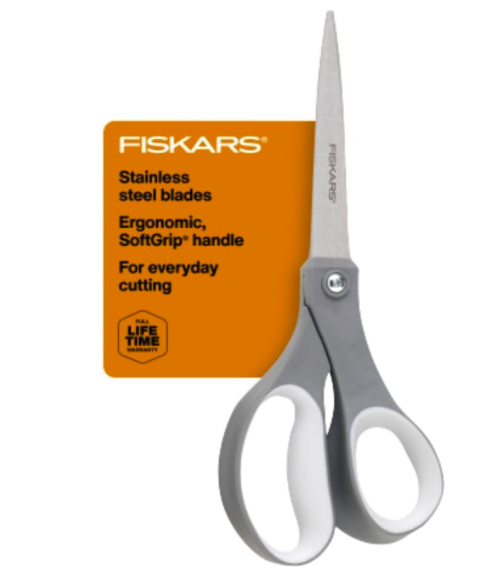
Leather Cutting Scissors
Fiskars RazorEdge SoftGrip Fabric Scissors – 8″
These will be your “leather only” scissors. Do not use them to cut paper.
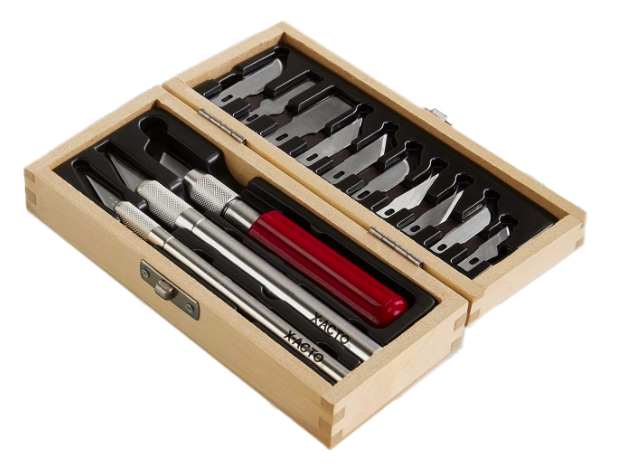
X-ACTO X5285 Basic Knife Set
For fine cutting, trimming and skiving you will need a razor blade.
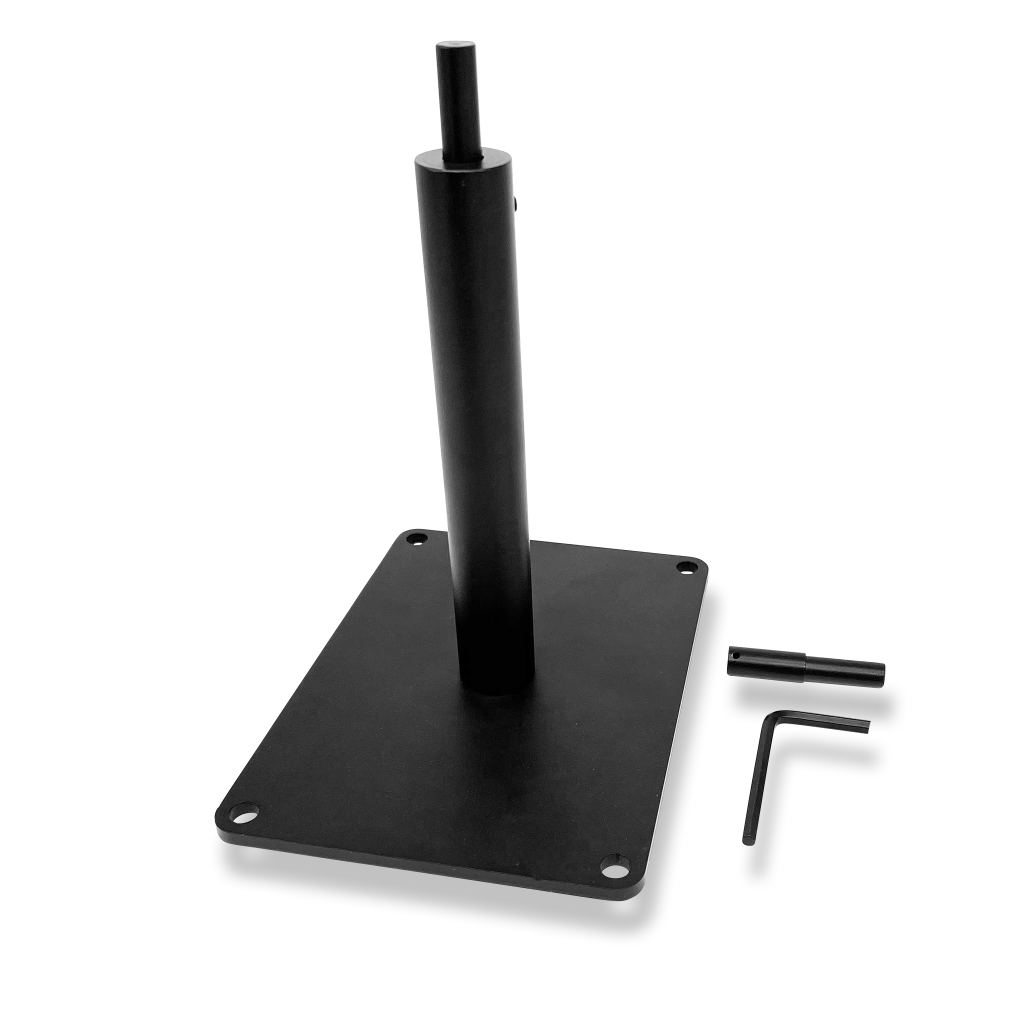
Lasting Post
The lasting post holds your project while you work. Consider it the extra hands you need to make your footwear project come together faster and easier.
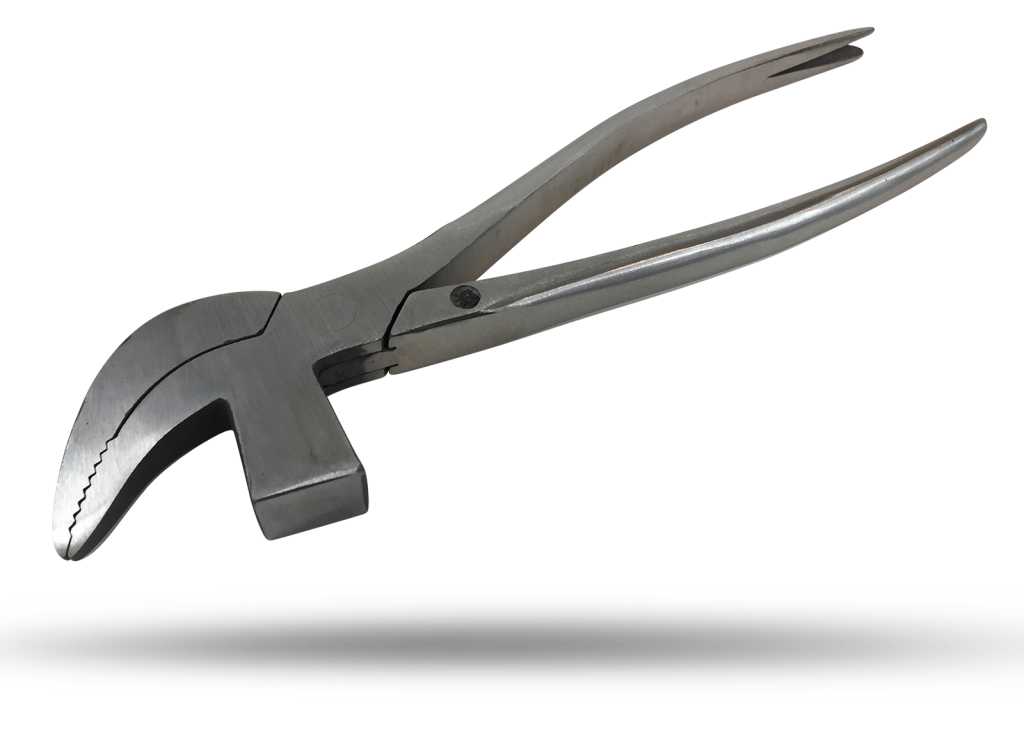
Narrow beak lasting pliers
Another must-have item to finish lasting your Air Jordan uppers.
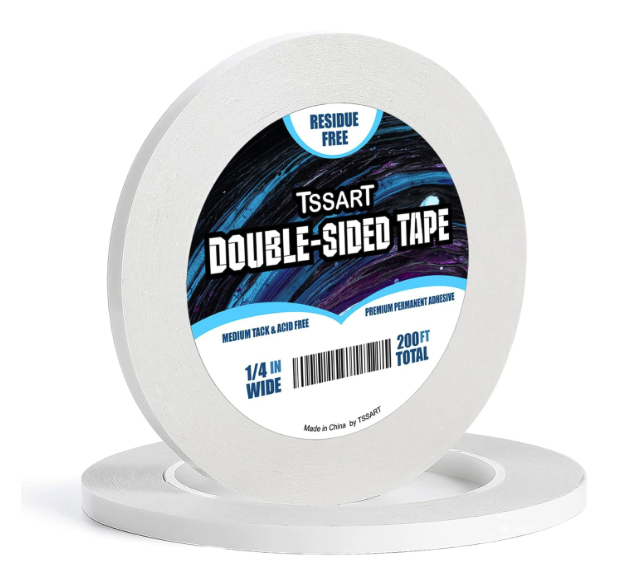
Double Stick tape
This tape can replace the temporary glue you use to hold parts together while you stitch.
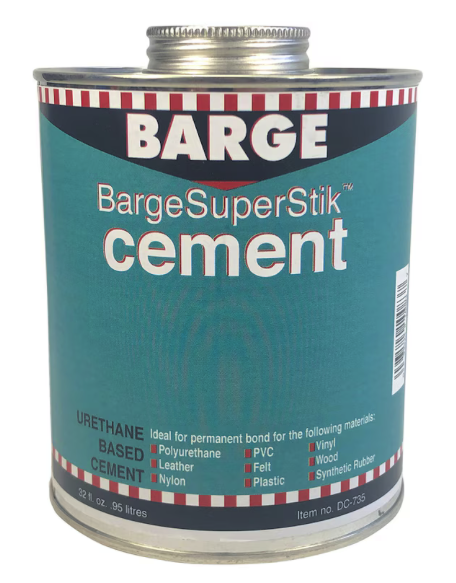
Shoe outsole cement
A high-quality shoe cement will hold your home shoemaking project together. Use shoe cement for tacking your upper parts in place and for bonding your outsole unit.
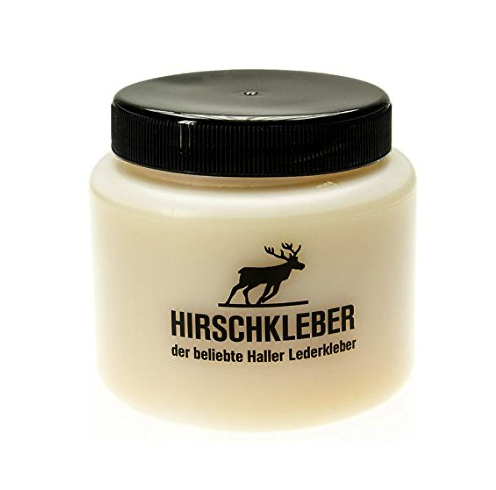
Hirschkleber Craft Glue
In shoemaking, Hirschkleber can be used to glue vamps to toe boxes as it reinforces and hardens the toe box. A paste glue (with a funny name) makes for great results!
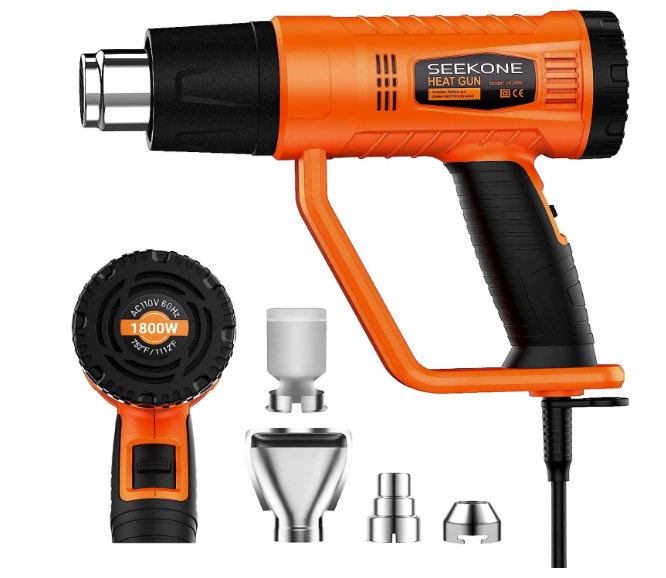
Heat gun
This heat gun features two modes with two heat outputs: I: 752℉, 250L/min, and II: 1112℉, 500L/min. It has a strong power of 1800W.
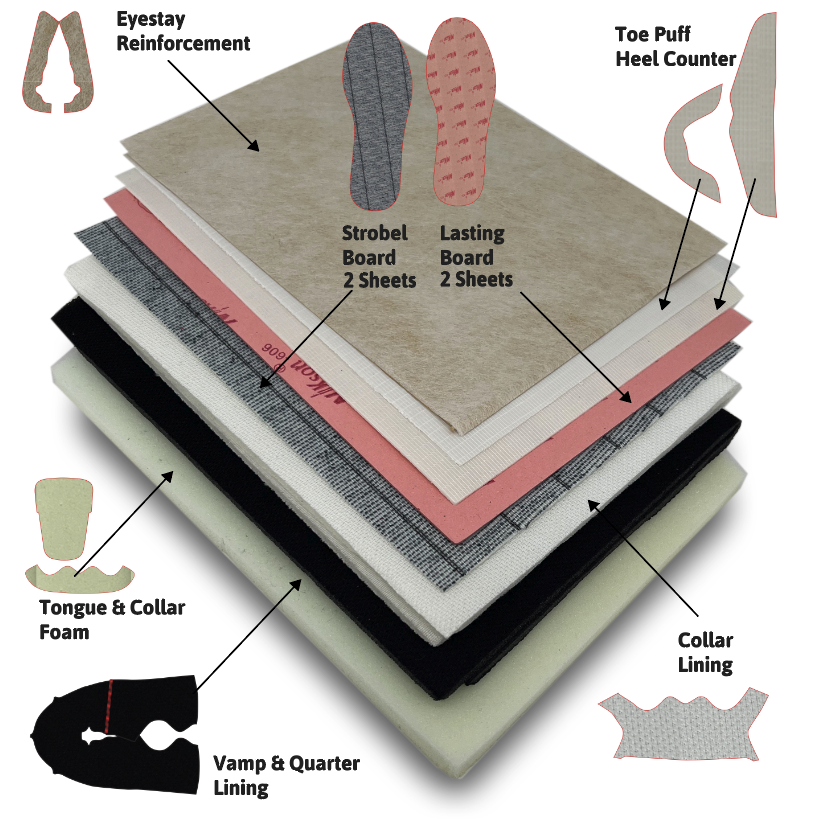
DIY Shoemaking Parts Super Kit
We have collected the hard-to-find materials you will need for your shoe project. This kit is a top-selling product with quality inner materials.

Dermal Rotary Grinding Tool
A corded rotary tool with 4 attachments, 34 high-quality Dremel accessories, a plastic storage case, and an accessory case.
Standard Scissors
You should have a second pair of scissors to preserve your leather-cutting scissors.
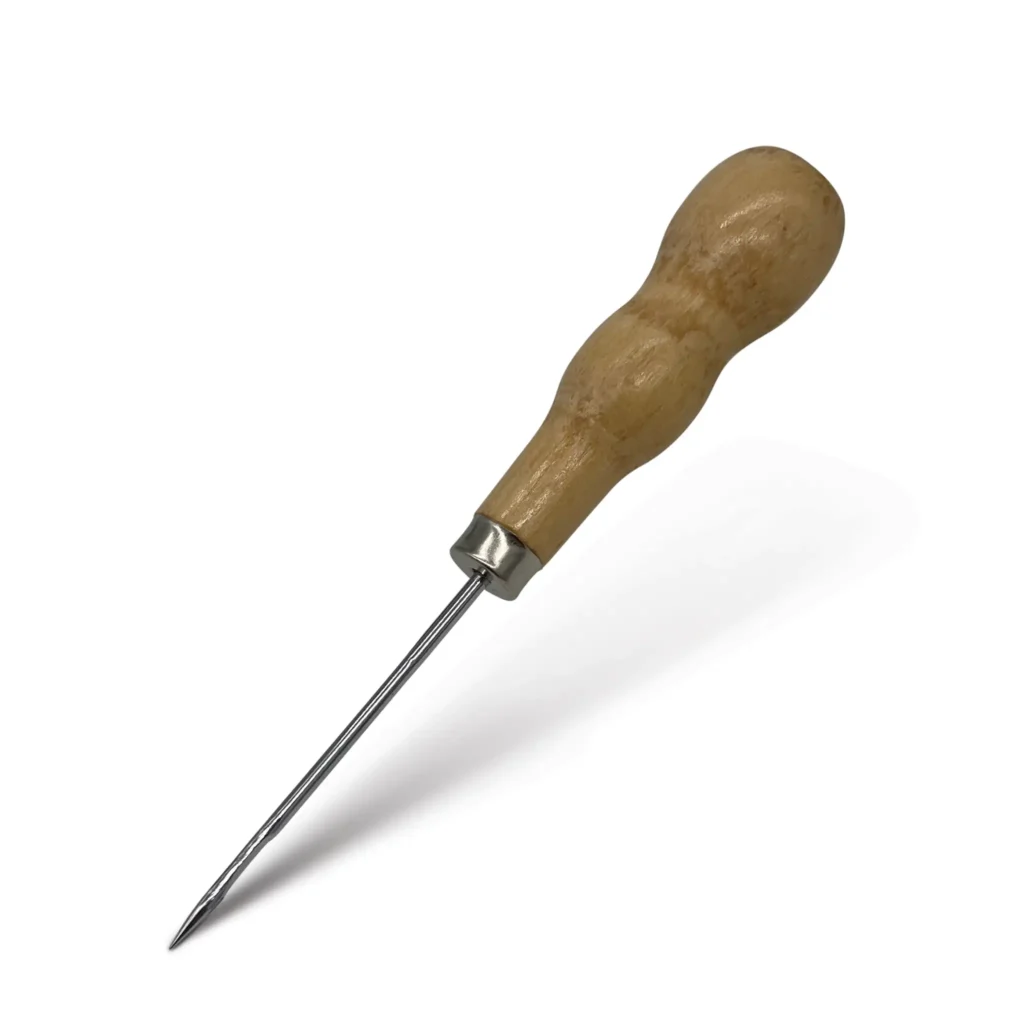
Stitching awl
You need this awl to make the channel stitching; without it, your sole may not stay attached!
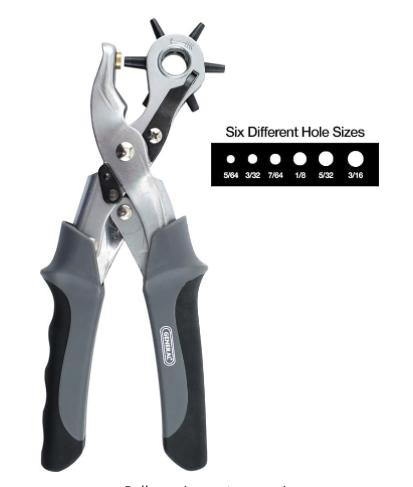
Hole punch
This tool is very useful for tight corners and making lace holes.
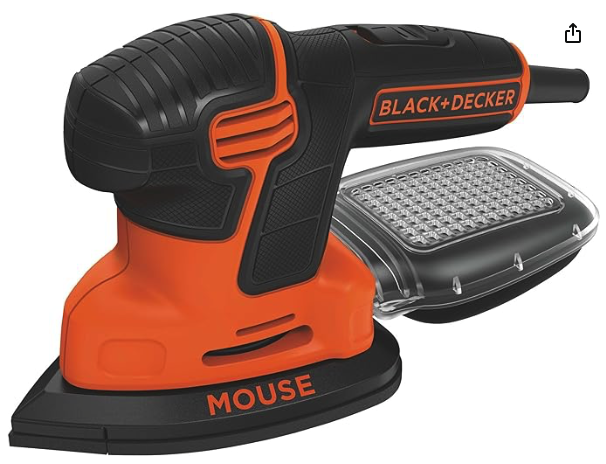
Electric sander
A sander will help you clean up the bottom corking and speed up your buffing operations.

Sand Paper
A critical Item. Sand paper is a must-have for upper scuffing.
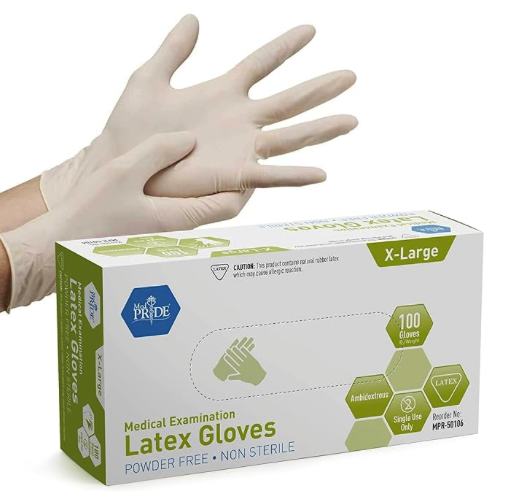
Latex gloves
A personal choice but useful for the application of Hirschkleber. Trust me on this!
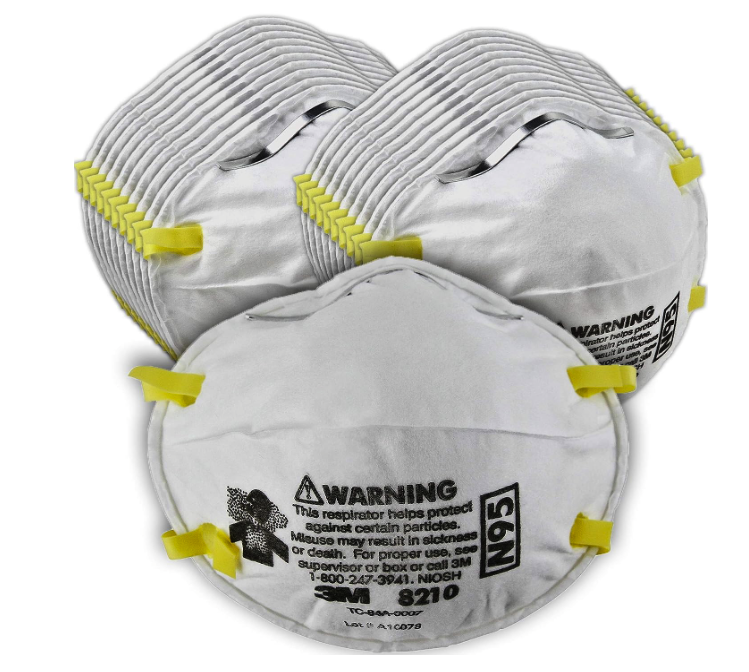
Dust mask
Another critical item you will need.
Acetone
When you build a custom shoe, you will need acetone for glue clean-ups. Acetone is also required for sole removals.
Shoe cleaning foam & brush
You will probably want to give your shoes a good cleaning once they are finished.