How to Make Quilted Sneakers at Home
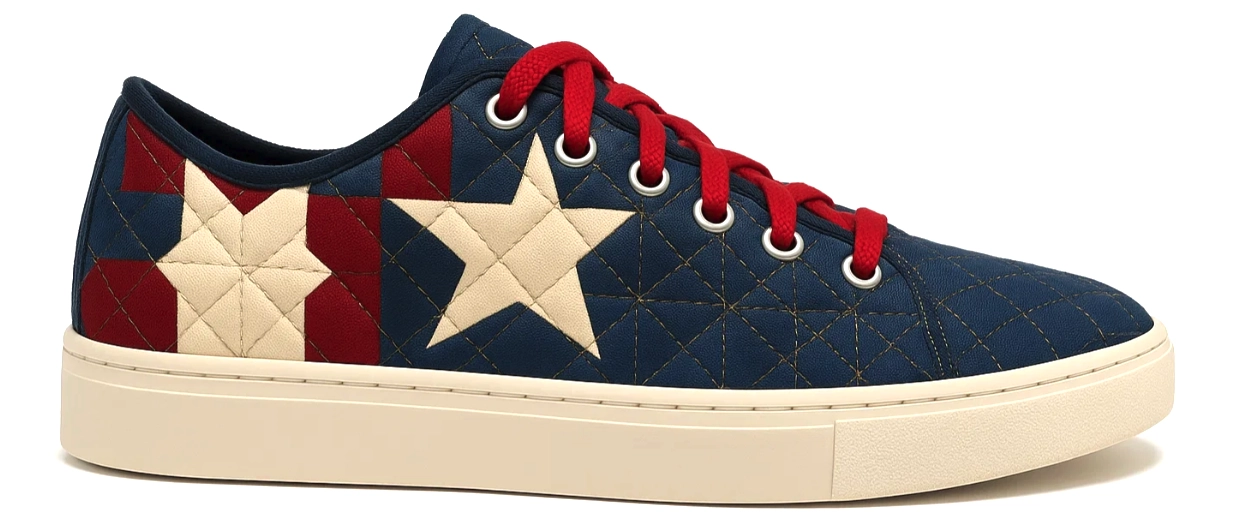
There’s something incredibly satisfying about slipping on a pair of sneakers you made with your own two hands — especially when they feature cozy, stylish quilted fabric. Whether you’re a craft lover, fashion enthusiast, or simply someone who loves a hands-on challenge, DIY quilted sneaker-making is both an art and a science. With the right tools, materials, and guidance, creating your own custom kicks is absolutely achievable — and fun!
This guide walks you through the process using tips from the Shoemakers Academy DIY Build Kit, with a specific focus on using quilted fabric instead of traditional leather. Quilted sneakers combine comfort and flair, making them a unique addition to any wardrobe.
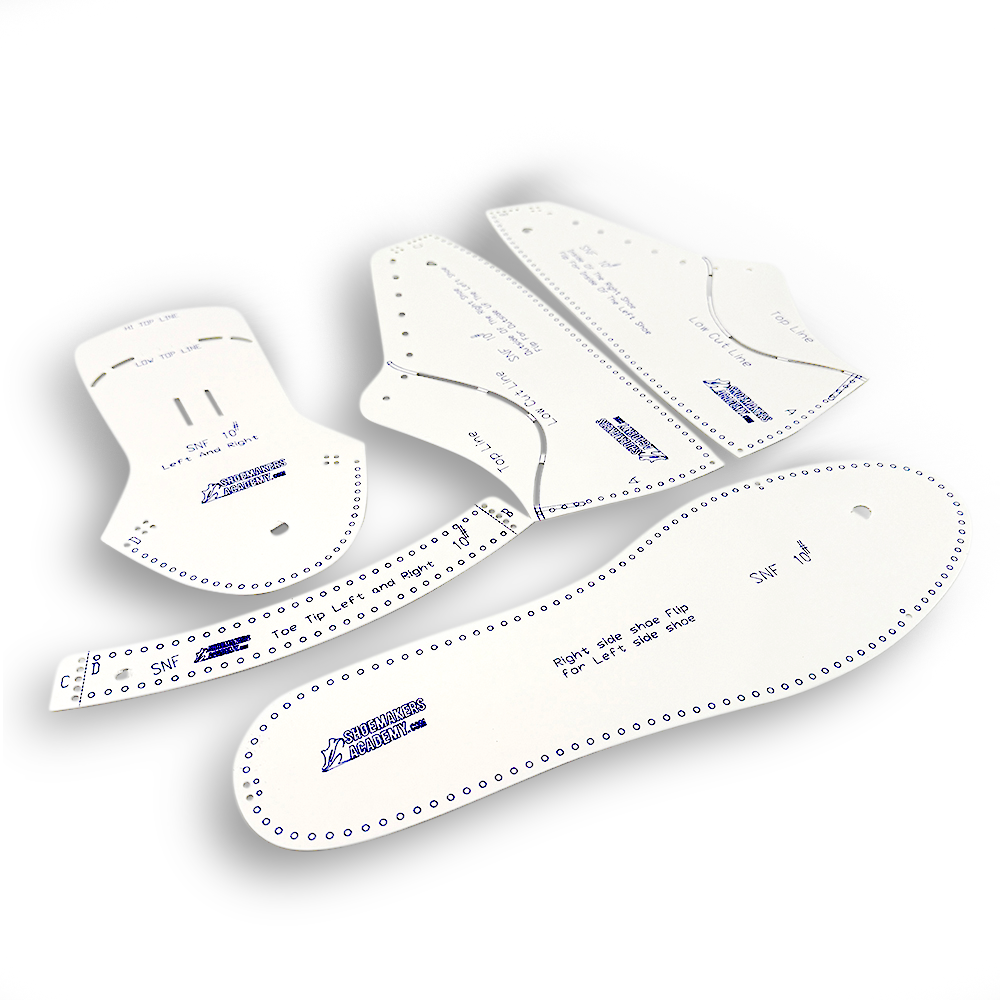
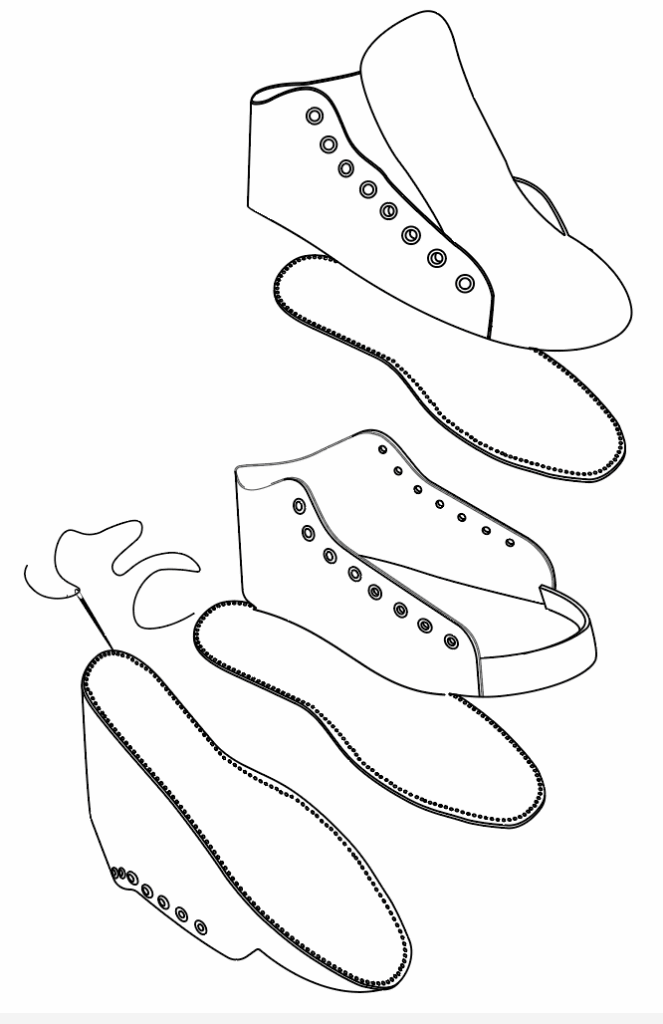
Step 1: Trace, Cut, and Prep Your Pattern Pieces
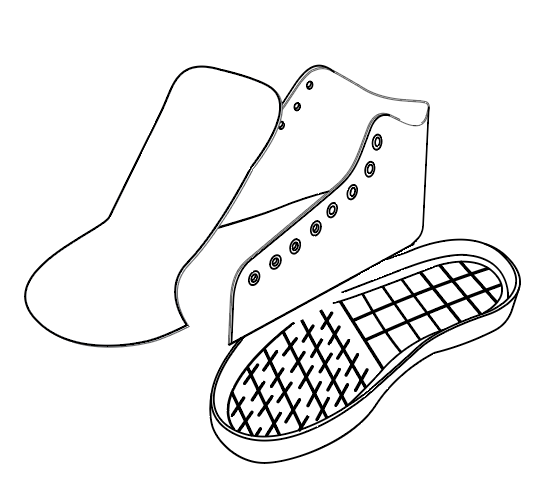
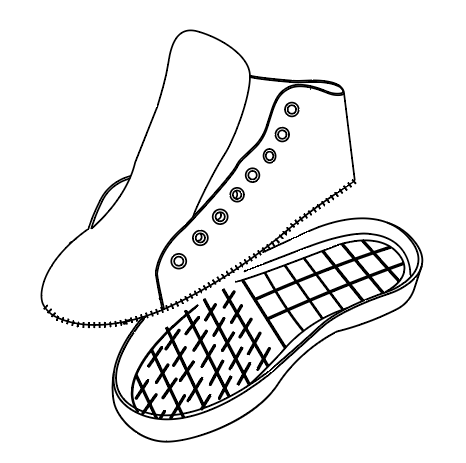
To begin, organize the five essential paper pattern parts: tongue, toe tip, quarter panels (left and right), and footbed. Since you’re making a pair of shoes, remember that each part will need a mirrored version for the opposite foot.
Lay the paper patterns onto your quilted fabric (or a combination of quilted fabric and leather if you prefer). For the footbed, you’ll be cutting both an EVA foam insert and a pink lasting board. These components provide structure and comfort for your sneaker.
Tape the patterns to the fabric and trace around each part. A heat-erasable pen is ideal for marking your material. Next, punch the stitching holes through the pattern and into the fabric. For better results, pre-punch your paper patterns, which makes it easier to transfer holes cleanly. For EVA foam, you only need to trace and cut — no need to punch holes.
✂️ Pro Tip: Use sharp scissors or a razor blade to cut cleanly just inside your tracing line. Cutting outside can cause the parts to be too large, affecting the shoe’s fit.
Also, label each part clearly (left/right, medial/lateral) and keep your pieces organized. A little prep here saves a lot of confusion later on
Step 2: Add Eyelets and Lace Hardware
Before sewing begins, it’s time to prep your sneaker’s lacing system. Use a 5mm punch to create holes where your eyelets will go. Then, choose your rivet color and set them using a rivet setter and hammer.
To set each rivet, insert the shaft into the hole, place it on the rivet setting base, add the cap, and strike gently with the hammer.

🛠️ Build Tip: Practice setting rivets on scrap material first. It doesn’t take much force — start soft and increase gradually.
Hardware adds durability and a professional finish, so take your time here.
Step 3: Sewing the Upper
Now comes the real assembly. First, sew together the quarter panels along the back seam using a cross stitch or overlay seam. You’ll use a single thread with a needle on each end (a double needle technique).
Build Options
One Piece Toe:
This option is recommended for fabric or quilted shoes. Join the sides of the tongue to the end of the quarter panel. Attaching the toe Will make gluing and channel stitching a little more difficult, but it’s worth it if you want the clean smooth look.

Two Piece Toe:
This pattern works great for leather shoes, it is not recommended for quilted or fabric Shoes.Join the sides of the toe tip part to the quarter panel parts.
When working with quilted fabric, opt for the one-piece toe design. Instead of adding a separate toe tip (ideal for leather), sew the tongue directly to the quarter panels for a smoother, softer look that complements quilted material.
This method slightly complicates sole bonding later, but it gives the sneaker a clean, unbroken surface — great for showing off that quilted texture.
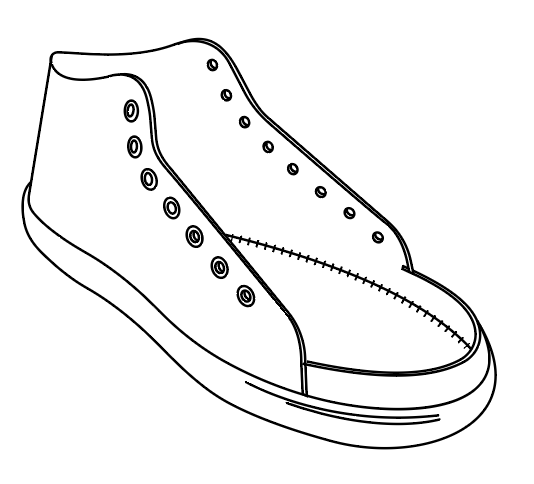
After sewing the upper together, trim the top edge so it’s smooth and rounded. You’re shaping the silhouette of your finished shoe.
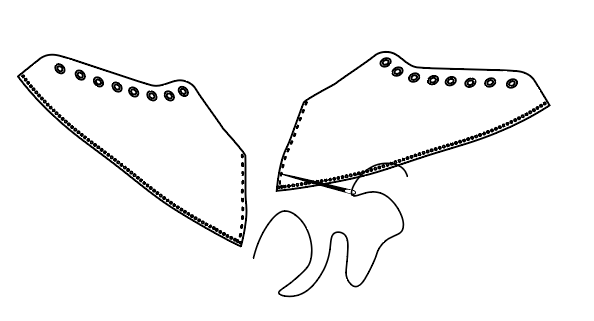
Use a cross stitch or overlay seam to join the back seam together. Using one thread and two needle technique, connect Part A to A. After sewing, trim the top edge to make it smooth and round.
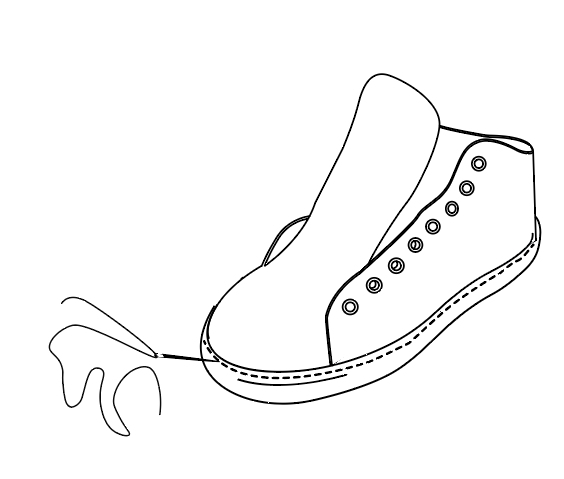
Step 4: Strobel Stitching the Upper to the Lasting Board
Lay your stitched upper over the EVA footbed and lasting board. Align the back seam to the heel markers (usually two dots on the bottom pattern).
Use Strobel stitching — a circular sewing method that joins the fabric upper to the lasting board. Leave a small gap (1/8″ or 2mm) between the bottom edge of the upper and the edge of the lasting board. This slight looseness ensures your upper will fit snugly into the outsole without bunching or tightness.
When looking at the bottom of the shoe you should see the leather along the outside of the edge of the lasting board. Not sitting on top.
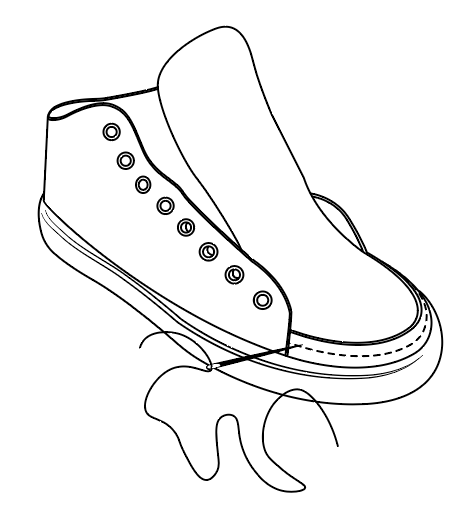
Step 5: Fit the Upper to the Sole Unit
With your upper secured to the lasting board, do a dry test fit. Press the upper into the outsole and see if it rests flush against the sole wall. If it’s too tight or stiff, you may need to adjust your Strobel stitches.
This step is about alignment. The better your fit now, the cleaner your glued and stitched result will be.

Step 6: Gluing the Sole
Once you’re happy with the fit, mark a glue line along the outsole where it will contact the upper. Use a pencil or disappearing ink pen.
Clean both surfaces to remove dust. Apply two light coats of contact cement to the upper and the interior wall of the sole. Let them dry until they’re tacky to the touch — usually around five minutes. A heat gun or hair dryer can speed this up.
Now, press the upper firmly into the sole, working evenly around the shoe. A hammer handle or strong fingers help ensure full contact. Use rubber bands or a shoe last to hold the shape as the glue sets — ideally overnight.
🔧 Tip: Take a five-minute break. Let the glue get tacky and dry to the touch before you press the parts together. To speed up the drying, you can use a heat gun or hair dryer.
🔧 Tip: Small gaps? No problem. After the glue cures, use a needle to apply extra glue into any visible gaps and press again.
Step 7: Stitch the Sole to the Upper
This step reinforces the glue bond and gives your sneakers that classic stitched finish. Using a punch needle or sewing awl, stitch around the outsole.
Start at the medial arch. Insert the needle and feed a long piece of thread (about 4 full loops of your sole’s perimeter). Punch into the groove, leave a loop inside, then reinsert the needle and pull the loop snug. Repeat this process all the way around the sole.
A crochet hook can help grab the inner loop, especially if the tongue is already attached. This part takes time — sometimes up to an hour per shoe — but don’t rush it.

🪡 Build Tip: Keep your stitches consistent in tension and spacing for the best visual and structural results.
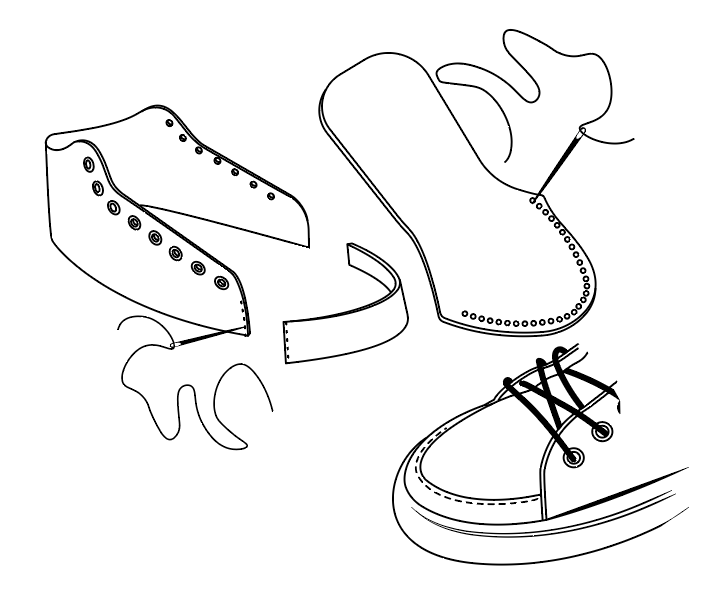
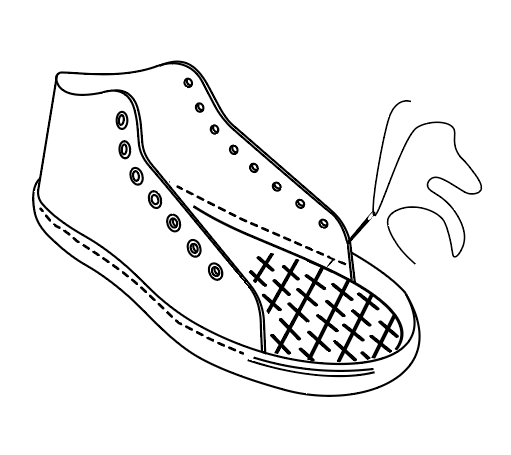
Step 8: Stitching the Vamp and Final Assembly
Next, sew the vamp (the front top part of the shoe) using the two-needle method. Start at the topmost hole on the toe, working around carefully. This seam is visible from above, so take extra care to keep the stitches neat.
Now, attach the tongue to the quarter panels using the four pre-punched holes. Use the same double-needle stitch here, then hide your final knot between layers for a clean finish.
Build tip: Start at the very first hole at the end of the toe tip part. This hole is the top of the connection stitch line. Yes, it will already have a stitch. No Problem!
Step 9: Add the Footbed and Laces
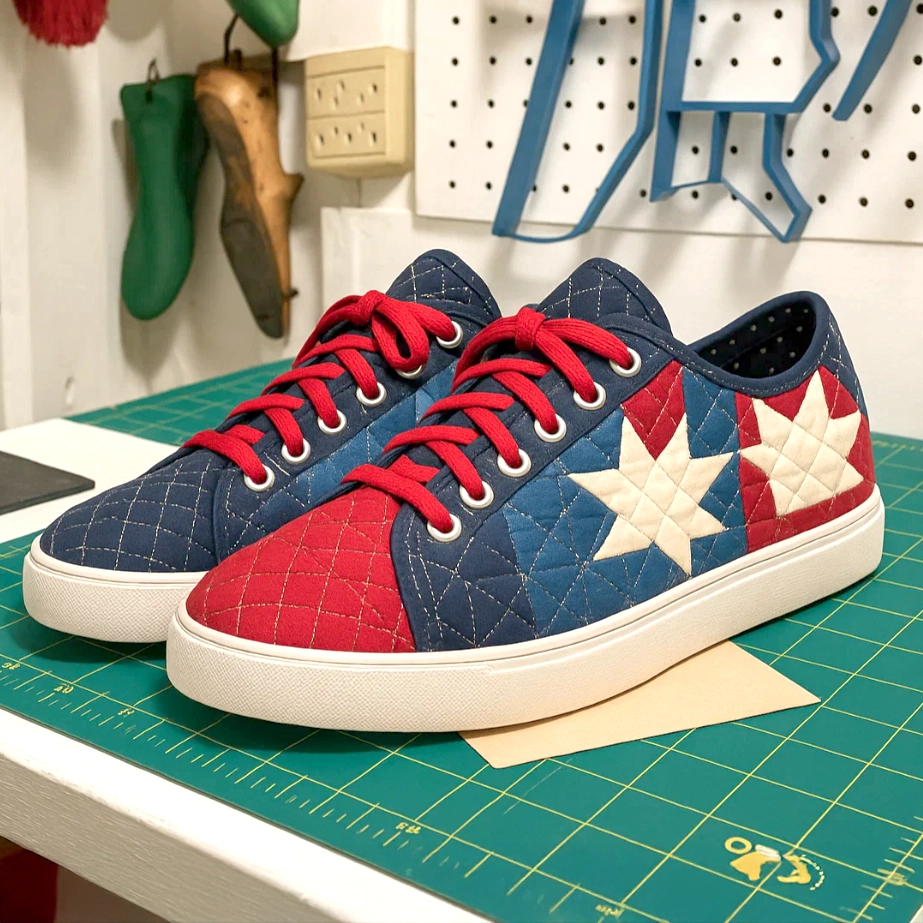
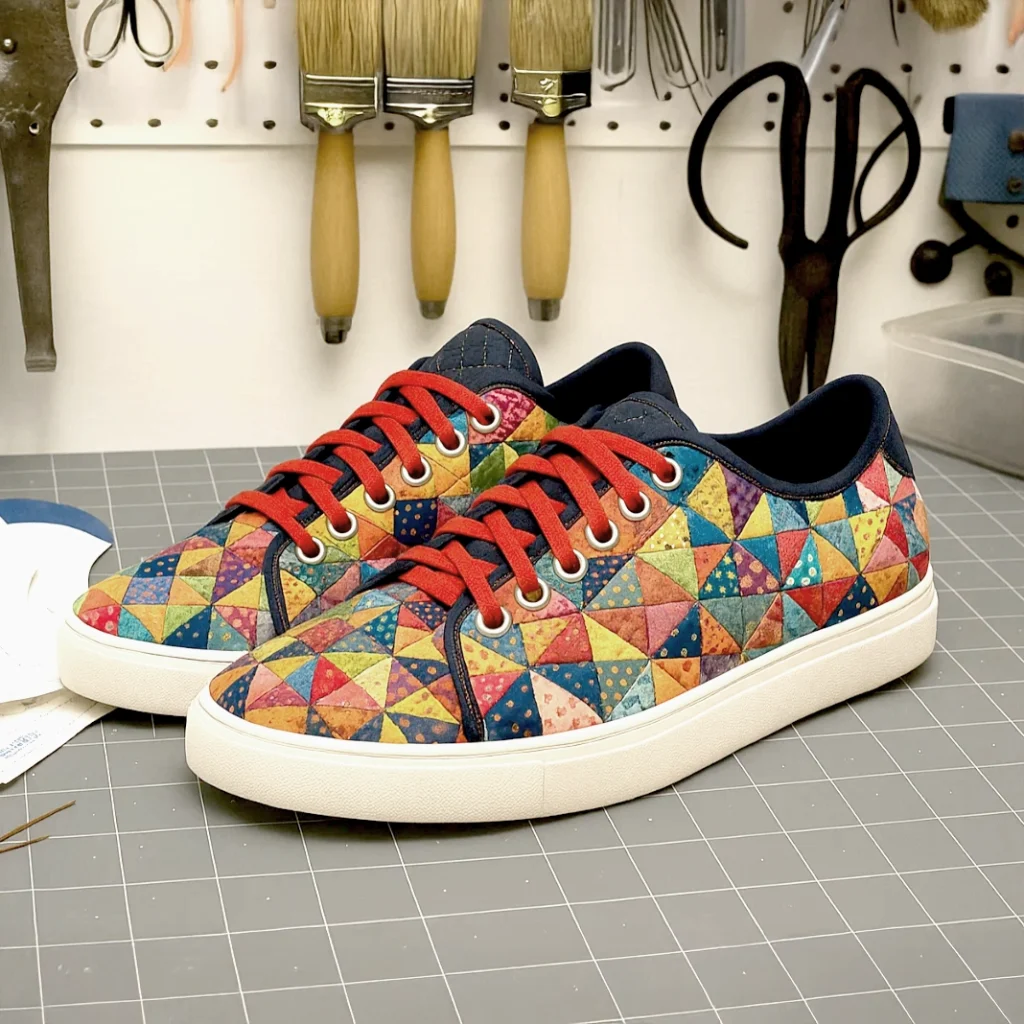
You’re almost there! Insert your footbed, adjust the fit, and lace up your handmade sneakers.
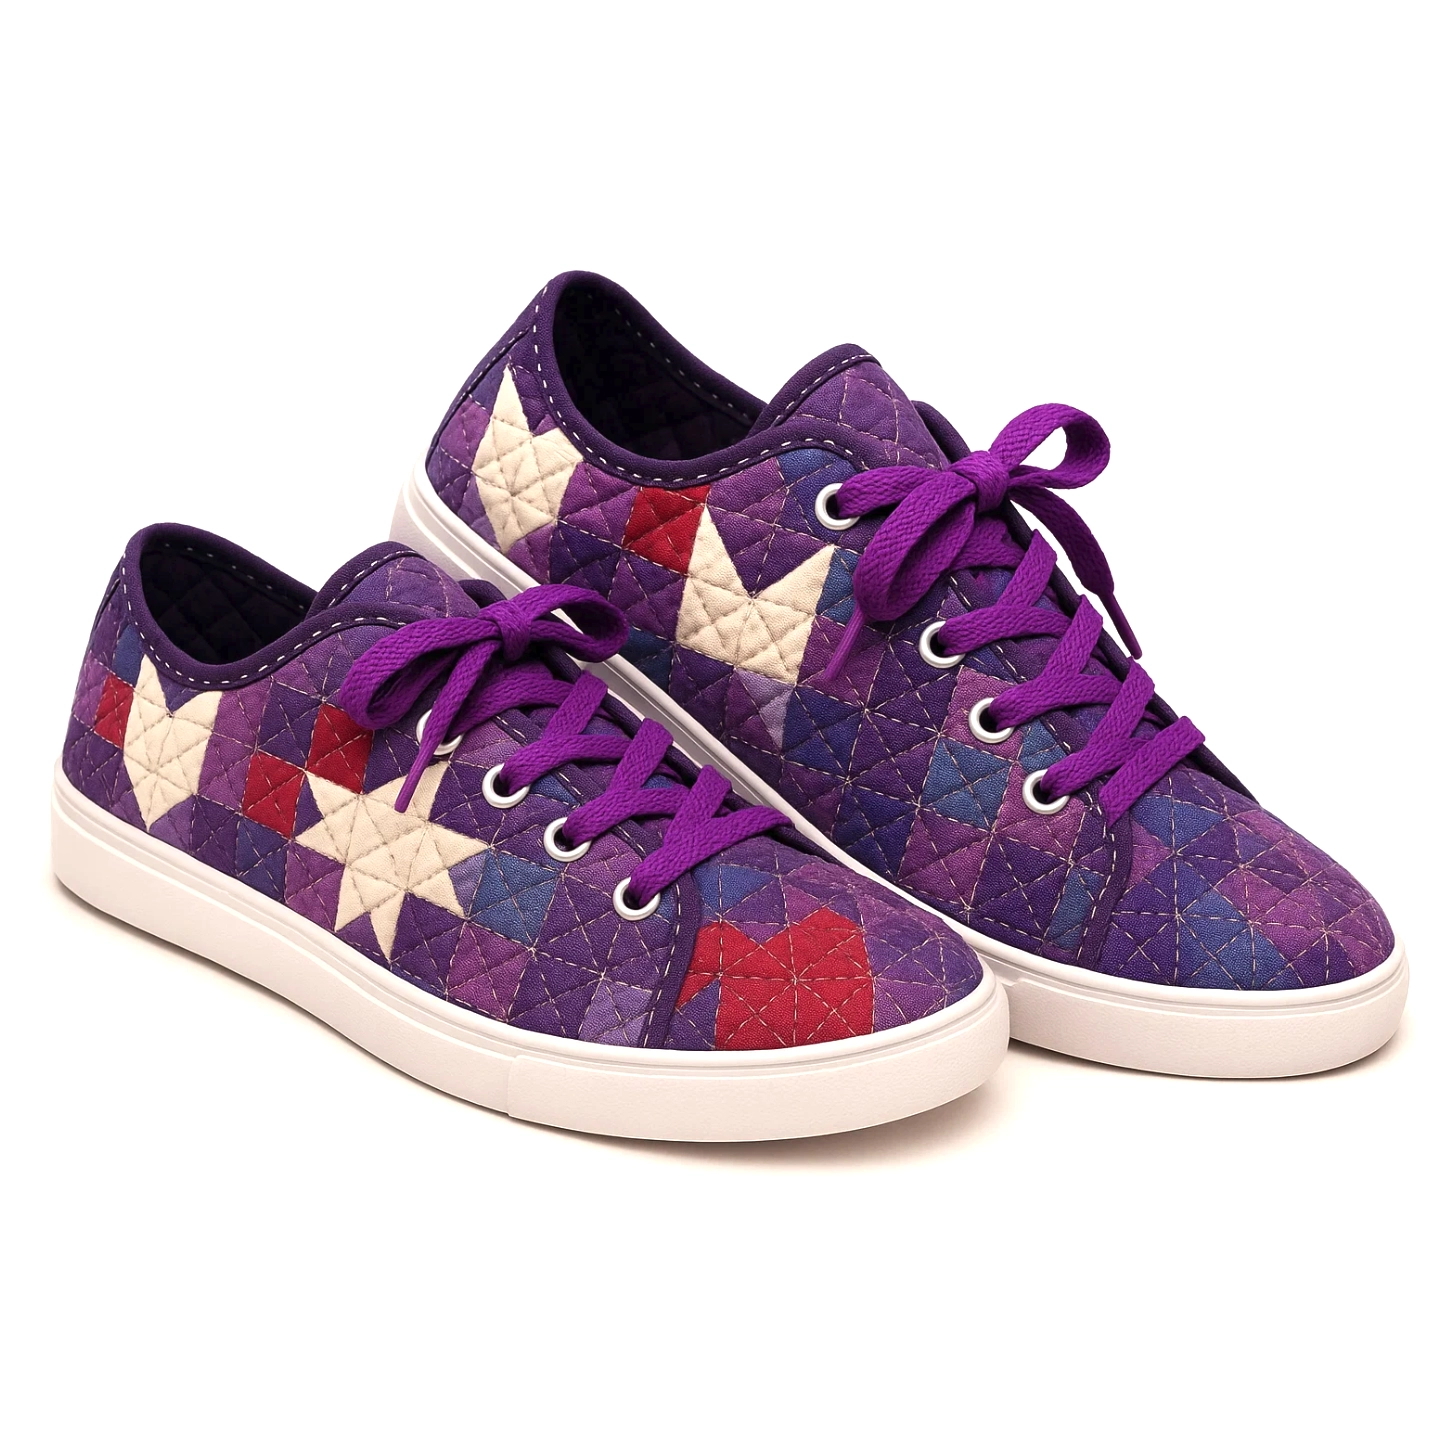
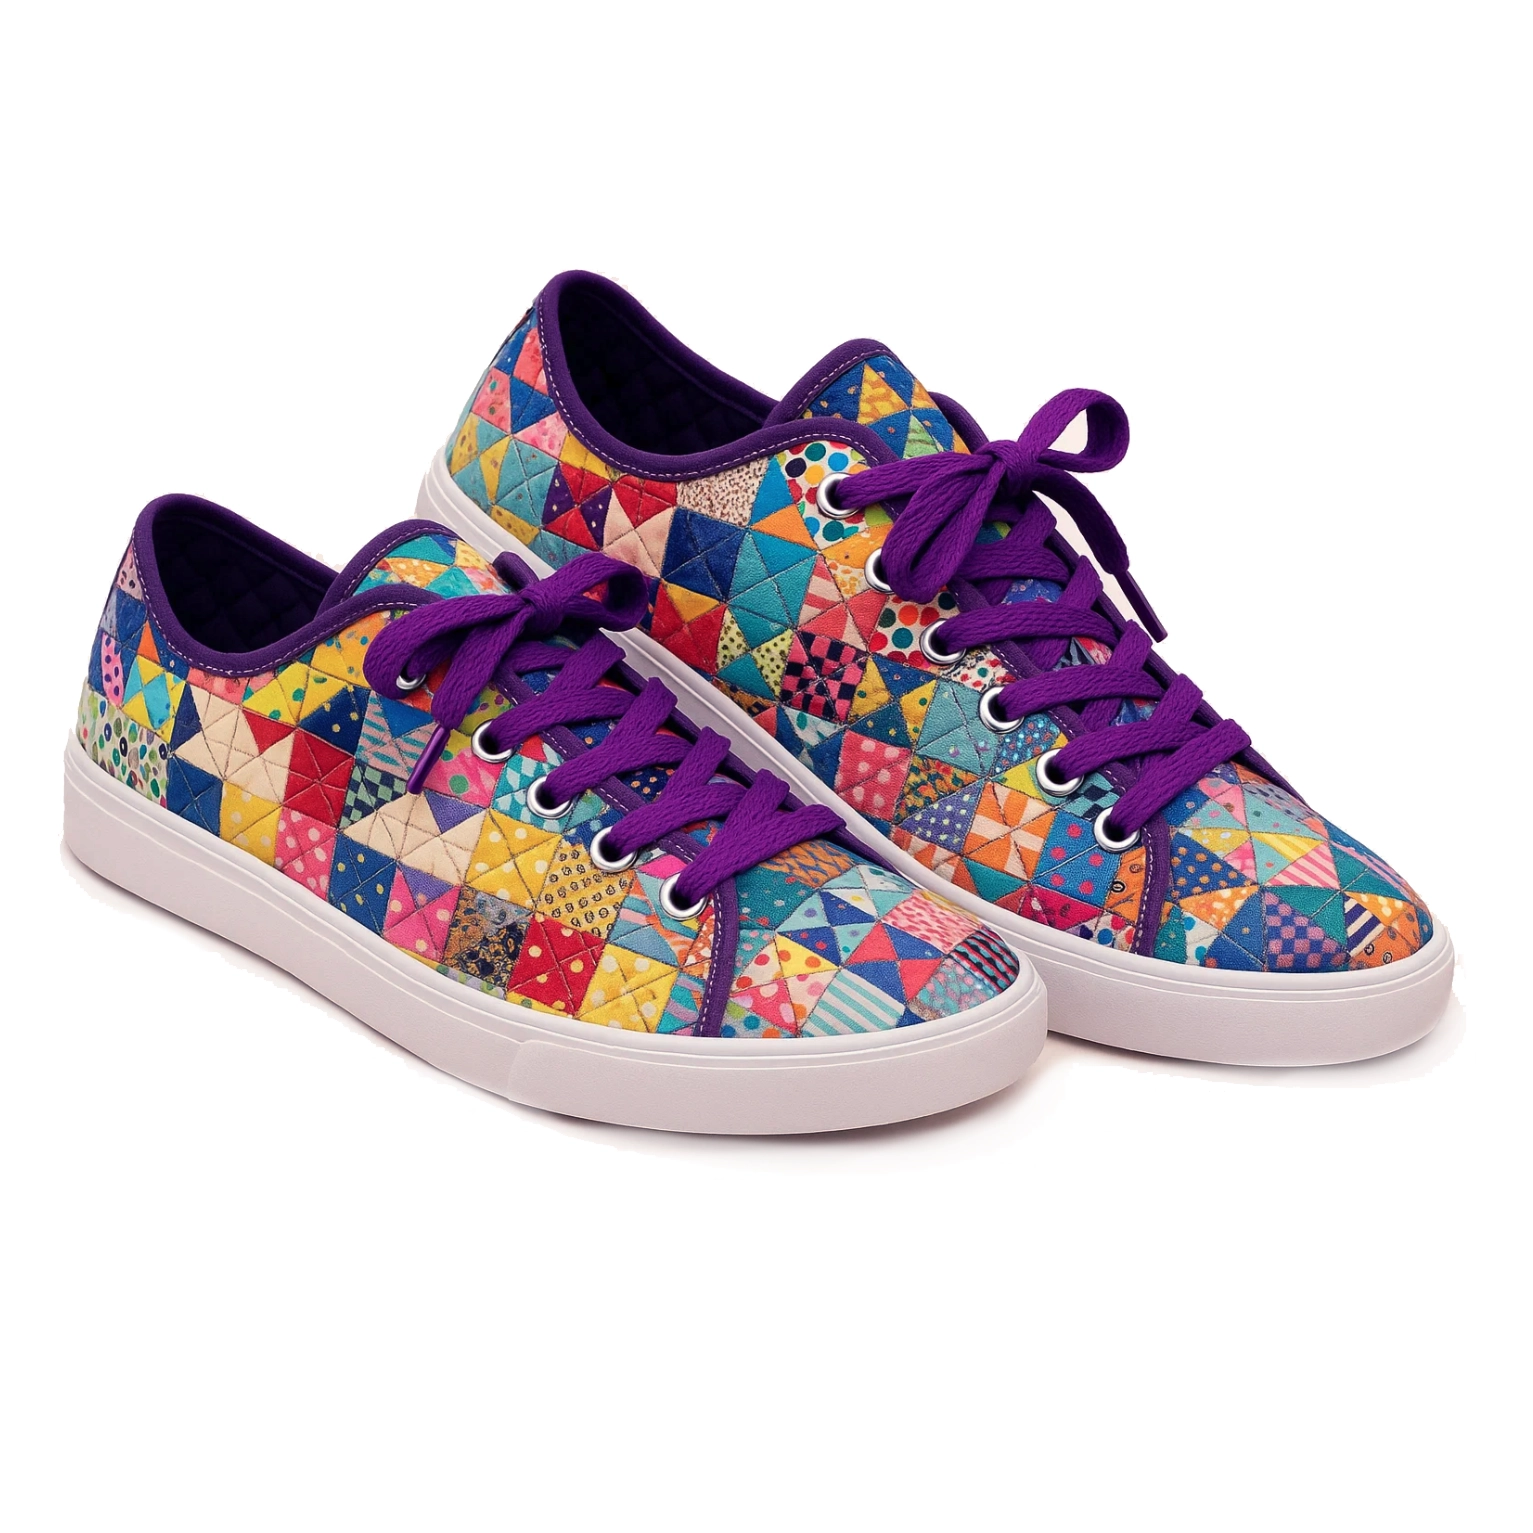
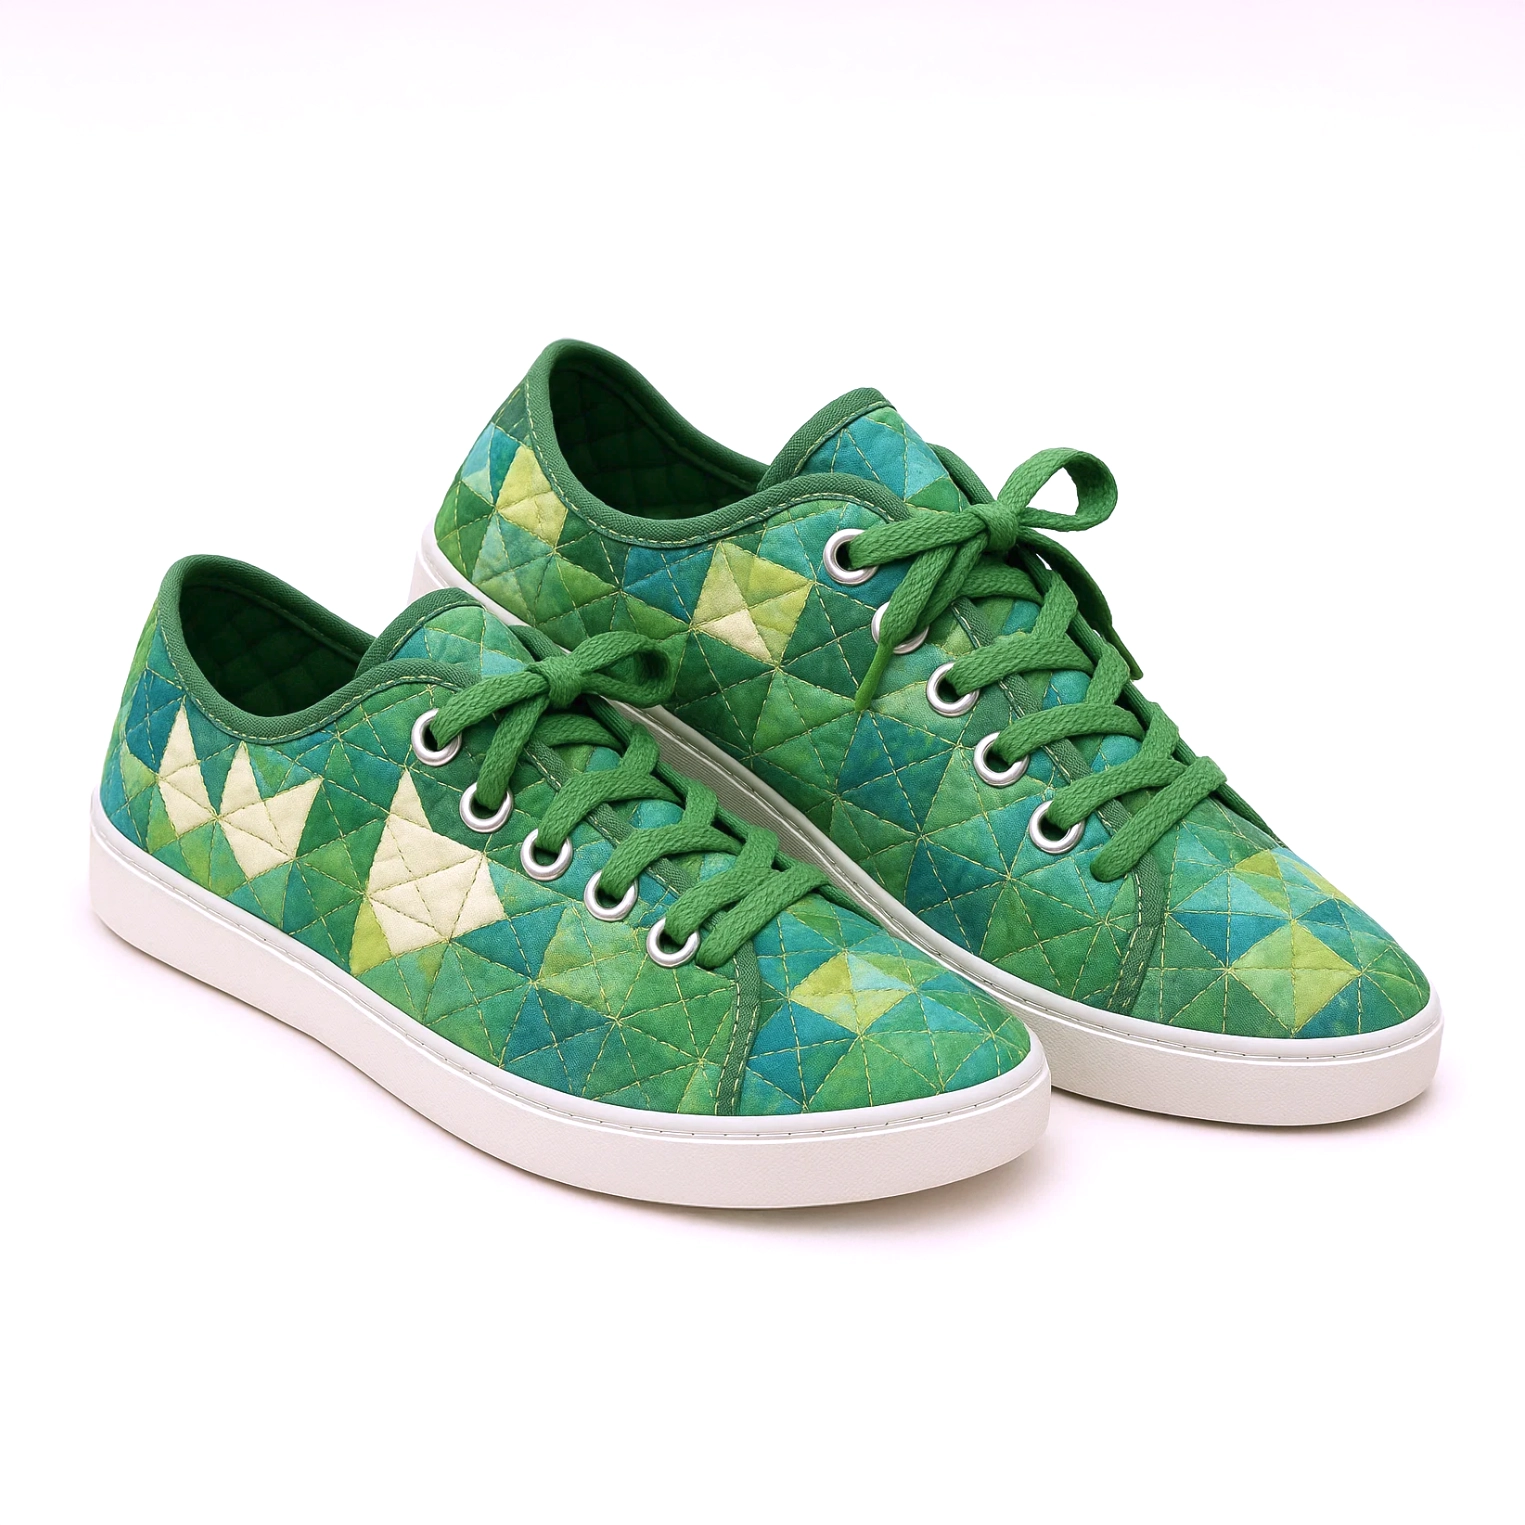
Congratulations — you’ve built your own pair of quilted sneakers! Not only are they comfortable and one-of-a-kind, but you now have a deeper appreciation for the skill and detail that goes into shoemaking.
Bonus Tips for Quilted Sneaker Success
Choose the right quilted fabric: Thicker fabric with firm backing works best. Too soft, and it may collapse under pressure.
Reinforce key areas: Consider using leather or vinyl overlays at stress points like the heel or lace area.
Personalize your style: Add embroidery, custom laces, or contrasting stitching to make them truly yours.
Practice makes perfect: Your first pair may have flaws, but the second pair will be even better. Enjoy the learning curve.
Get Crafting!
Making sneakers at home is more than just crafting — it’s about expressing your creativity from the ground up. Whether you’re rocking your kicks around town or gifting a pair to someone special, DIY quilted sneakers are a bold statement in design and dedication.
🧵👟 Want to show off your work? Send your photos to Th********@***************my.com and be featured among fellow shoemaking fans.