- Sale!
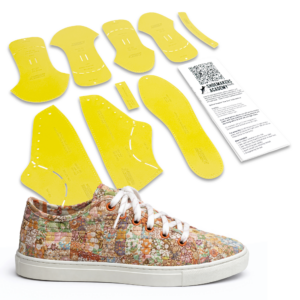
Quilted Sneaker Pattern Plastic with Instructions
Reg. Price – Sale Price$12 Add to Cart This product has multiple variants. The options may be chosen on the product page - Sale!
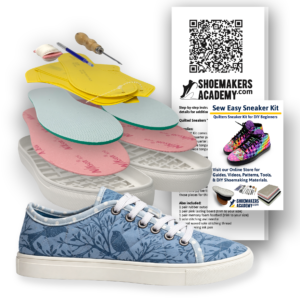
Quilters Sneaker Kit for DIY Beginners
$69 – $95 Add to Cart This product has multiple variants. The options may be chosen on the product page - Sale!

Quilted Sneaker Deluxe Boxed Build Kit
$125 – $185 Add to Cart This product has multiple variants. The options may be chosen on the product page - Sale!
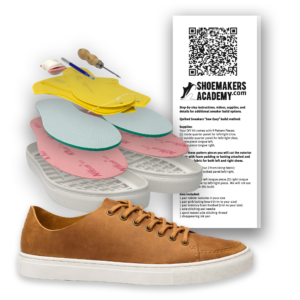
Leather Crafters Sneaker Kit for Beginners
$69 – $90 Add to Cart This product has multiple variants. The options may be chosen on the product page - Sale!
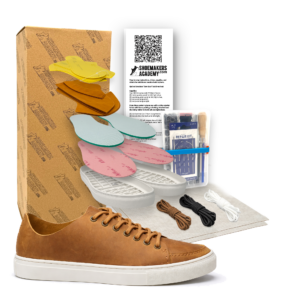
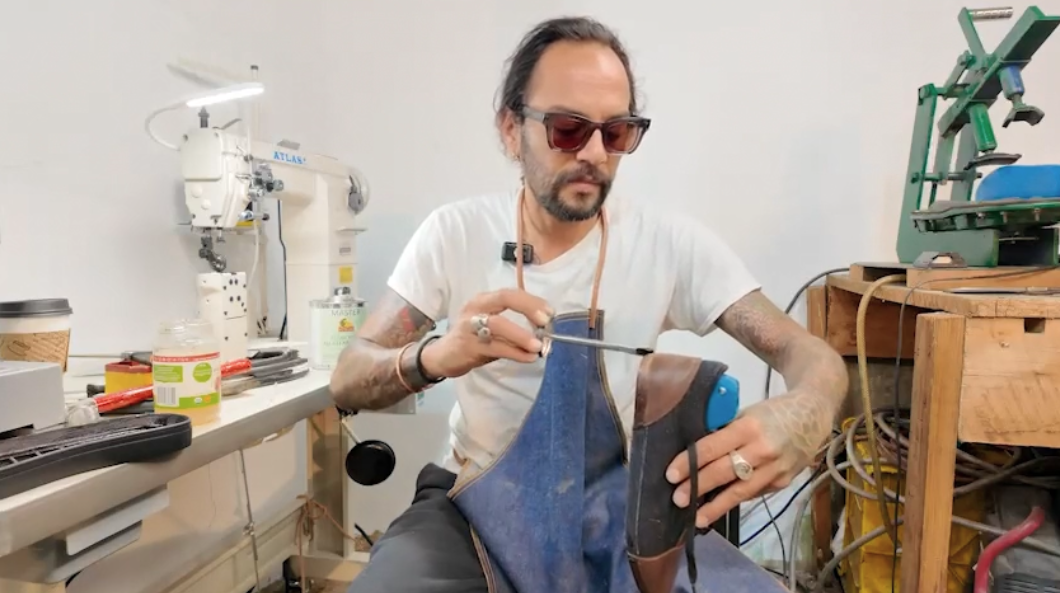
Leather Crafters DIY Shoemaking Boxed Build Kit
Reg. Price – Sale Price$105 Add to Cart This product has multiple variants. The options may be chosen on the product page - Sale!
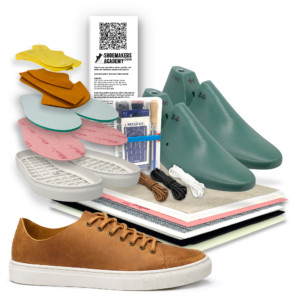
Leather Crafters DIY Shoemaking Complete Boxed Build Kit
Reg. Price – Sale Price$195 Add to Cart This product has multiple variants. The options may be chosen on the product page - Sale!

Beginners Footwear Pattern Making Kit
Reg. Price – Sale Price$150 Add to Cart This product has multiple variants. The options may be chosen on the product page - Sale!

Shoemaking Material DIY Super Kit
Reg. Price – Sale Price$220 Add to Cart This product has multiple variants. The options may be chosen on the product page