How to Set Eyelets on Your Quilted Sneaker
Today we’re finishing our little holiday shoe project, and the next step is setting the eyelets. These small hardware pieces give your shoe a professional finish and let you lace it up neatly. Here’s a clear, simple walkthrough of the process.
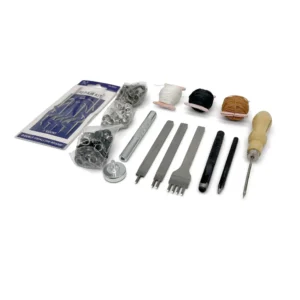
What You’ll Need
- Eyelet setting Punch & Anvil
- Hole punch (standard punch or screw punch)
- Eyelets: Face and Washer
- Cutting mat or pressing surface
- Small steel block or solid metal surface
- Mallet or hammer
- Your shoe pattern to make hole locations
- Marking tool (invisible pen or Sharpie)
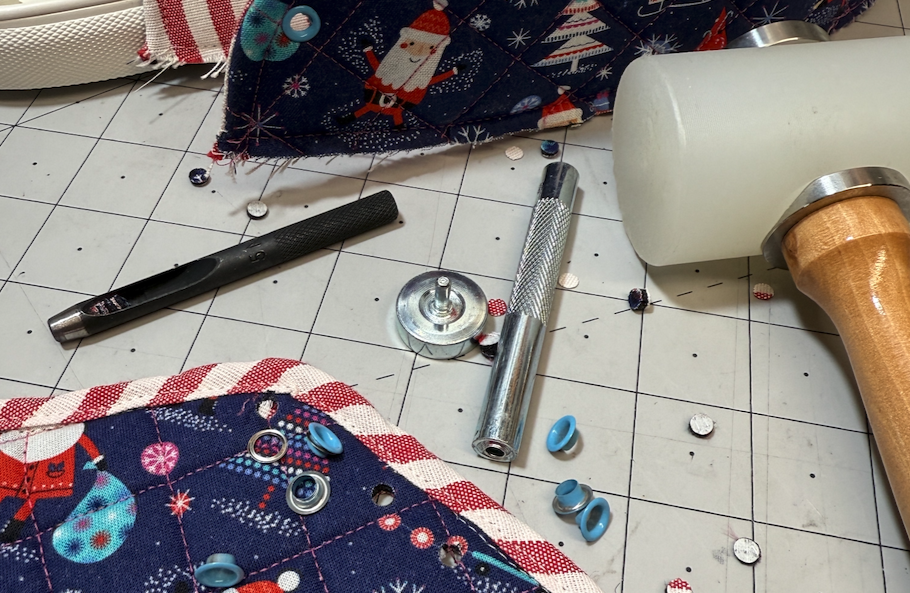
Step 1: Mark the Eyelet Positions
Start by identifying the correct pattern piece for the side you’re working on. Align the pattern with your finished upper and transfer the eyelet locations using your marking tool. Repeat for the inside/medial panel.Step 2: Punch the Holes
You can use either a standard hole punch or a screw punch:- Standard Punch: Test the punch size on scrap, then place the upper on your cutting mat and punch out each marked hole using a mallet.
- Screw Punch: Position the tool on each mark and press down to cut a clean, precise hole.