
How to Make a Shoe Pattern
Making a shoe pattern or cutting a shoe pattern is not a difficult shoemaking skill. If you have the time and patience, you can produce shoemaking patterns with just a few common tools. The shoe pattern making process is not complicated. The basic techniques for drawing on a shoe last are simple, and the process is easy, but the skills required to make a beautiful, well proportioned, mechanically sound, shoe pattern may take years for a shoemaker to perfect! This is the true art of the shoemaker that a computer cannot replace. A skilled pattern cutter is the heart of a shoe factory’s development group. Here we will show you how you can cut your own pattern.
Here is a list of the shoemaking tools you will need to make a shoe pattern:
1. A shoe last. If you don’t have a shoe last you can tape over a shoe or 3D print a last.
2. A roll of 1/2 inch wide masking tape. This will be used to cover the shoe last. (3/4 inch will do too.)
3. A sharp X-Acto knife or other hobby knives.
4. Pens and pencils.
5. A small flexible steel ruler.
6. Bristol paper (any stiff paper will do, like a manila folder)
Here is a list of some other shoemaking tools you may need,
How to make your own shoe pattern
First step: tape up the shoe last
 To make a new shoe pattern step-by-step you will first need to “tape” the last so you can “pull the shell” off the shoe pattern. The tape should be layered in two different directions so the pattern stays together when you are ready to peel it off the last. You will start on the lateral or outside of the shoe last. First, starting at the top, lay the tape lengthwise down the lateral side of the last. Next, run a strip of tape down the center of the last from the top of the instep down to the toe. Do the same on the heel of the last. Finally, run layers across the last from the bottom edge up the side of the last. Make this extra smooth, this will be your drawing surface when you start marking your shoe pattern.
Make sure the tape wraps around the bottom edge of the last. You will need this edge, as it will become the bottom edge of your shoe pattern. If your shoe design is symmetrical then half the last is okay. If the medial and lateral side of your shoe design is different you will need to tape the entire last. The process is the same for both sides.
How to mark the shoe pattern on the last:
 Once the shoe last is covered with tape, it is time to start marking the shoe pattern. With the steel ruler, mark the centerline of the last from the instep to the toe tip and down the heel. For a list of last terms you can read this post about shoe lasts and how lasts are made.
With the centerlines marked it is time to start drawing the pattern on the last.
Drawing the shoe pattern:
 It’s fun to add a little color or paste on a logo. You can start to get a feel for what the design will look like in 3D. Go ahead and iterate upon your design, this is your time to be creative. If you don’t like your line, grab some tape, cover it up, and try again.

Make a quick check of the top line, collar, and heel notch heights. For a size 9 shoe, (measure from inside to the Strobel sock,) the collar line is 55mm, the heel notch is 80-85mm to top eyelet, 90mm measured from the Strobel’s bottom.

The design does not have to be perfect now but keep an eye out for any major flaws. This is a good time to show it to your developer. Are the pattern parts wasting material? Are there any overlapping issues? Too many layers overlapping in the flex zone will cause problems.
Flatten the shoe pattern:

After you have your shoe design down on the tape it is time to peel off the tape. Using a sharp blade, cut the tape down the center lines of the toe and heel. Next, cut the tape along the bottom edge of the last. Now, start peeling off the tape. If the tape was laid down correctly in overlapping layers the pattern will pull off.
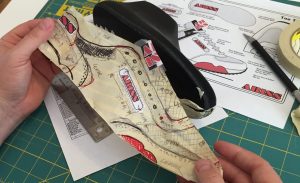 Here is the pattern free of the last. You may find that it does not lay flat, don’t worry.

Now, carefully lay the tape on a sheet of stiff paperboard and press your new shoe pattern flat. Starting at the top eyelet position and collar line, work your way down the middle then out to each end. As you move to the heel and toe, the 3D pattern will need some relief cuts to “spring” the pattern. Add a few cuts and the pattern will flatten.
Cut the shoe pattern:
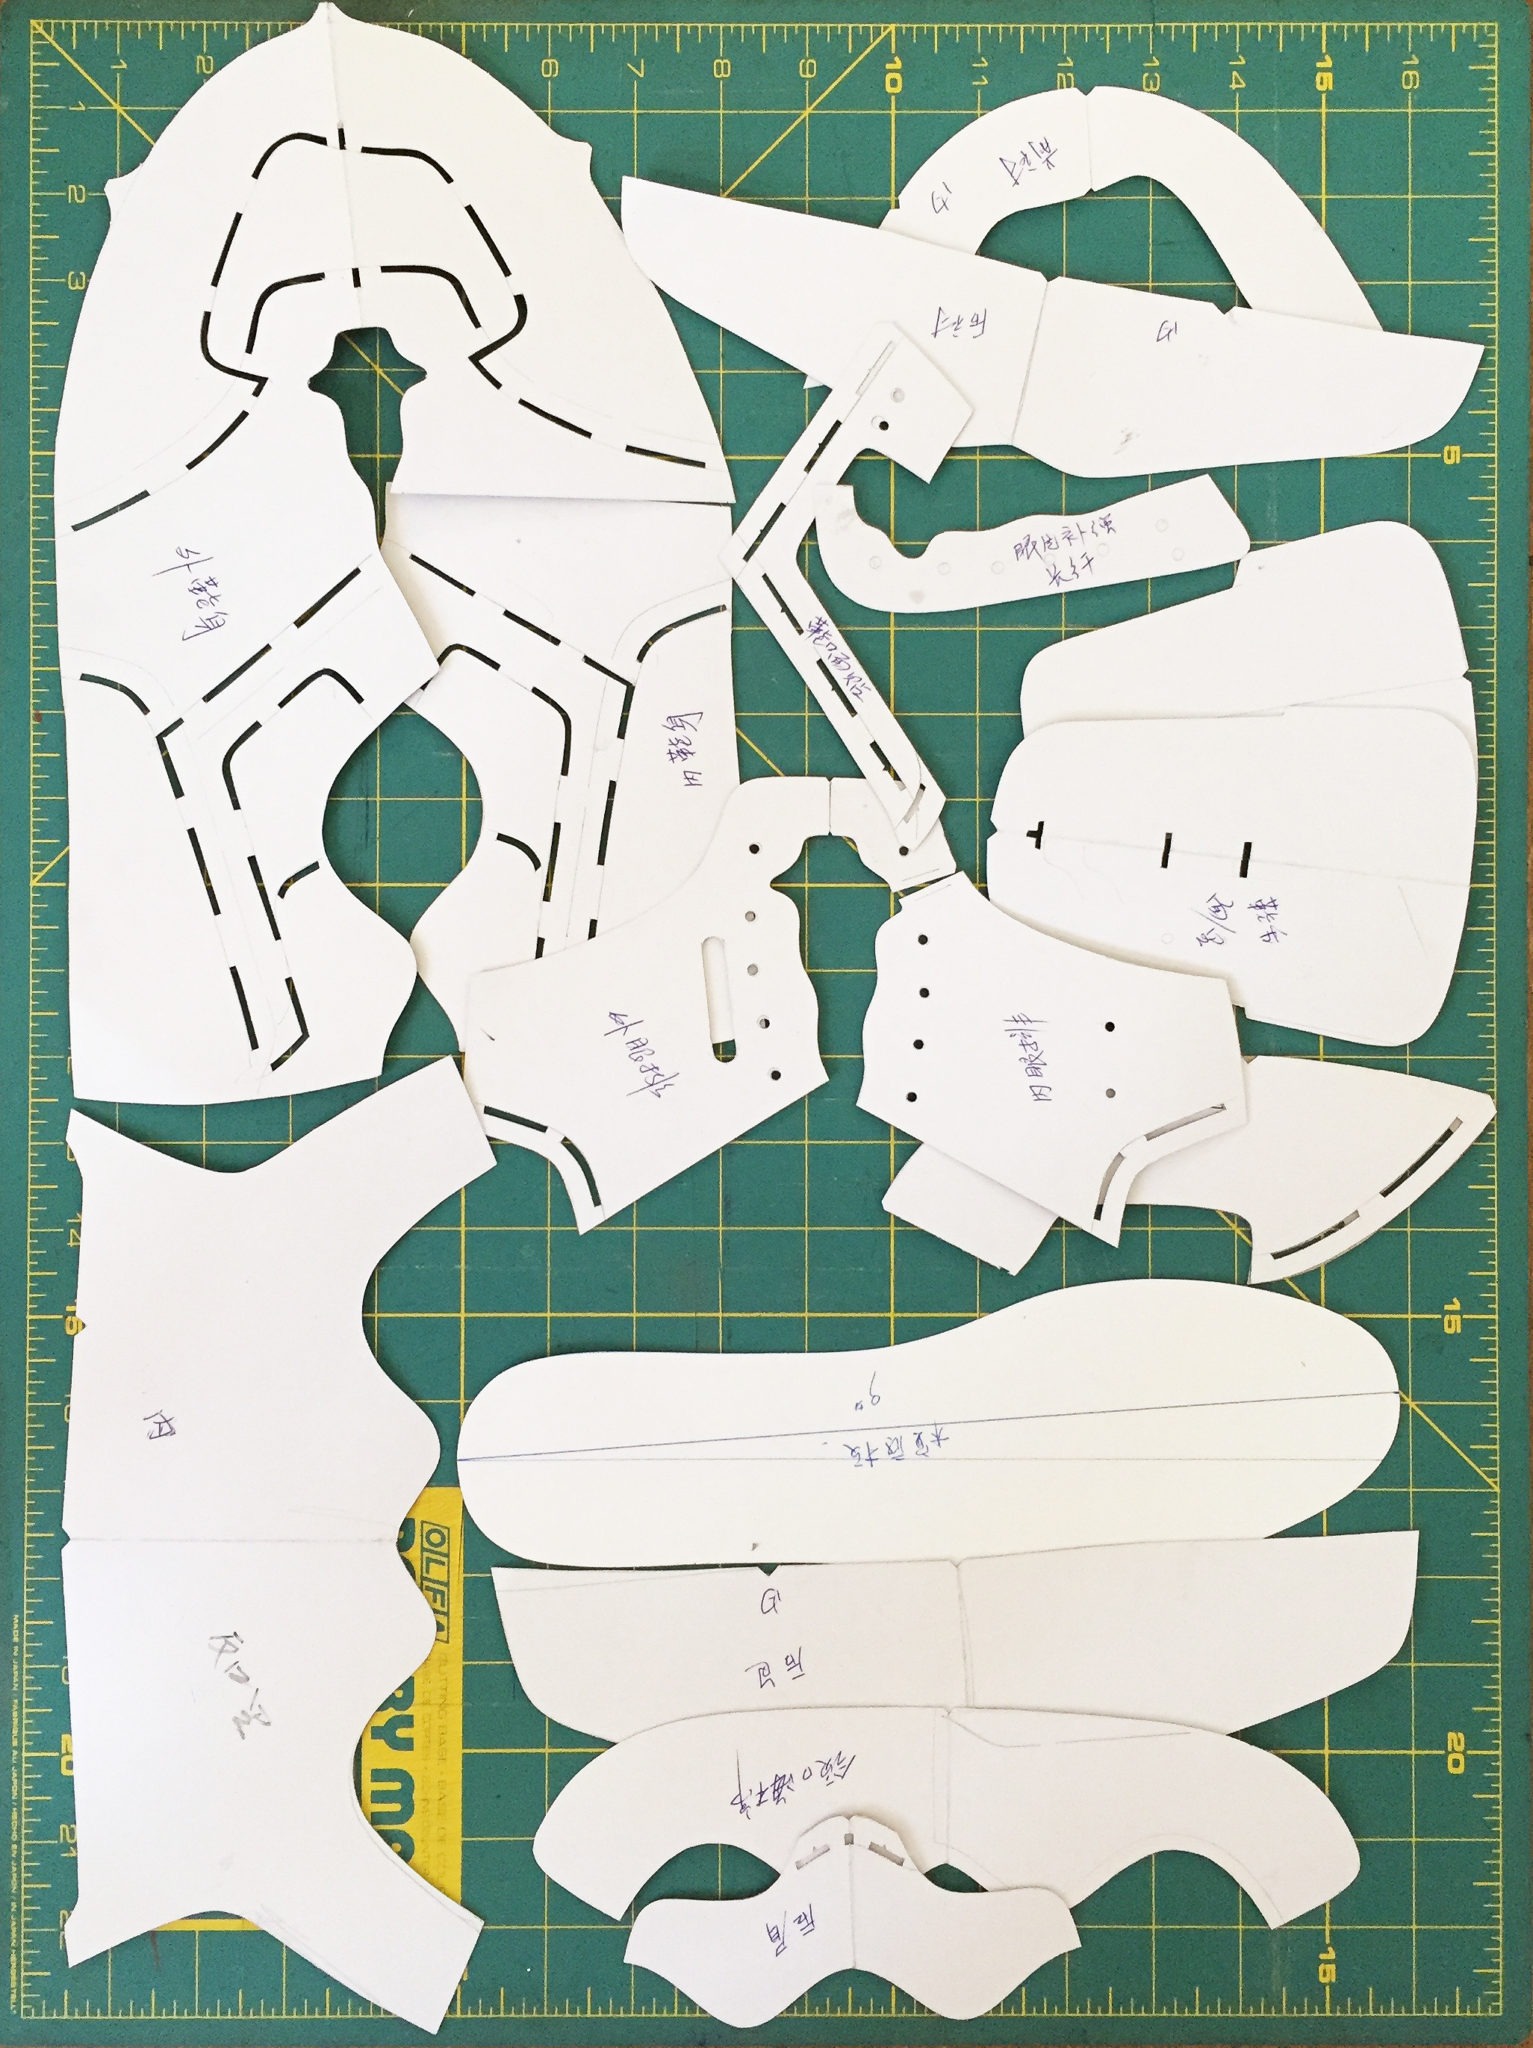
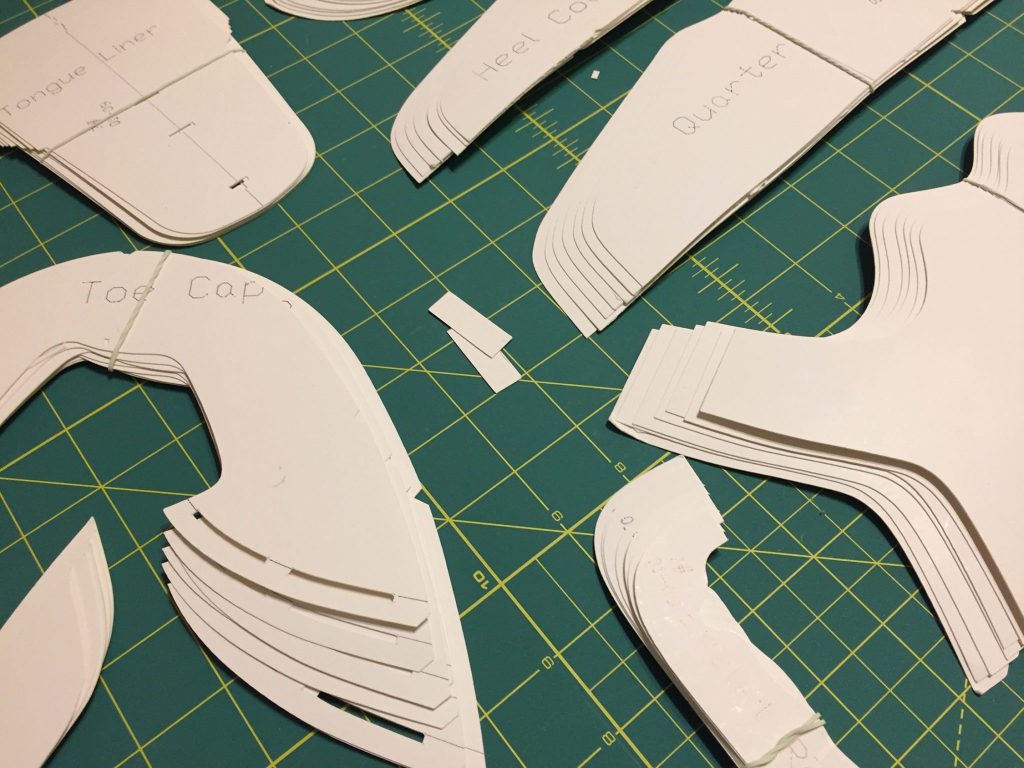
 Once the tape is peeled from the last and flattened you have the shoe pattern! The pattern with all the parts together is called the “shell” pattern. With the pattern attached to some paper, it’s time to “trim out” the pattern. Now the shoe pattern can be redrawn in a computer and cut out of heavy paper. The Pattern Cutter will add the overlaps and alignment marks.

As a shoe designer, you should always ask for the flat pattern of a new shoe design. When you make corrections for the pattern maker, it’s easier to draw on the flat pattern than to draw on the sample. It is also much faster to scan the corrections and email them to the factory rather than Fed-Ex the shoe back to China.

Here is the finished flat pattern. Scanned and with overlaps added, this pattern is ready for the sample room. Buy the pattern here.