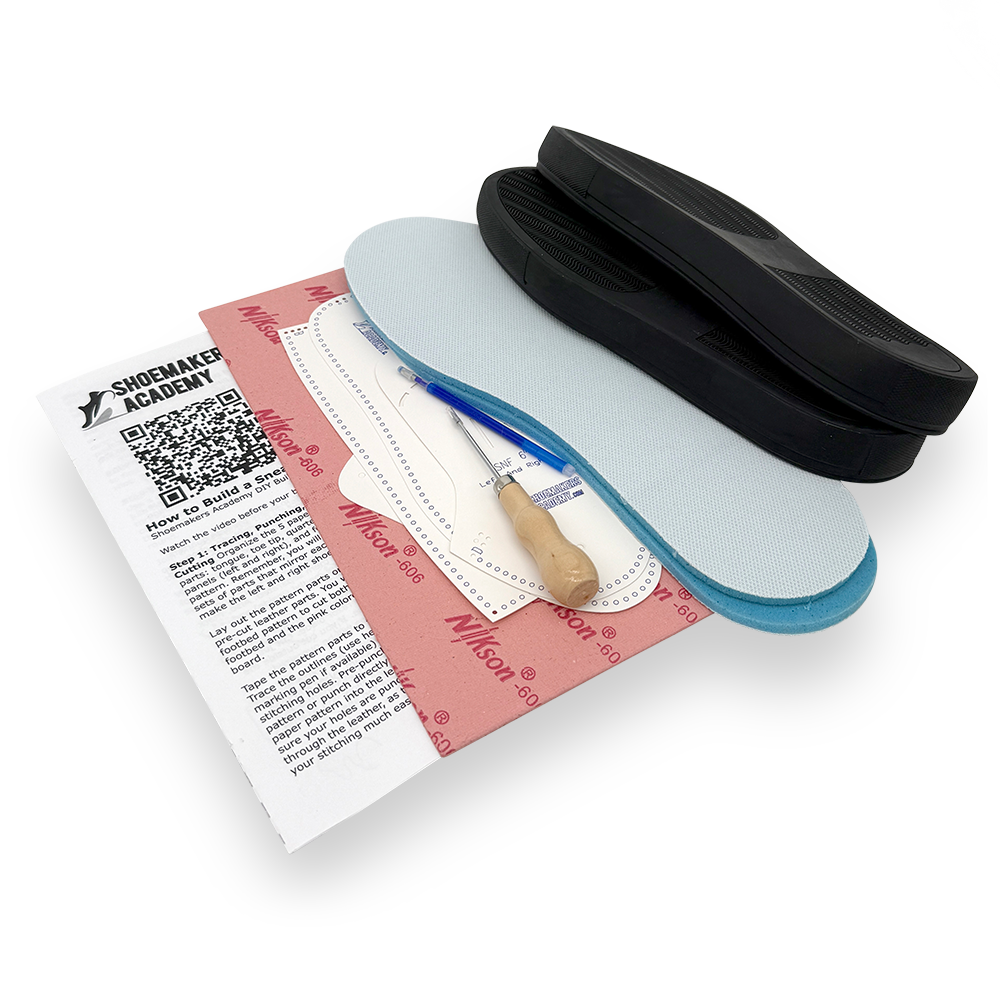
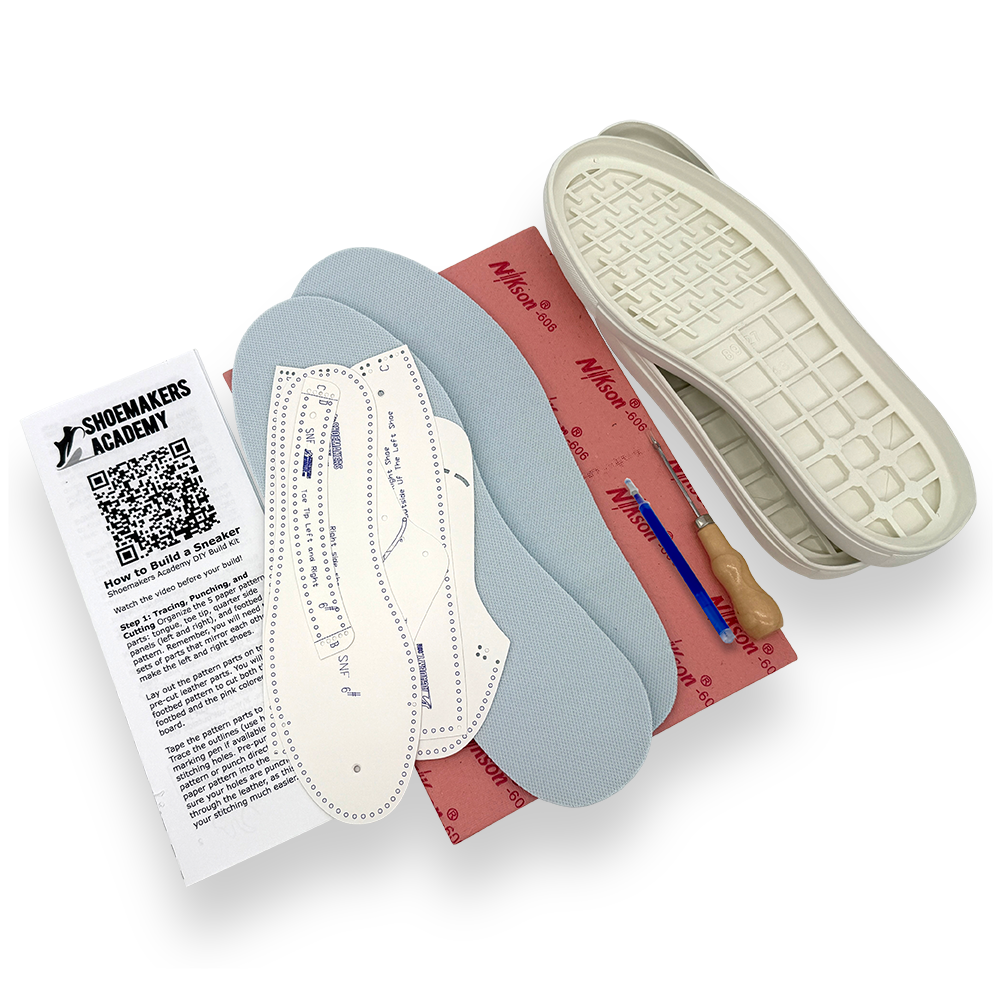
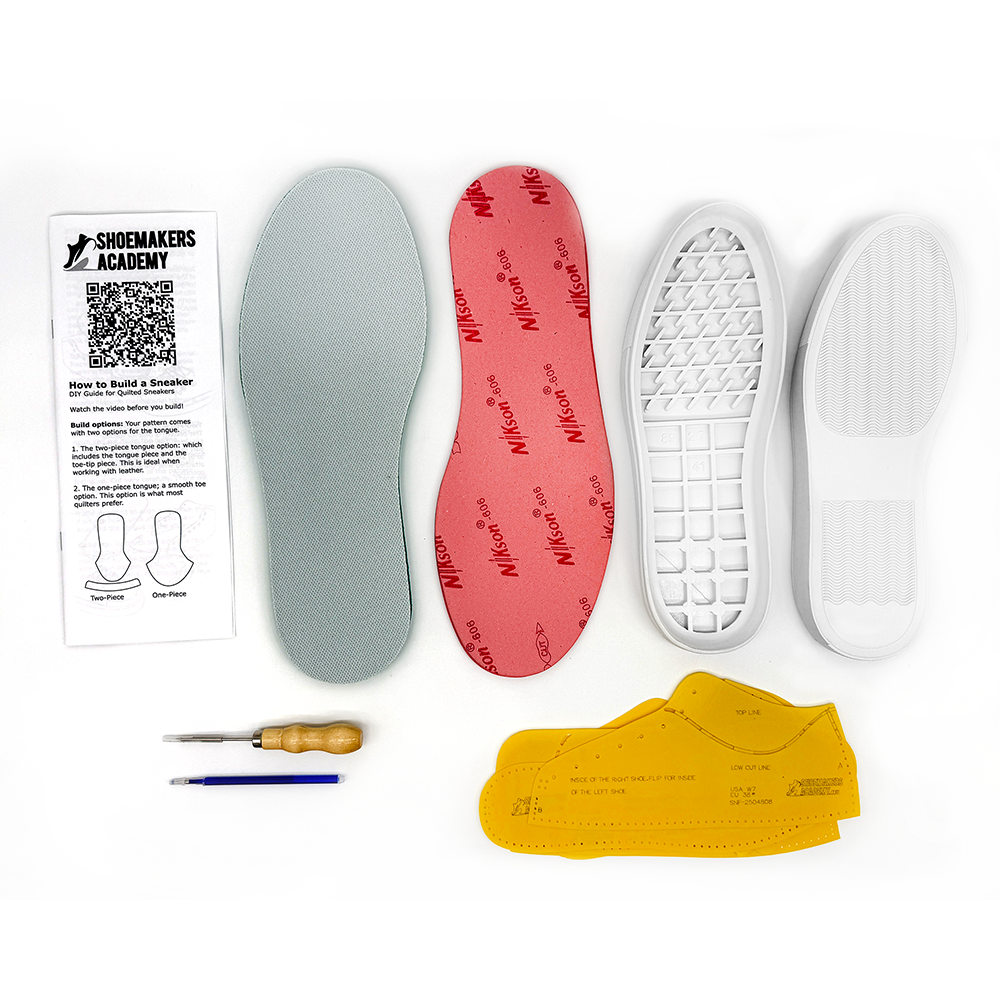
Description
Sneaker Kit For Beginners

How To buy the Shoemakers Academy DIY Quilted Sneaker Starter Kit
What's inside your Shoemaking DIY Build kit
Step-by-Step Instructions:
inside your Sneaker Starter Pack You’ll get illustrated written instructions in your kit plus, unlimited online access to the Full Build Video. The Build Video shows exactly how to build a sneaker from start to finish using the tools and supplies from the DIY Build Kit. Â

What’s is inside the Quilted  Sneaker Starter Kit :
Full Sneaker Build Instructions
Outsoles in your size, choose from gum, white, or black
8 Piece plastic shoe pattern in your size.
Lasting board 2.0mm NIKson-606
6mm Memory Foam footbed
Sole Stitching Awl Needle
Disappearing Ink Pen
Two Piece toe build option

One Piece Toe Build Option


The Shoe Dog shows you how to build the kit
Here the Shoe Dog shows you exactly what is inside the kit.Â
Watch the full build video.Â
Quilted Sneaker FAQ
No, you don’t need shoe glue to make this quilted shoe kit. Â
You may find it easier to sew your upper to the outsole if it’s held in place with glue, double stick tape, needles or locking pin.  Â
To make a sturdy, long wearing and supportive shoe. we do recommend a lasting board construction and glue.Â
1. Machine Feed Edge Binding:
Using a sewing machine with a binding feed attachment foot, attach the binding tape to the raw edge of the quilted sneaker panel. Align the binding evenly and feed it through the foot, Â stitching close to the edge. This method is efficient and provides a clean, consistent finish, especially for production runs. SINGER Bias Binder Presser Foot item # SKU 250066596.01 Â costs about $20. Â REMEMBER- The binding must be bias cut to allow it to bend around corners.Â
2. Hand-Wrapped Edge Binding:
Manually wrap binding tape around the raw edge of the sneaker panel, folding it over evenly by hand. Use clips or temporary adhesive to hold it in place, then stitch it down carefully—either by hand or with a machine. This technique gives a more artisanal finish and allows for precise alignment on curves and corners. REMEMBER- The binding must be bias cut to allow it to bend around corners.Â
3. Machine Serging (Overlock):
Use a serger (overlock machine) to encase the raw edge with thread, effectively binding and finishing it in one pass. This method is fast and strong, ideal for inner edges or where flexibility is needed, though it’s more utilitarian in appearance than traditional binding. Many newer machine models can create this effect with the need of a special serger machine.Â
No, you don’t need to pre-punch hoes into the outsole. The supplied needle easily pierces the rubber side wall.
You may find it helpful to mark your desired stitch length on a piece of masking tape.
How much fabric do I need to make a quilted sneaker?
We find that a fat quarter, 18 inches by 22 inches is enough to make your shoe.
however, you may need more if you plan a special pattern lay out.
Of course depending on the size of your shoe, but a men’s 12 requires 80 inches to make 1 pair.
Here you can see three tutorials on how to channel stitch your shoe.
https://shoemakersacademy.com/channel-stitching
https://www.youtube.com/watch?v=T2hkRNbEd1s
Step 17 33 minutes
https://www.youtube.com/watch?v=jAo90AwyXek&t=3090s
3 hours in I start the channel stitching operation.
F.L. –
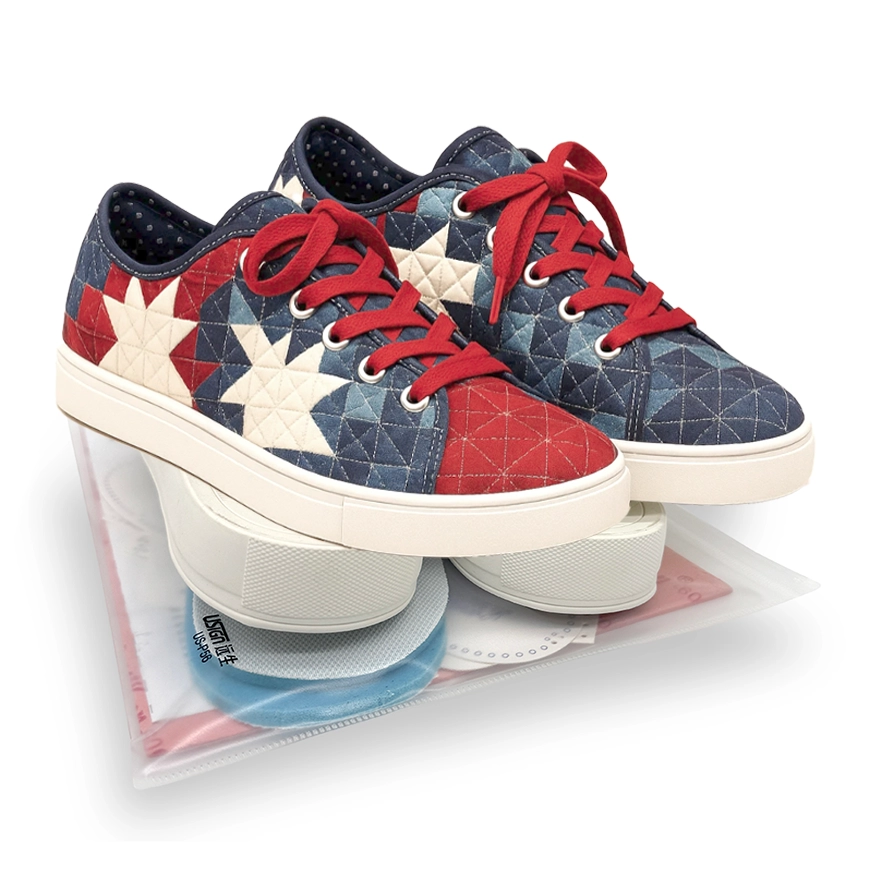
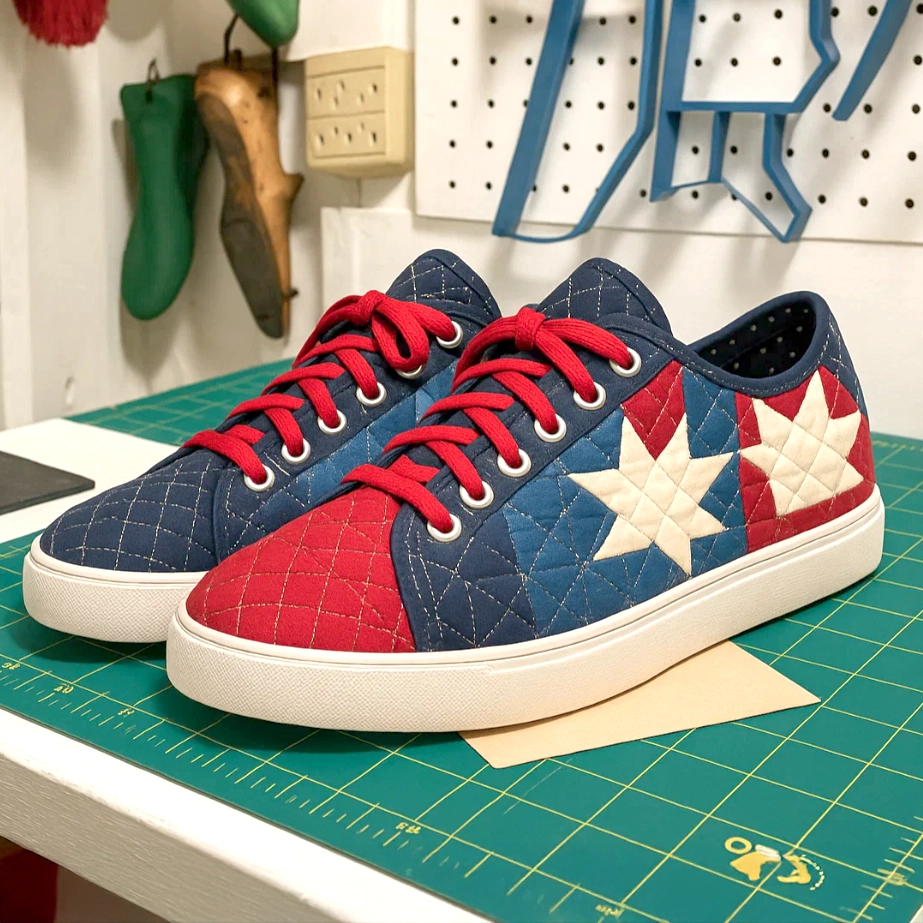
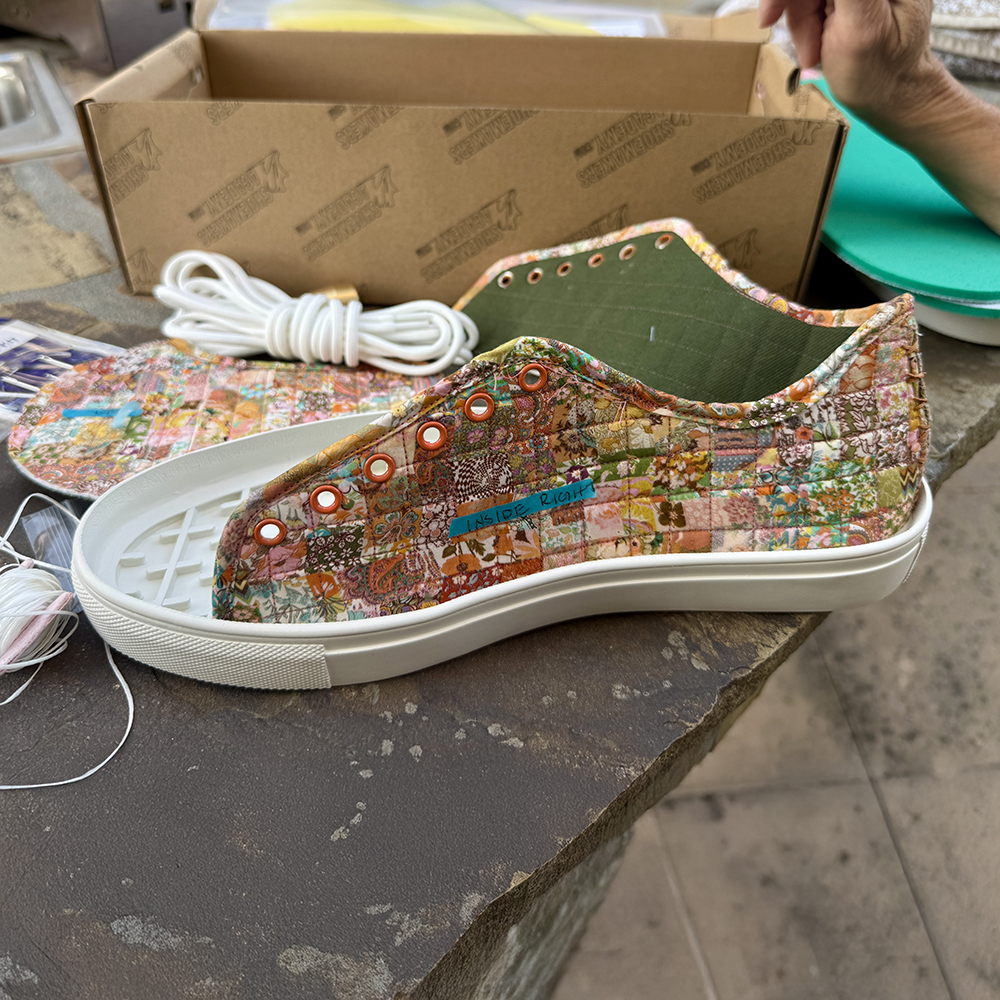
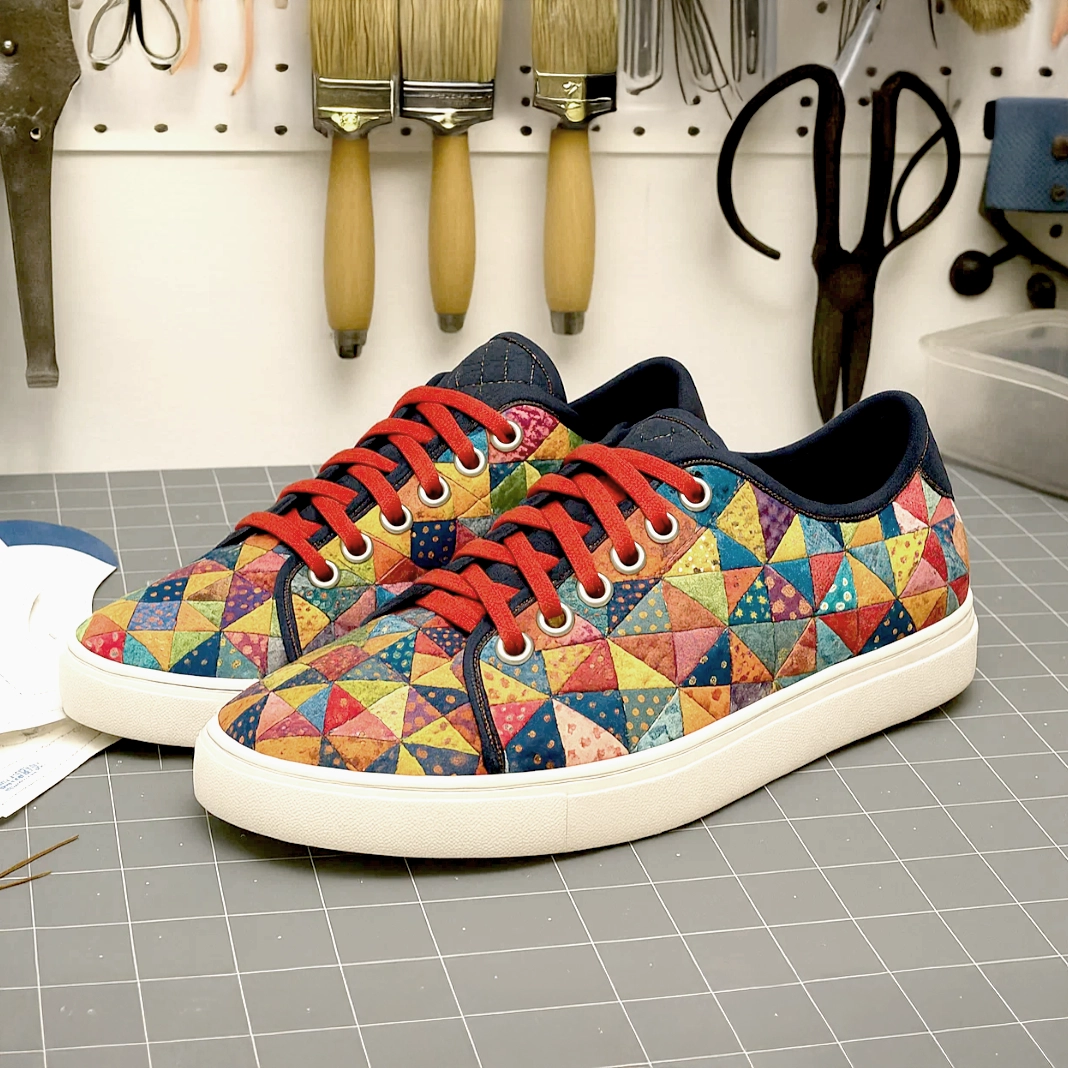
Love this kit. Can’t wait to make quilted sneakers.
Jim –
Great communication, fast shipping, quality supplies. Highly recommend.
J.Jacks –
Everything I needed to craft a great pair of shoes.
Etsy –
Quick shipping. Kit has everything I need, picked out my fabrics and now ready to make my own sneakers. Great communication. Found this on Etsy originally and just bought more supplies here. Will buy again.
Sewing B –
Exactly what I was looking for and the shipping was super fast.
Angie –
Super happy with my kit!!