
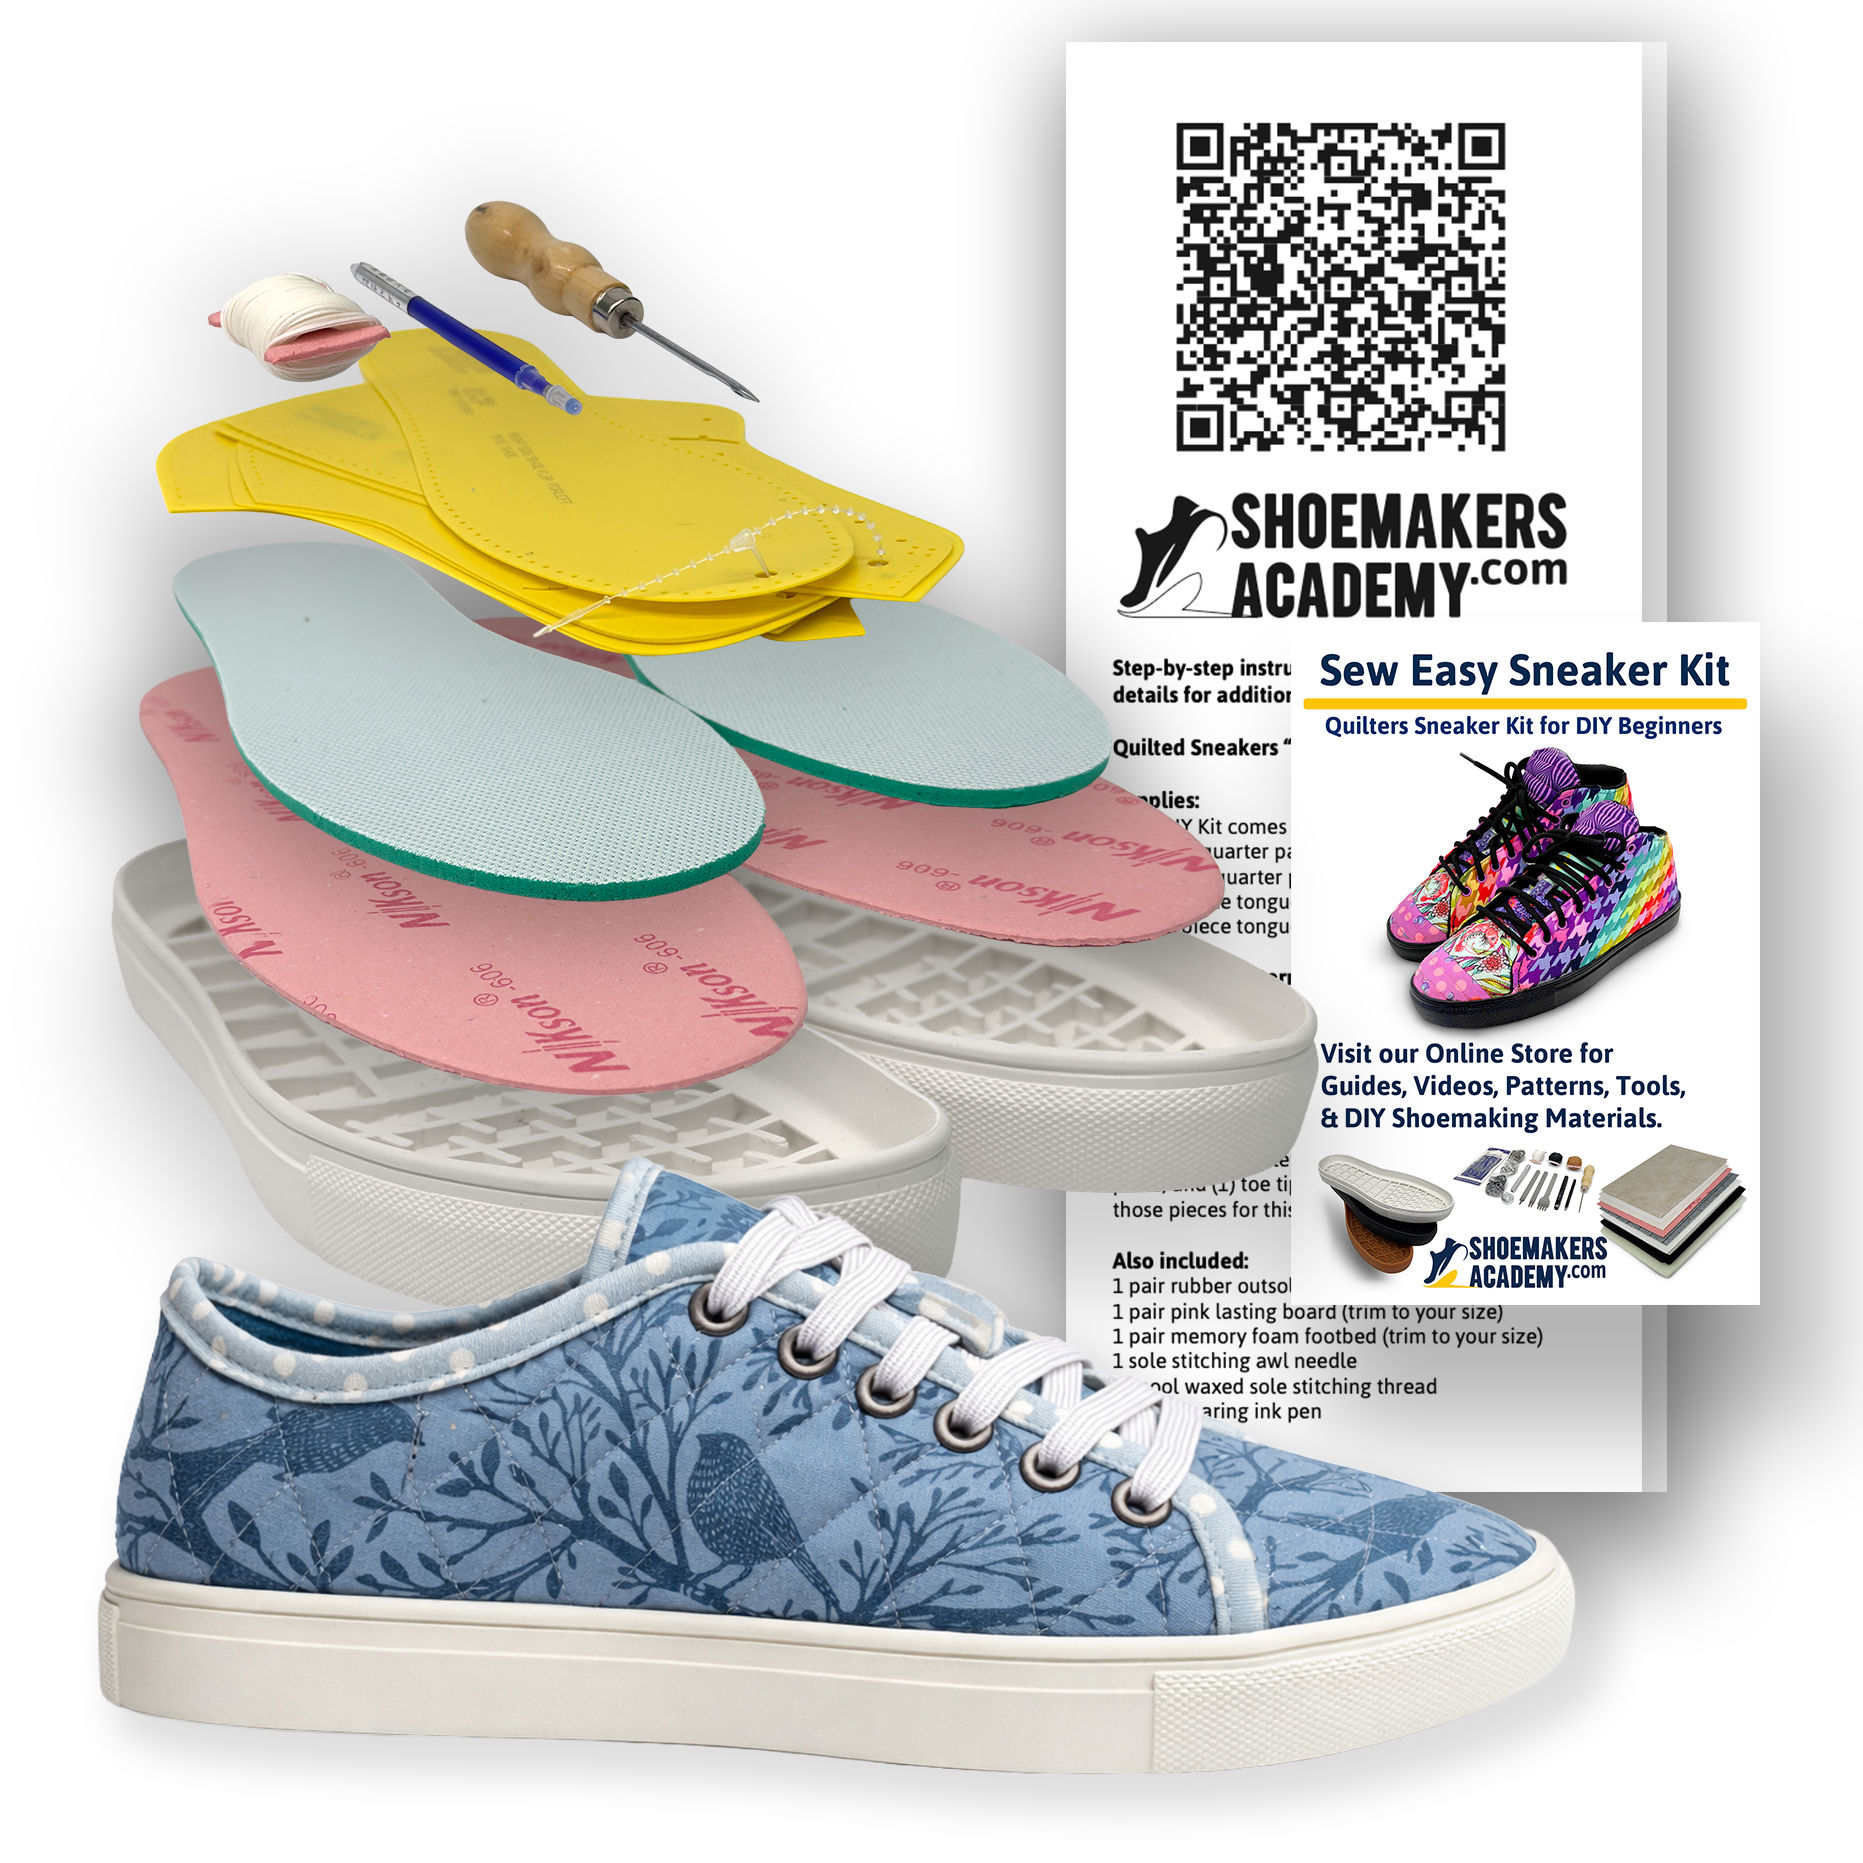


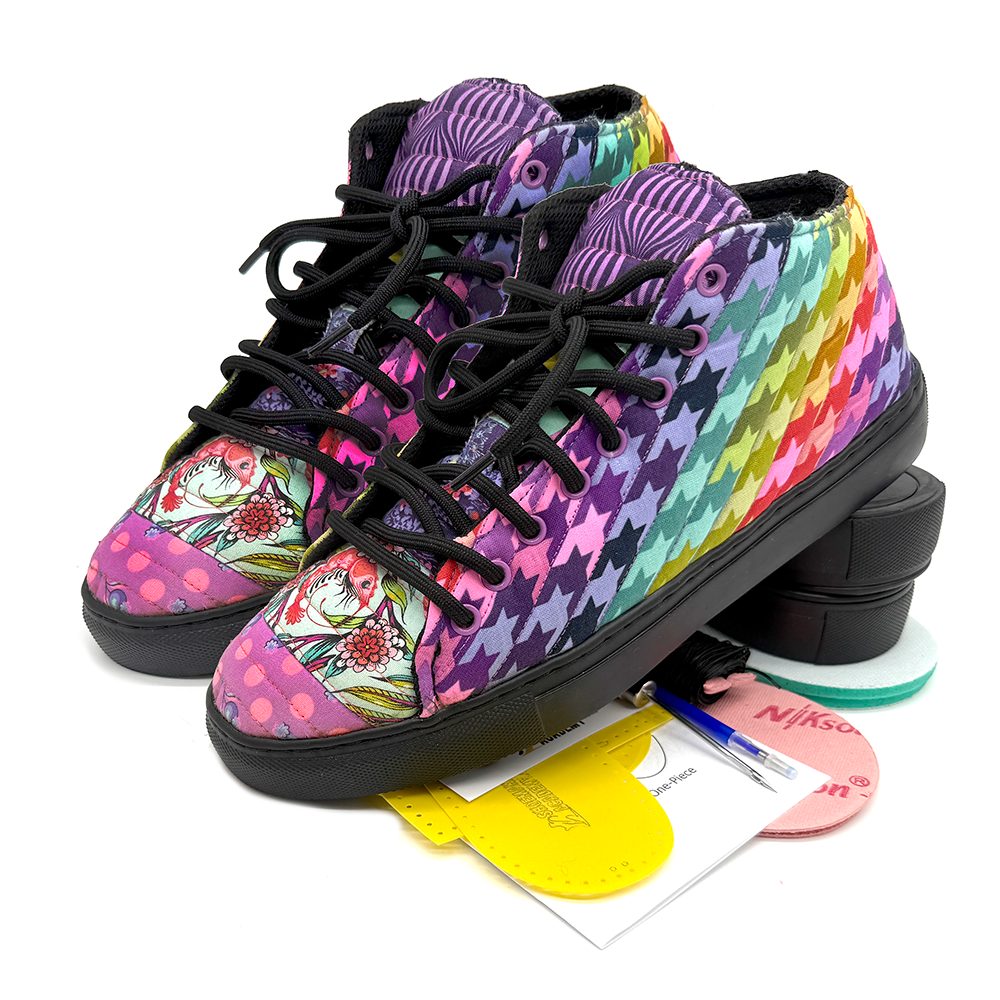

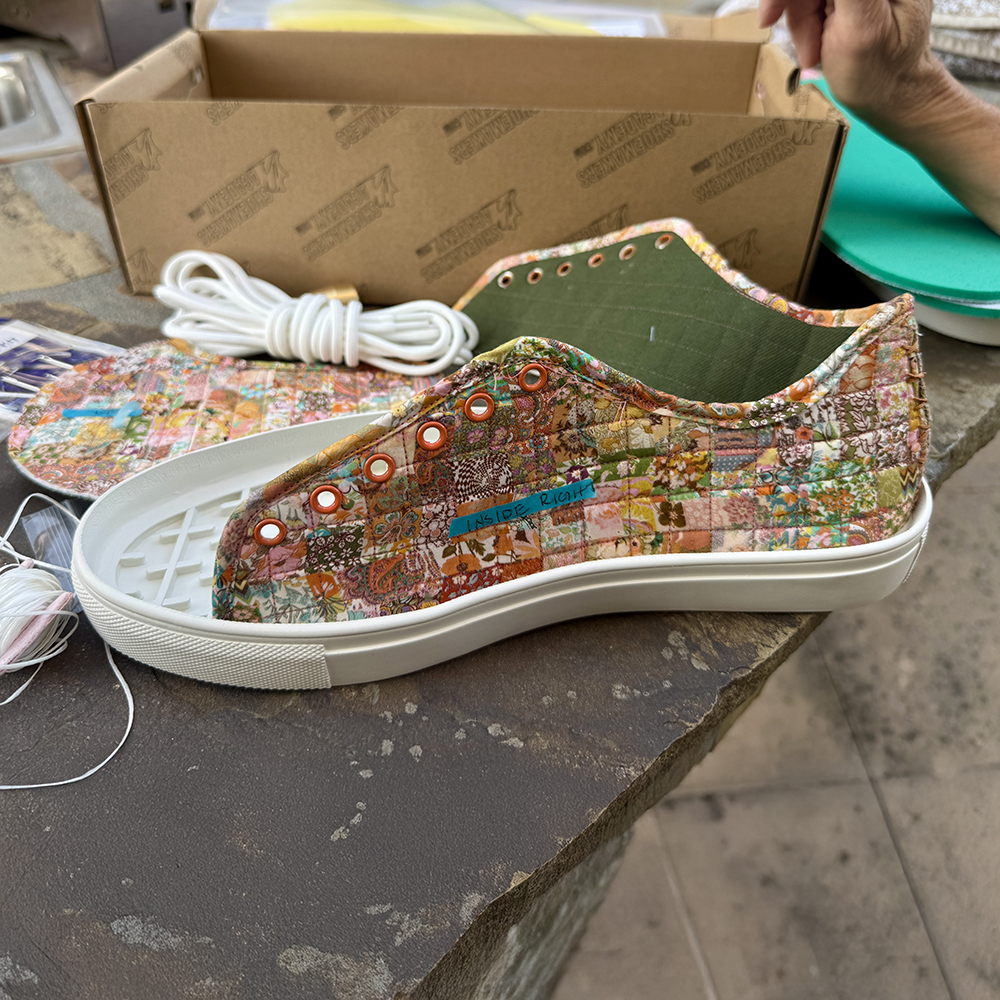
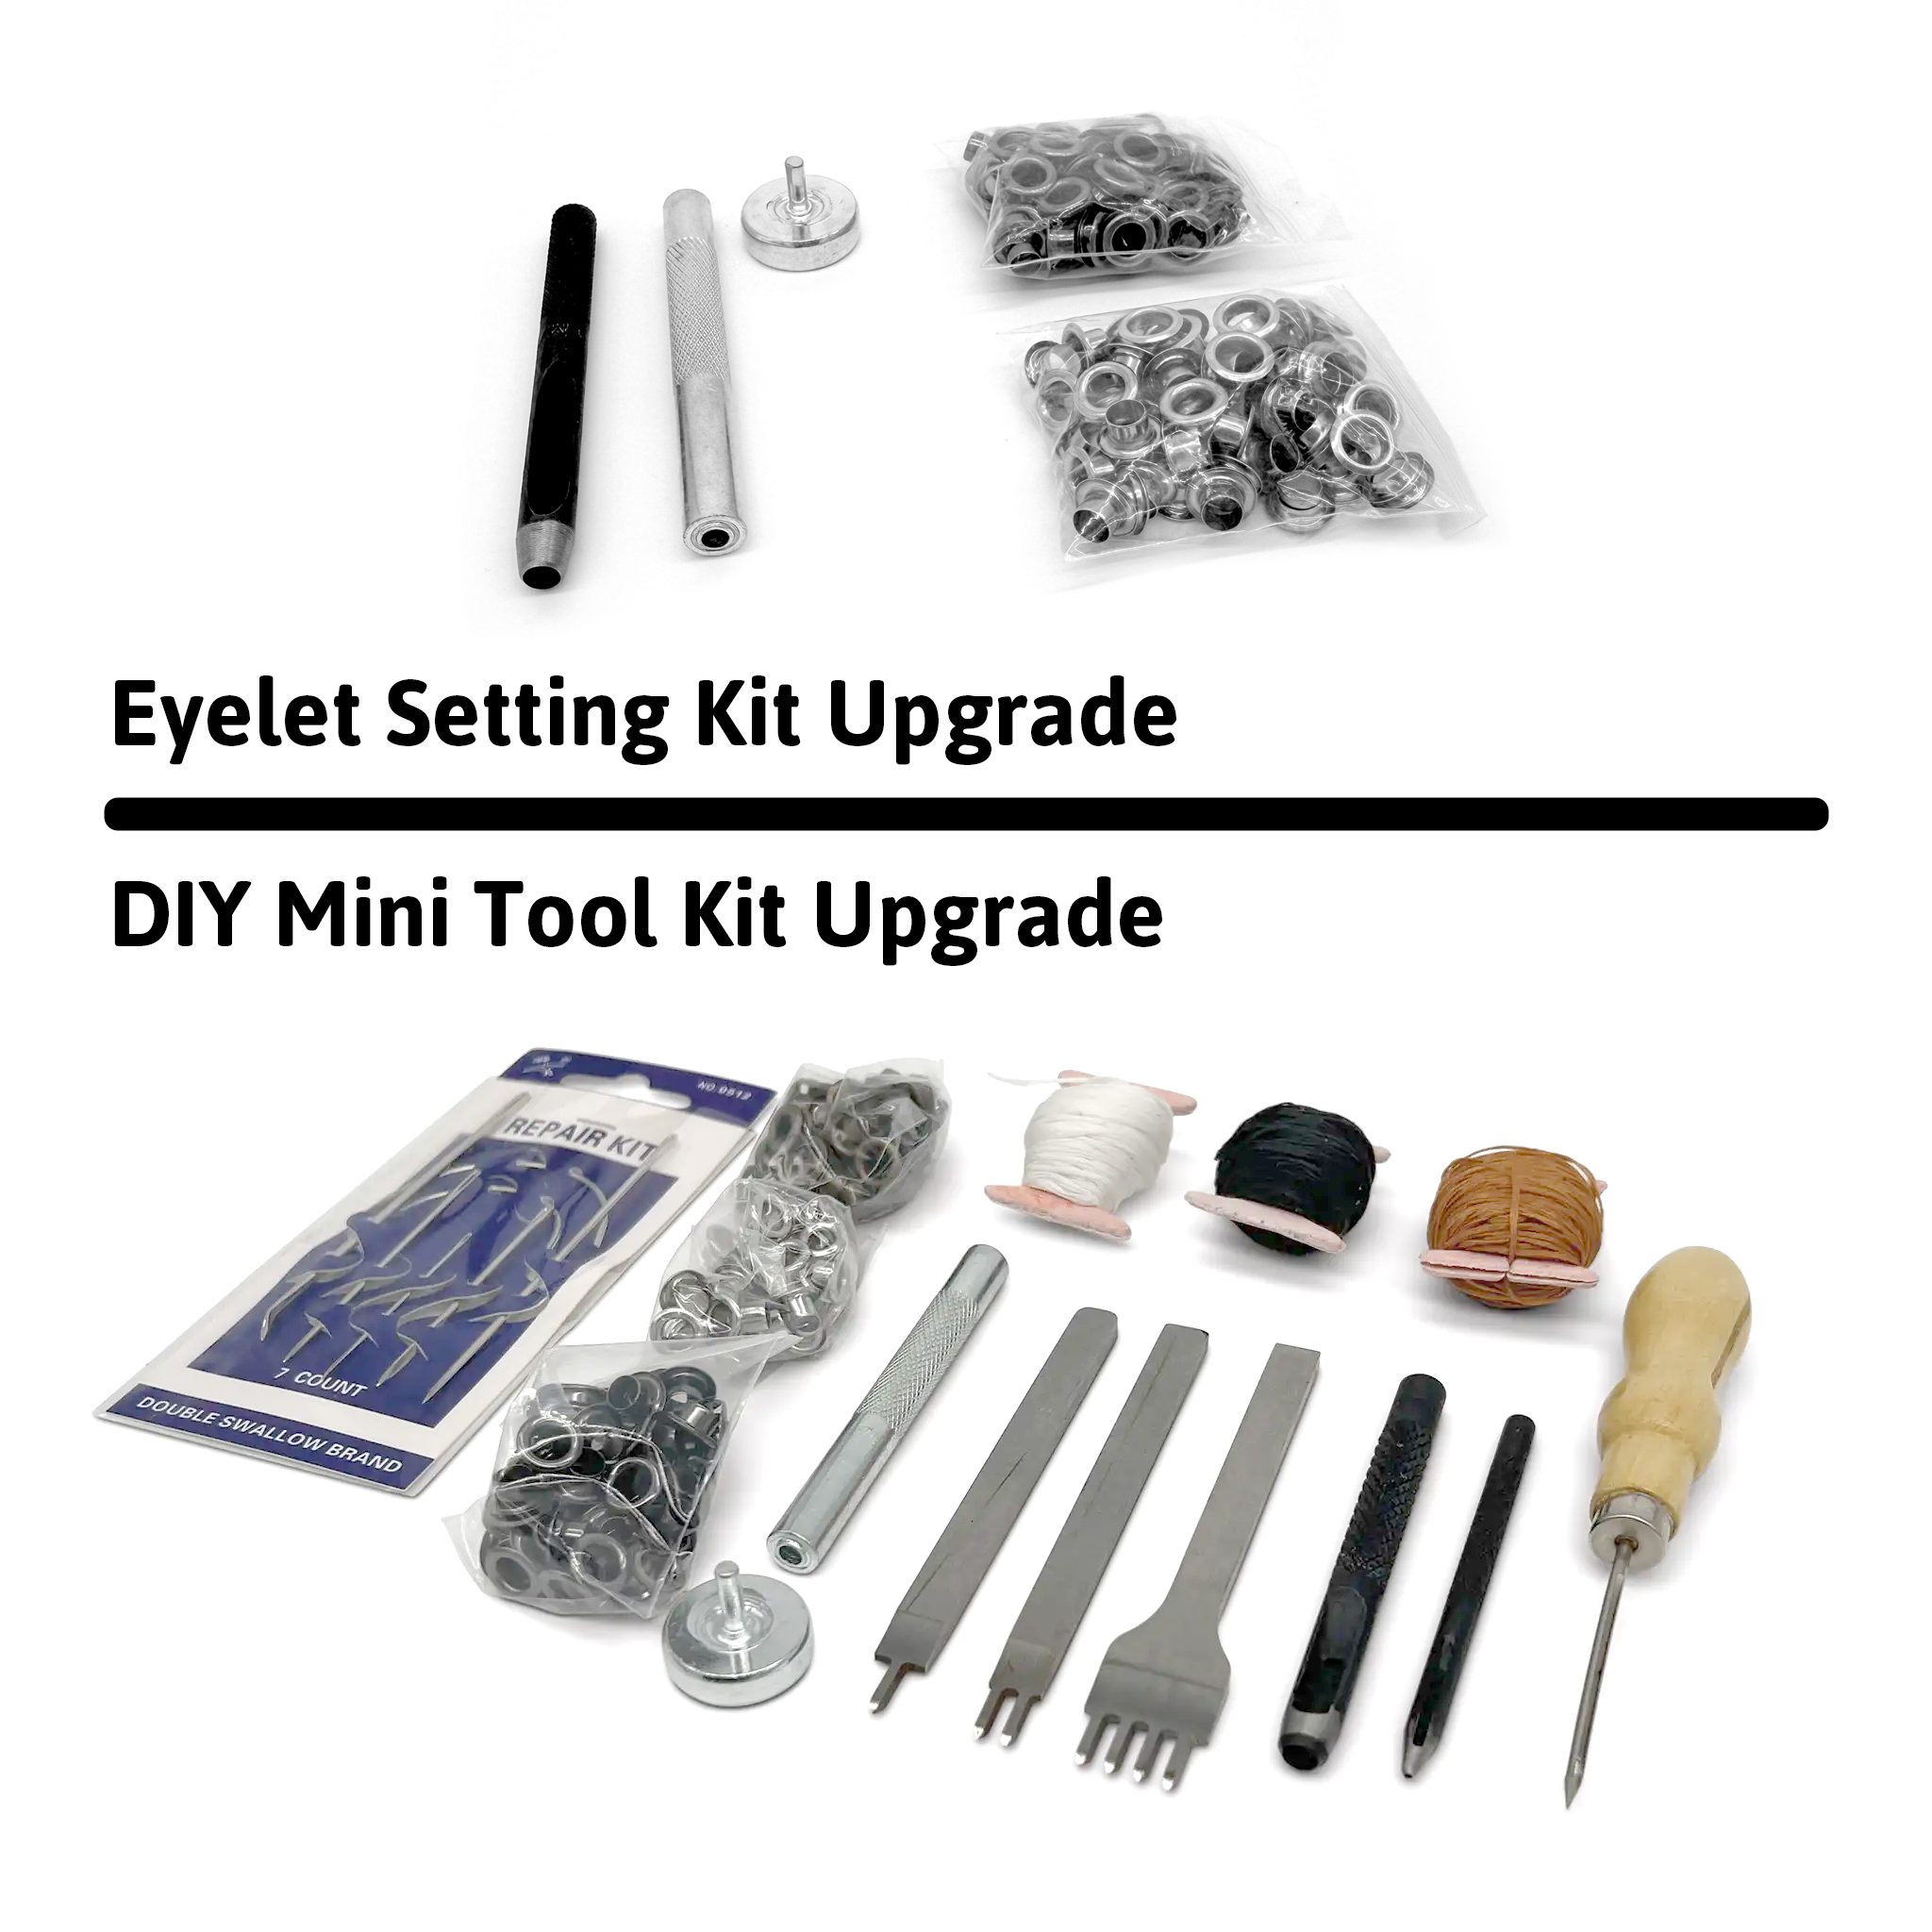


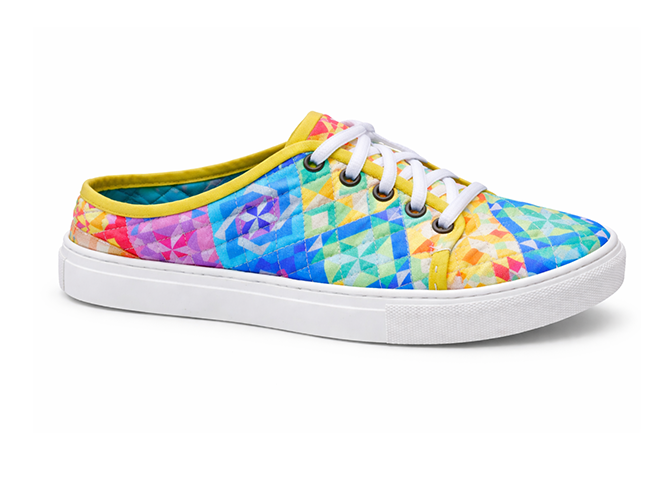
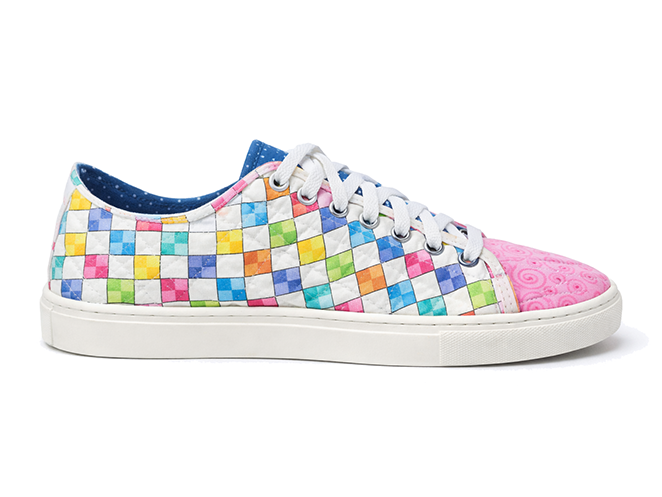
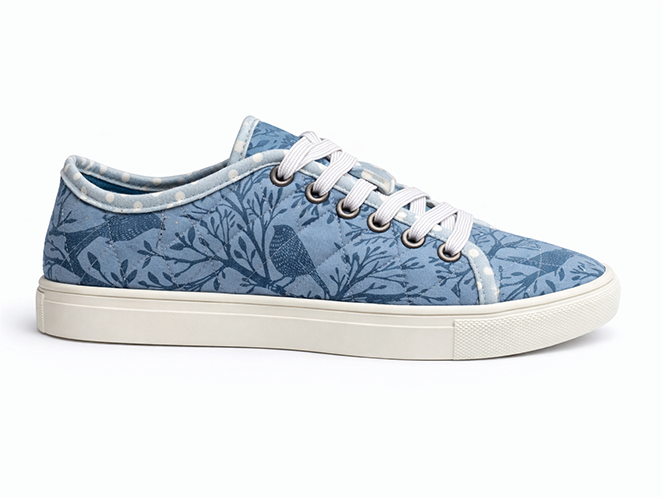
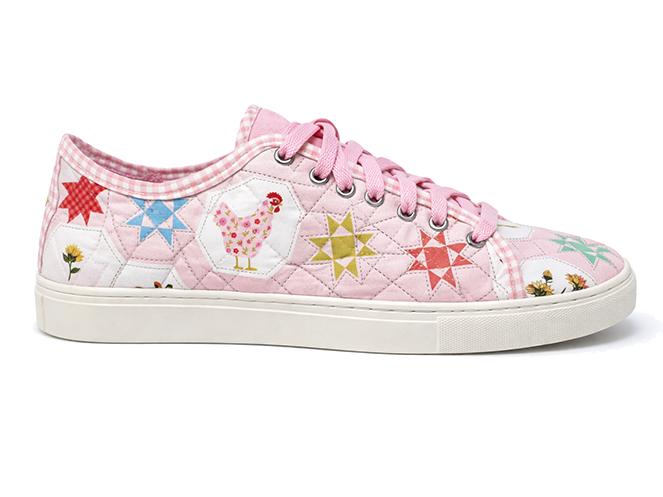
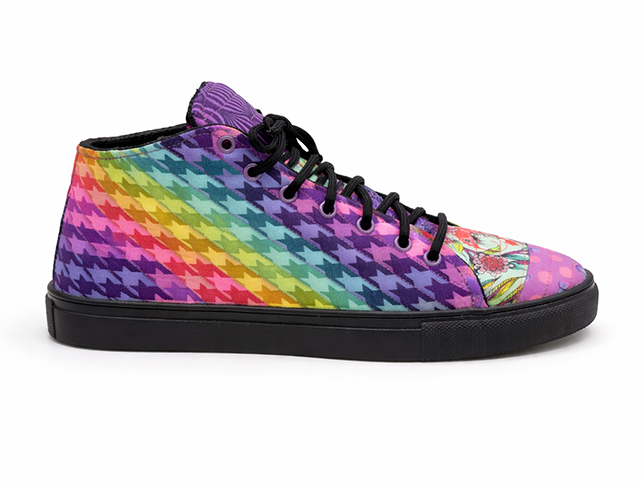
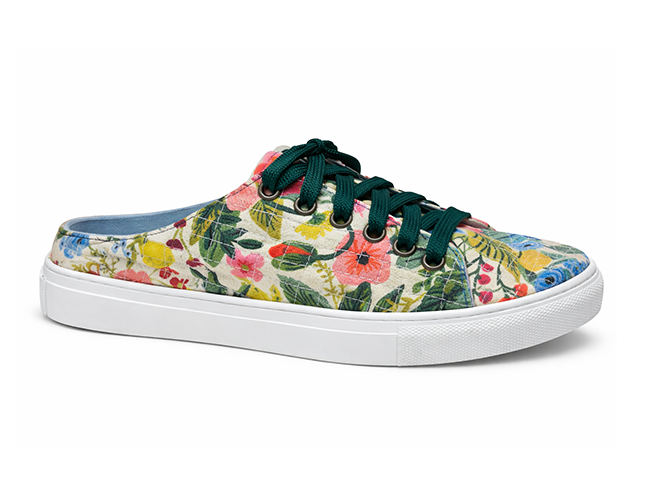
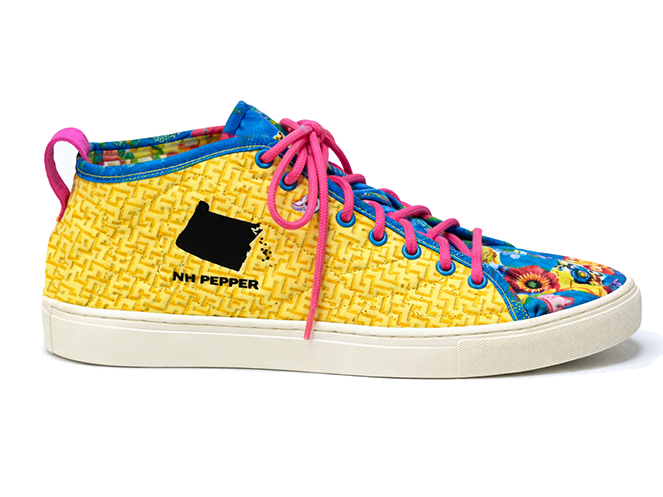
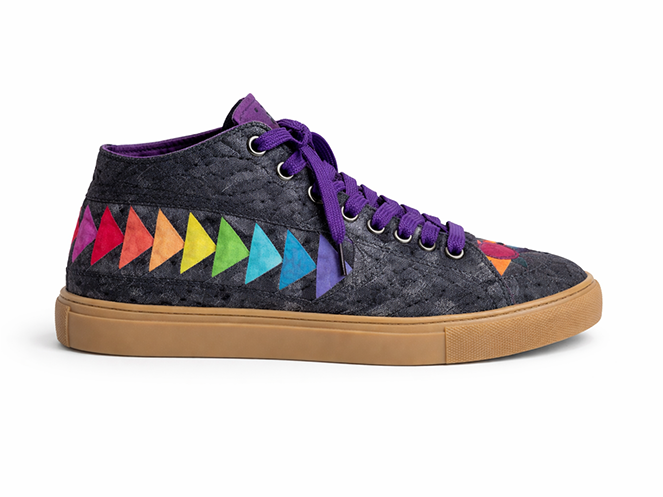
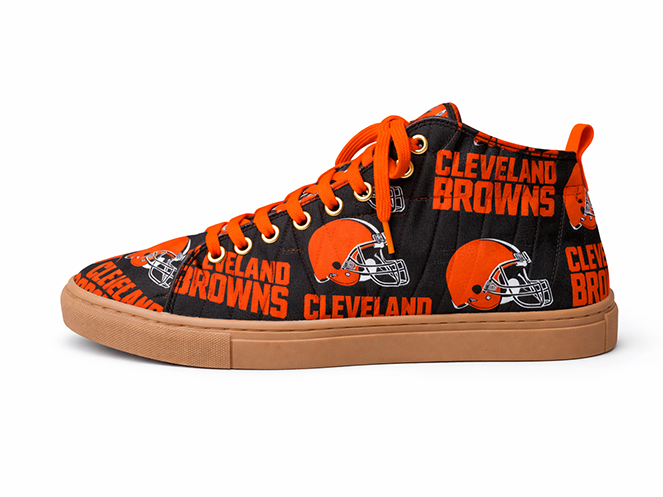
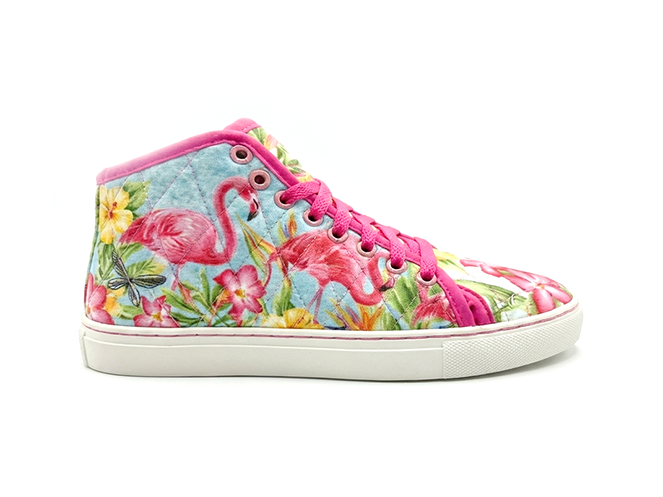
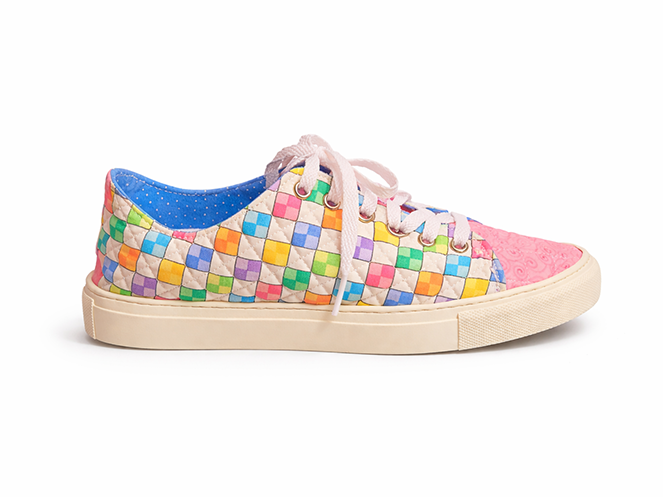
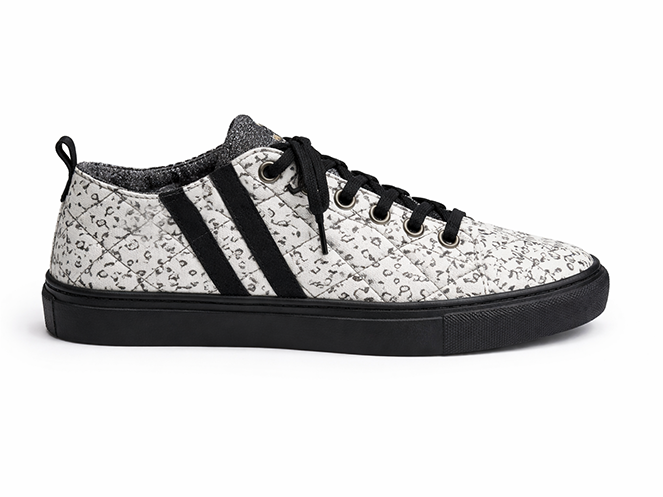
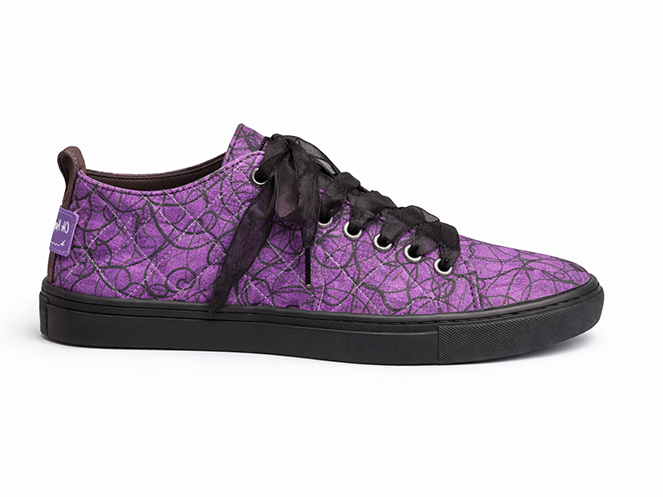
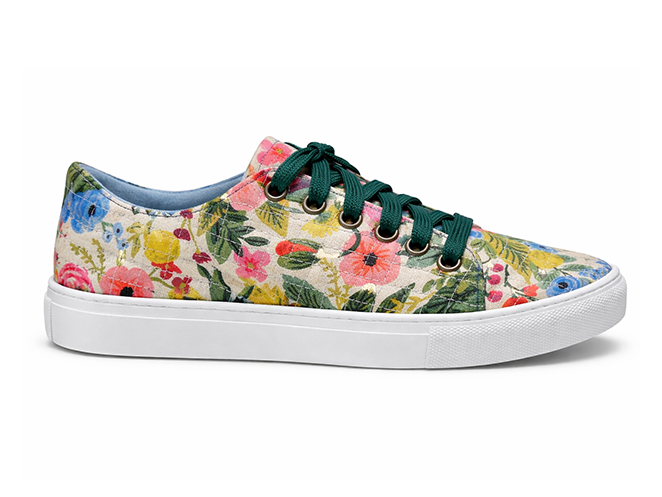
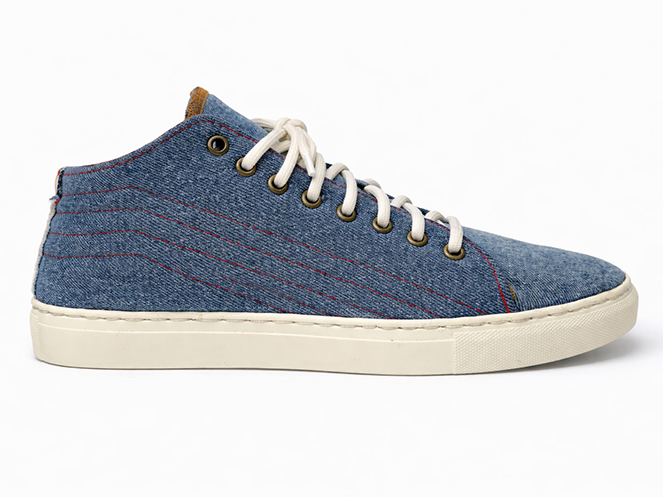
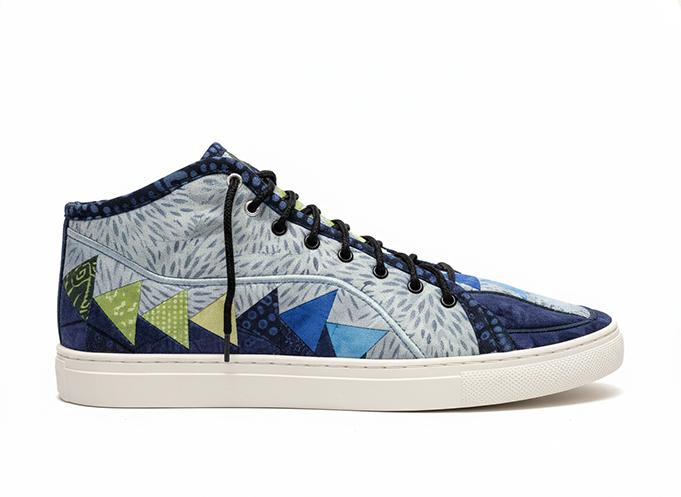
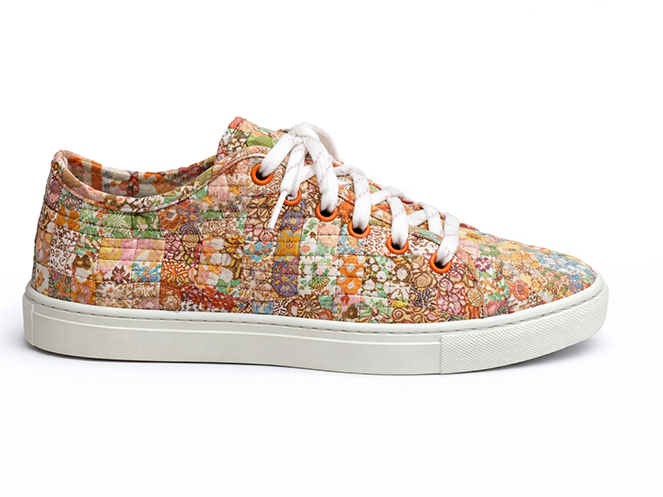
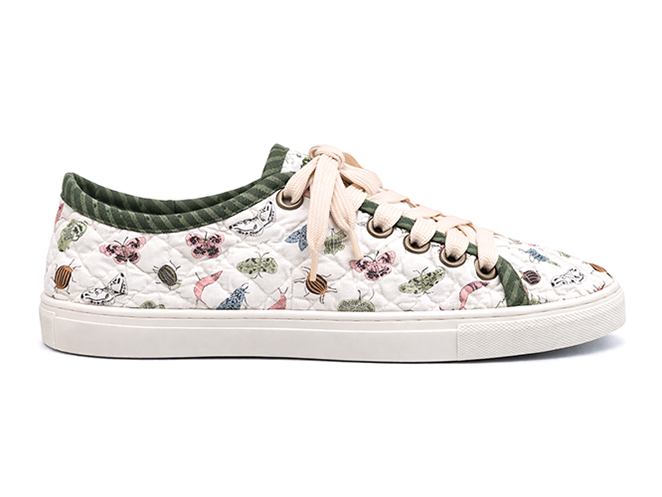
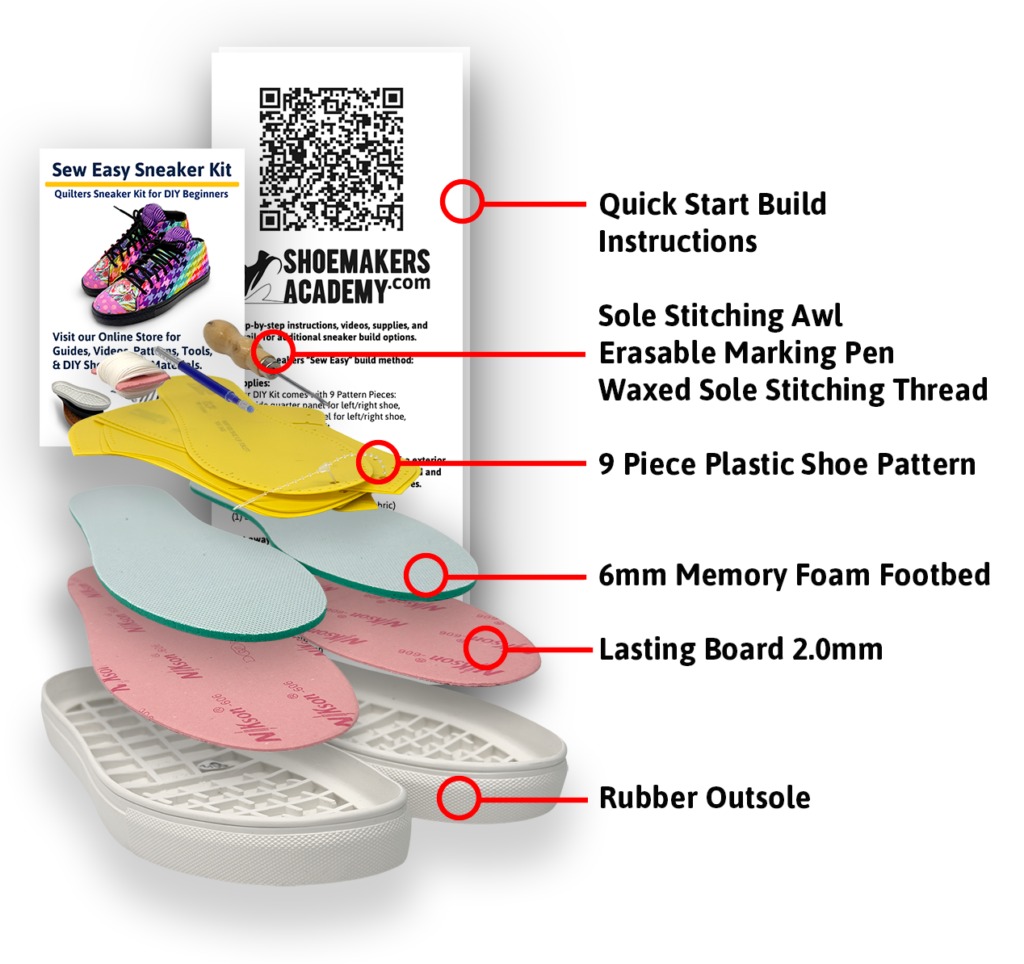
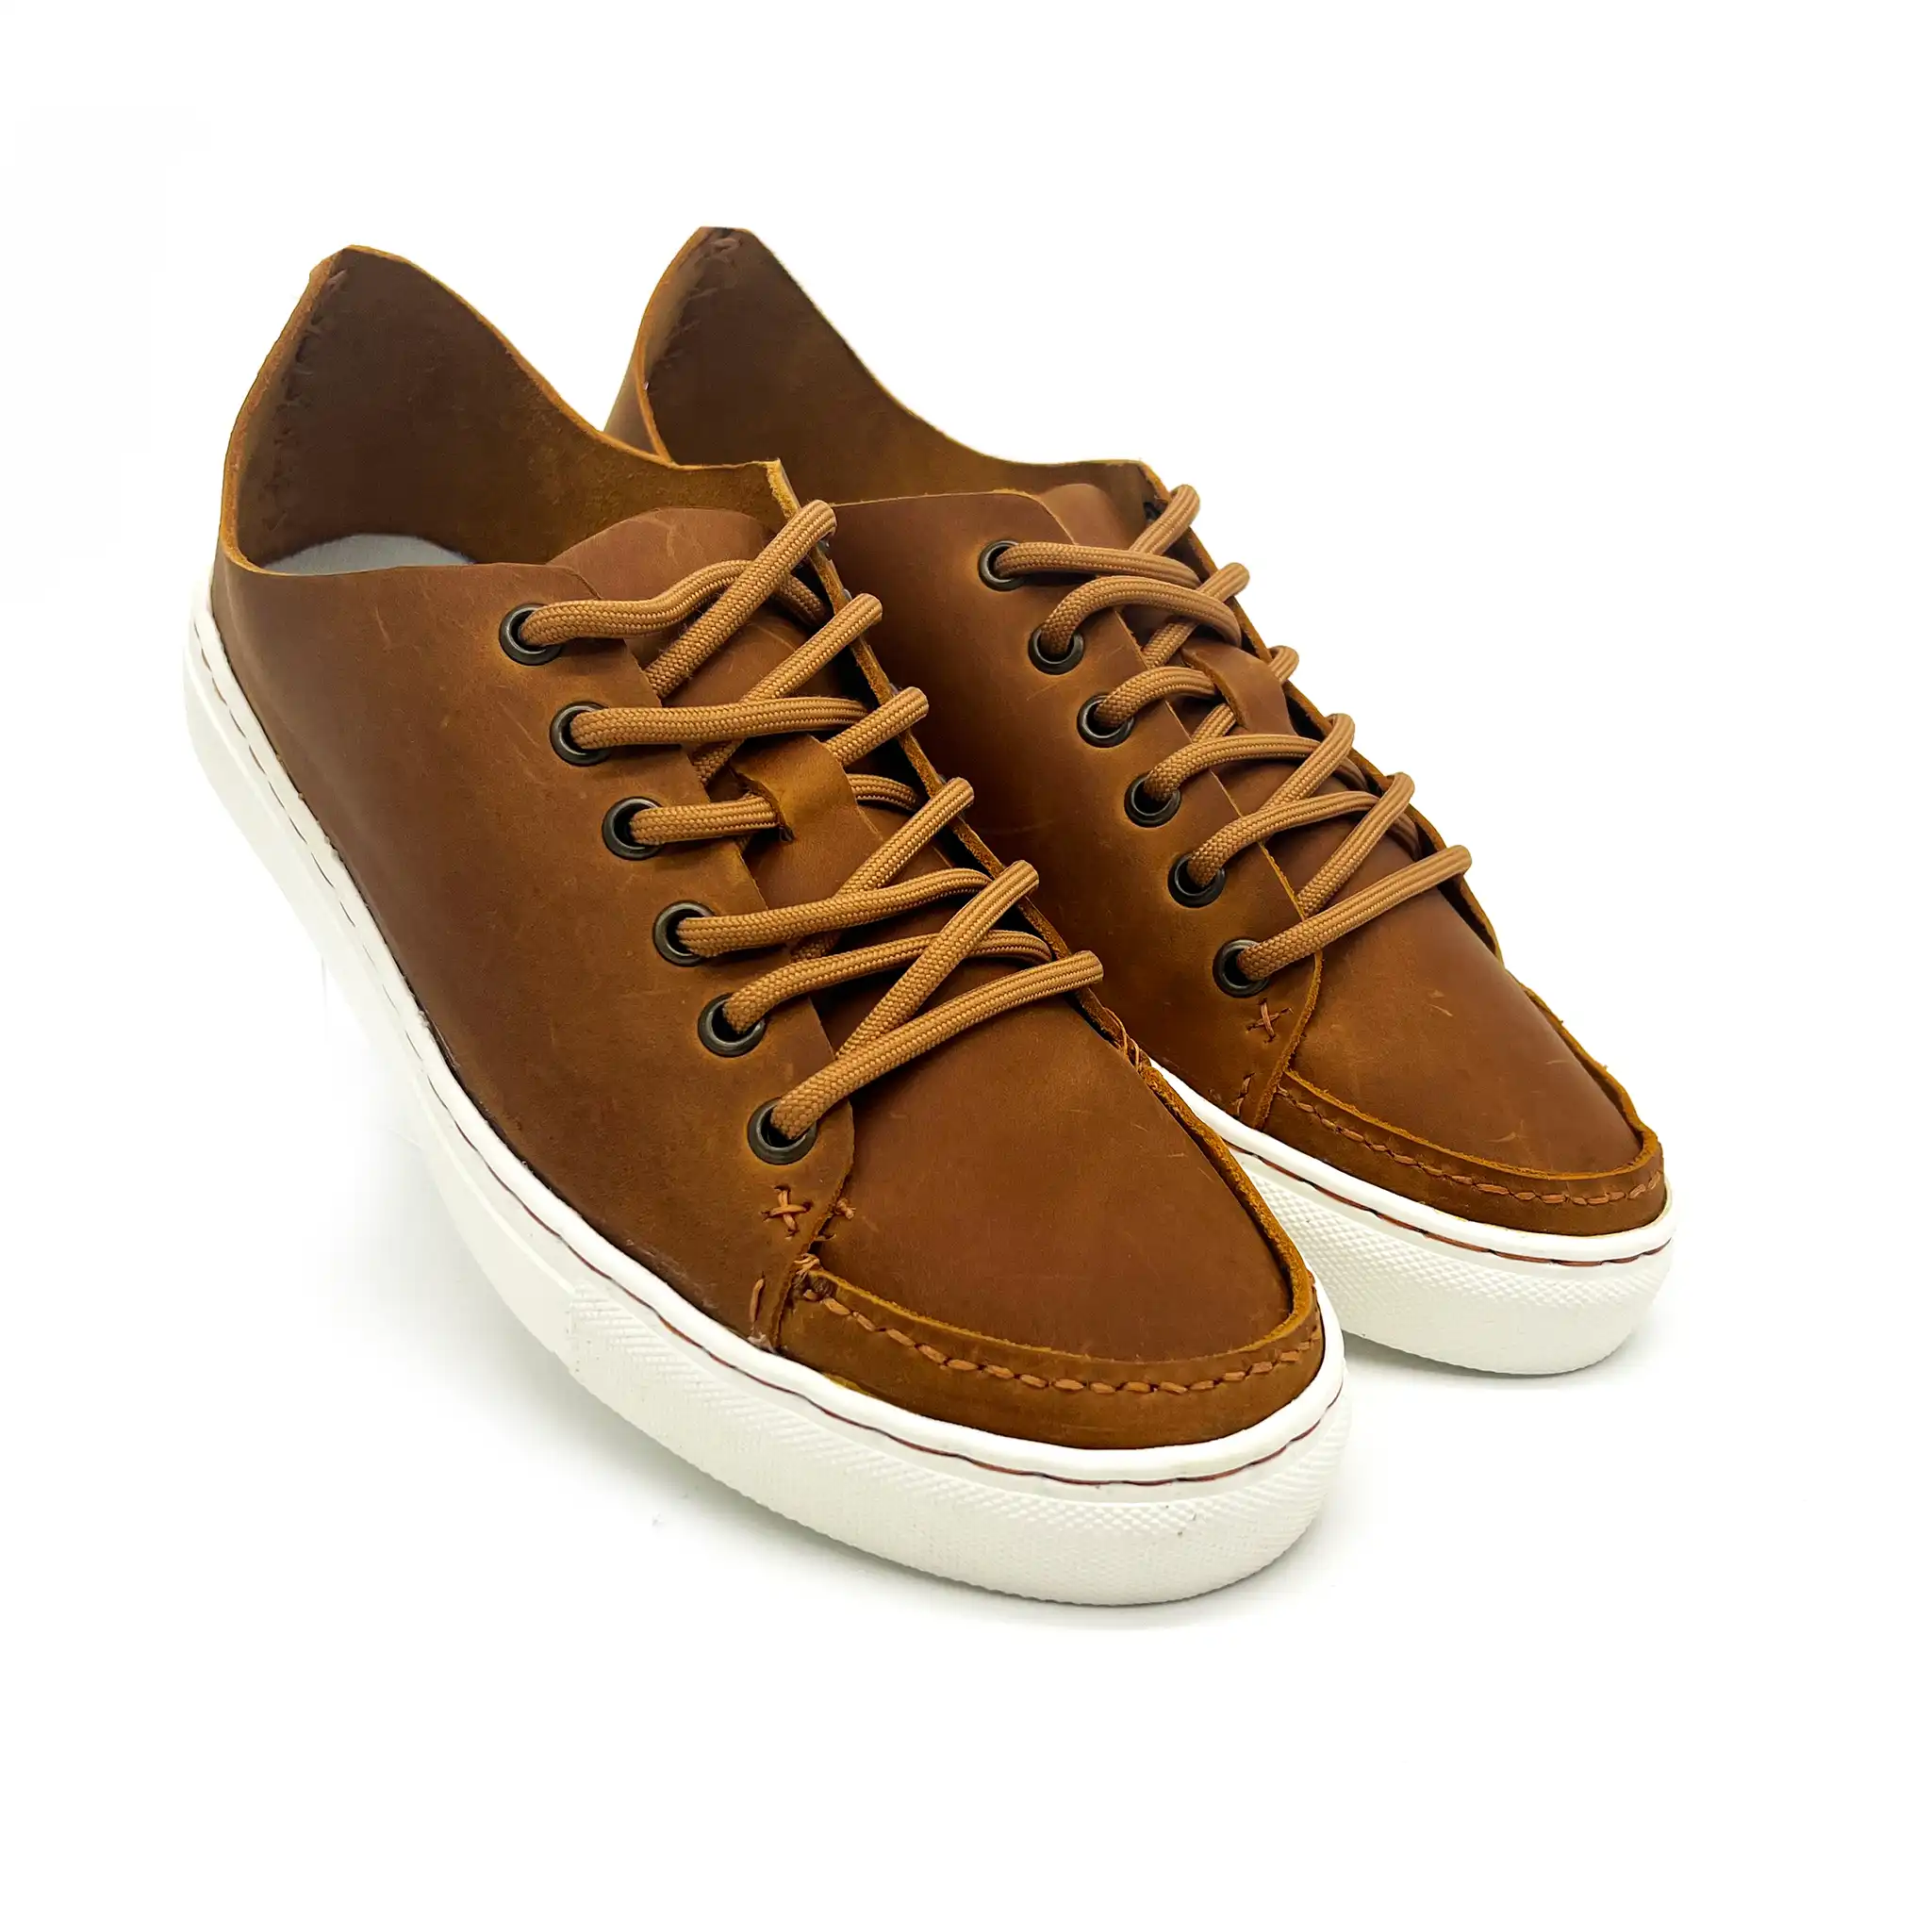
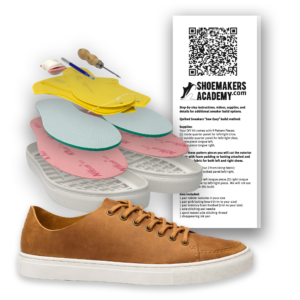
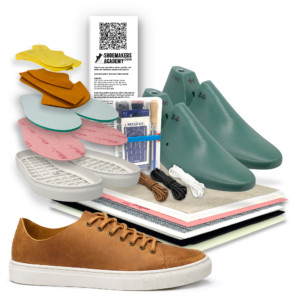
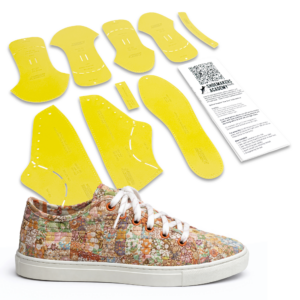
Description

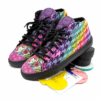
“Loved making my first pair of quilted sneakers. The kit was a gift from my husband. The book and videos were incredibly helpful, and I made a really wearable pair with all of the recommended reinforcements. Can't wait to make more and tweak the process and the pattern to make something really unique and totally me. Thank you for all the superb information!”


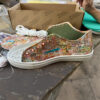
This kit is awesome! I made my first pair of shoes and love them! Appreciate the video and the instructions and all the tools in the toolkit like the eyelets and thread and hole puncher. I went with all white sneakers and completed them over a weekend. I'll send you some photos. They look great and fit perfect.
This kit is great! I ordered two different sneaker kits and they are both terrible in comparison and returned both (and I know what I'm doing and have some tools and was still like "this is bs" lol); This kit is waaaaay more complete and I appreciate that.

I can't recommend the Shoemakers Academy All Access Pass enough! As someone with a busy schedule, having access to such a comprehensive library of shoemaking courses at my fingertips has been amazing. I have also been able to meet up with Wade multiple times on Zoom for help specific to my project. He is super helpful and such a nice guy. His passion on this subject is clear.
Highly recommend. Flexible learning, expert guidance, and invaluable resources. I wish I found this information 5 years ago - it would have saved me hours of work, and thousands of dollars in design and manufacturing errors.

Susan V. –
Loved making my first pair of quilted sneakers. The kit was a Christmas gift from my husband. The zoom call and the videos were incredibly helpful, and I made a really wearable pair with all of the recommended reinforcements. Can’t wait to make more and tweak the process and the pattern to make something really unique and totally me. Thank you for all the superb information!
Jayne Sue –
Exactly as expected. I can’t wait to create my own sneakers.
Michelle Harder (verified owner) –
Just completed my first set of sneakers! Just ordered my second kit. I had a couple of questions about materials and patterns, The Shoe Dog, Mr. Motawi responded quickly. The tutorial videos were extremely helpful and easy to watch. I am in no doubt as to making many more pairs. I think it would be cool if you had a gallery of custom makes for those of us who have a hard time visualizing the completed sneaker.
Suzy –
Arrived promptly and as described
Susannah –
Seller was quick to ship and the quality of the items in the kit seems really good. The instructions are simple and the helpful tips make everything seem very approachable for someone venturing into this hobby for the first time. When I had a potential issue and messaged the seller only to realize I made a mistake a couple of minutes later, they had already messaged me. I appreciated the super prompt response. Thank you, Wade! – Susannah
Alice –
Excellent service and pattern better than expected. Very helpful when placing my order. – Alice
Sandra –
Quick shipping and will definitely love making.
Judy –
Prompt service and on time.
MIss Haberdashery –
Great. I will order from shop again.
Connie –
The kits were shipped quickly and I can’t wait to make the shoes. Mr. Motawi was very responsive and helpful when I realized I had ordered the wrong size. He got me the replacement size quickly too. Great customer service!
Kim Hemker –
Great customer service. Very easy to work with.
Ruth Gordon –
Order was in good condition and came promptly.
Kathy Milwood –
I have not used the shoe making kit yet but all the components appear to be good quality. The sizing on the soles seems big but I won’t know until I have time to make the shoe. I can update later. Shipping was very fast. I would buy from this seller again.
Karen OBrien –
Can’t wait to make a pair of sneakers.
Beth Valkenburg –
Just as described. Fast shipping
Cara Chinery –
Looking forward to making another pair of sneakers.
Peggy Tapp –
Wade is so helpful and willing to help you understand the process.
D Hanchett –
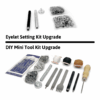
Quick shipping. When buying this kit you will need to buy eyelets, shoelaces, and needles.
Jennifer Hogan –
F I v e star
Karen Bartzer –
Customer service was amazing. Even answered my questions on a Sunday.
F.L. –
Love this kit. Can’t wait to make quilted sneakers.
Jim –
Great communication, fast shipping, quality supplies. Highly recommend.
J.Jacks –
Everything I needed to craft a great pair of shoes.
Etsy –
Quick shipping. Kit has everything I need, picked out my fabrics and now ready to make my own sneakers. Great communication. Found this on Etsy originally and just bought more supplies here. Will buy again.
Sewing B –
Exactly what I was looking for and the shipping was super fast.
Angie –
Super happy with my kit!!